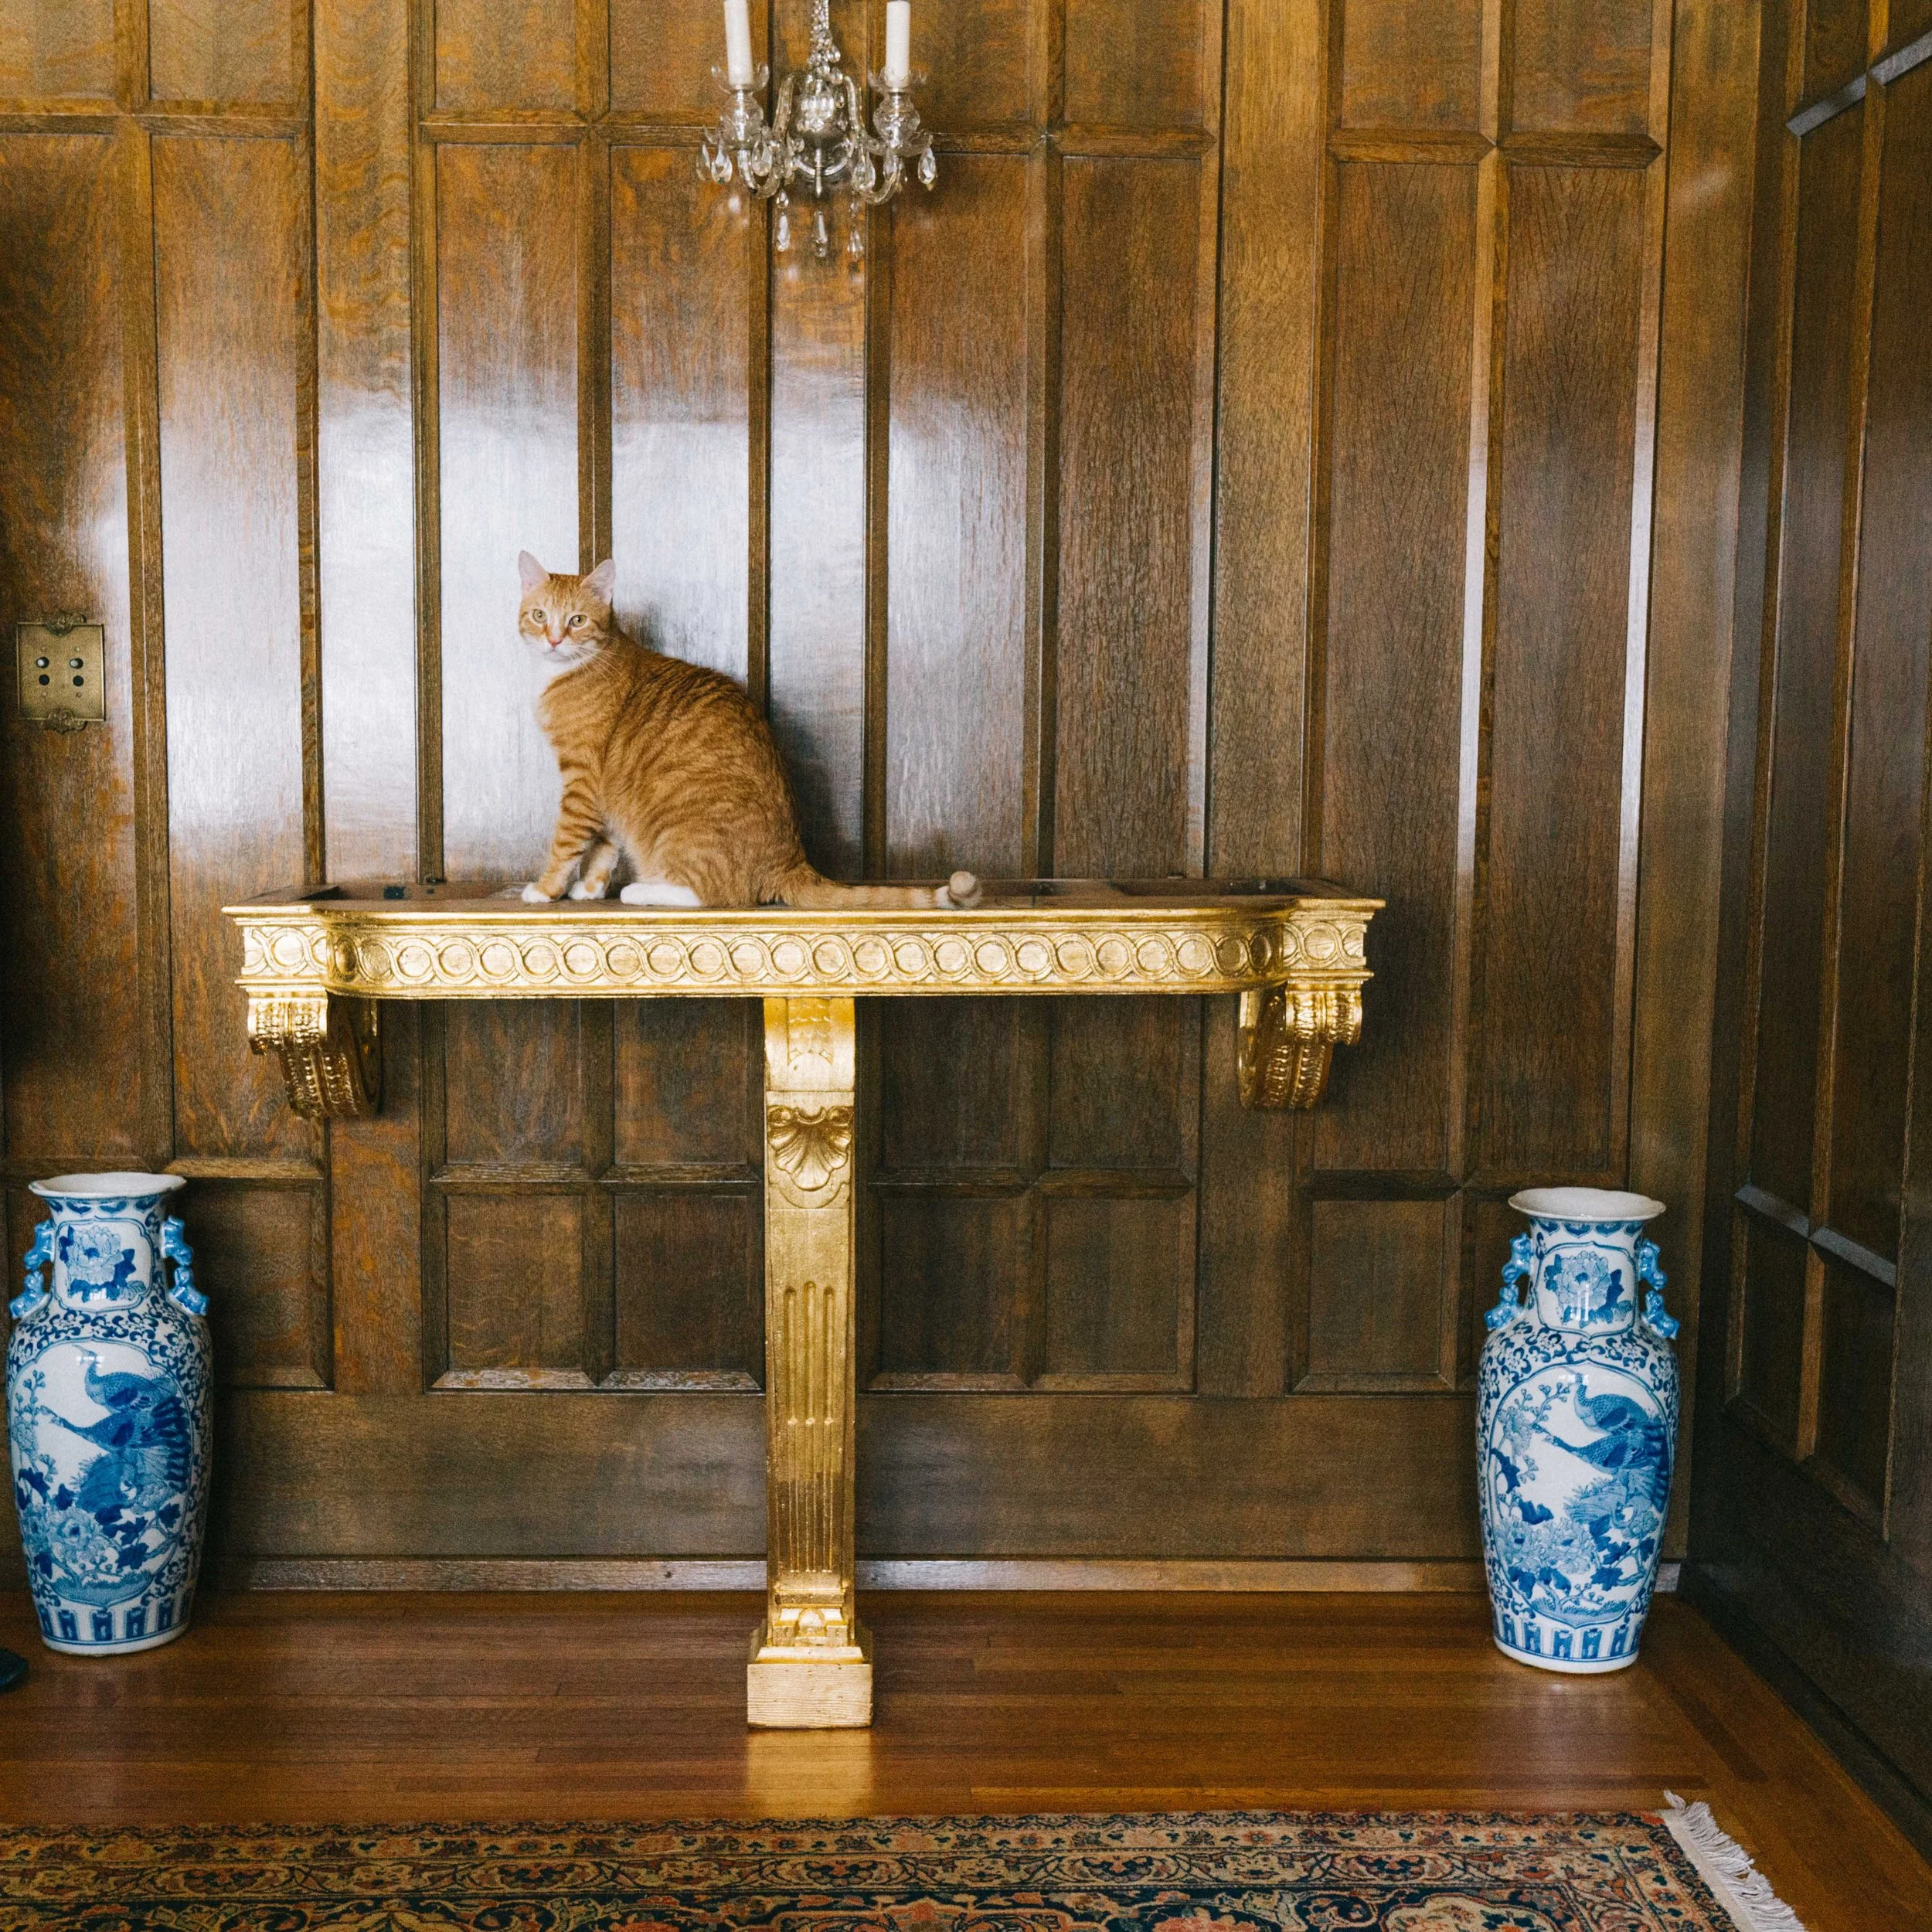
How to Gold Leaf | Gilding Antique Furniture
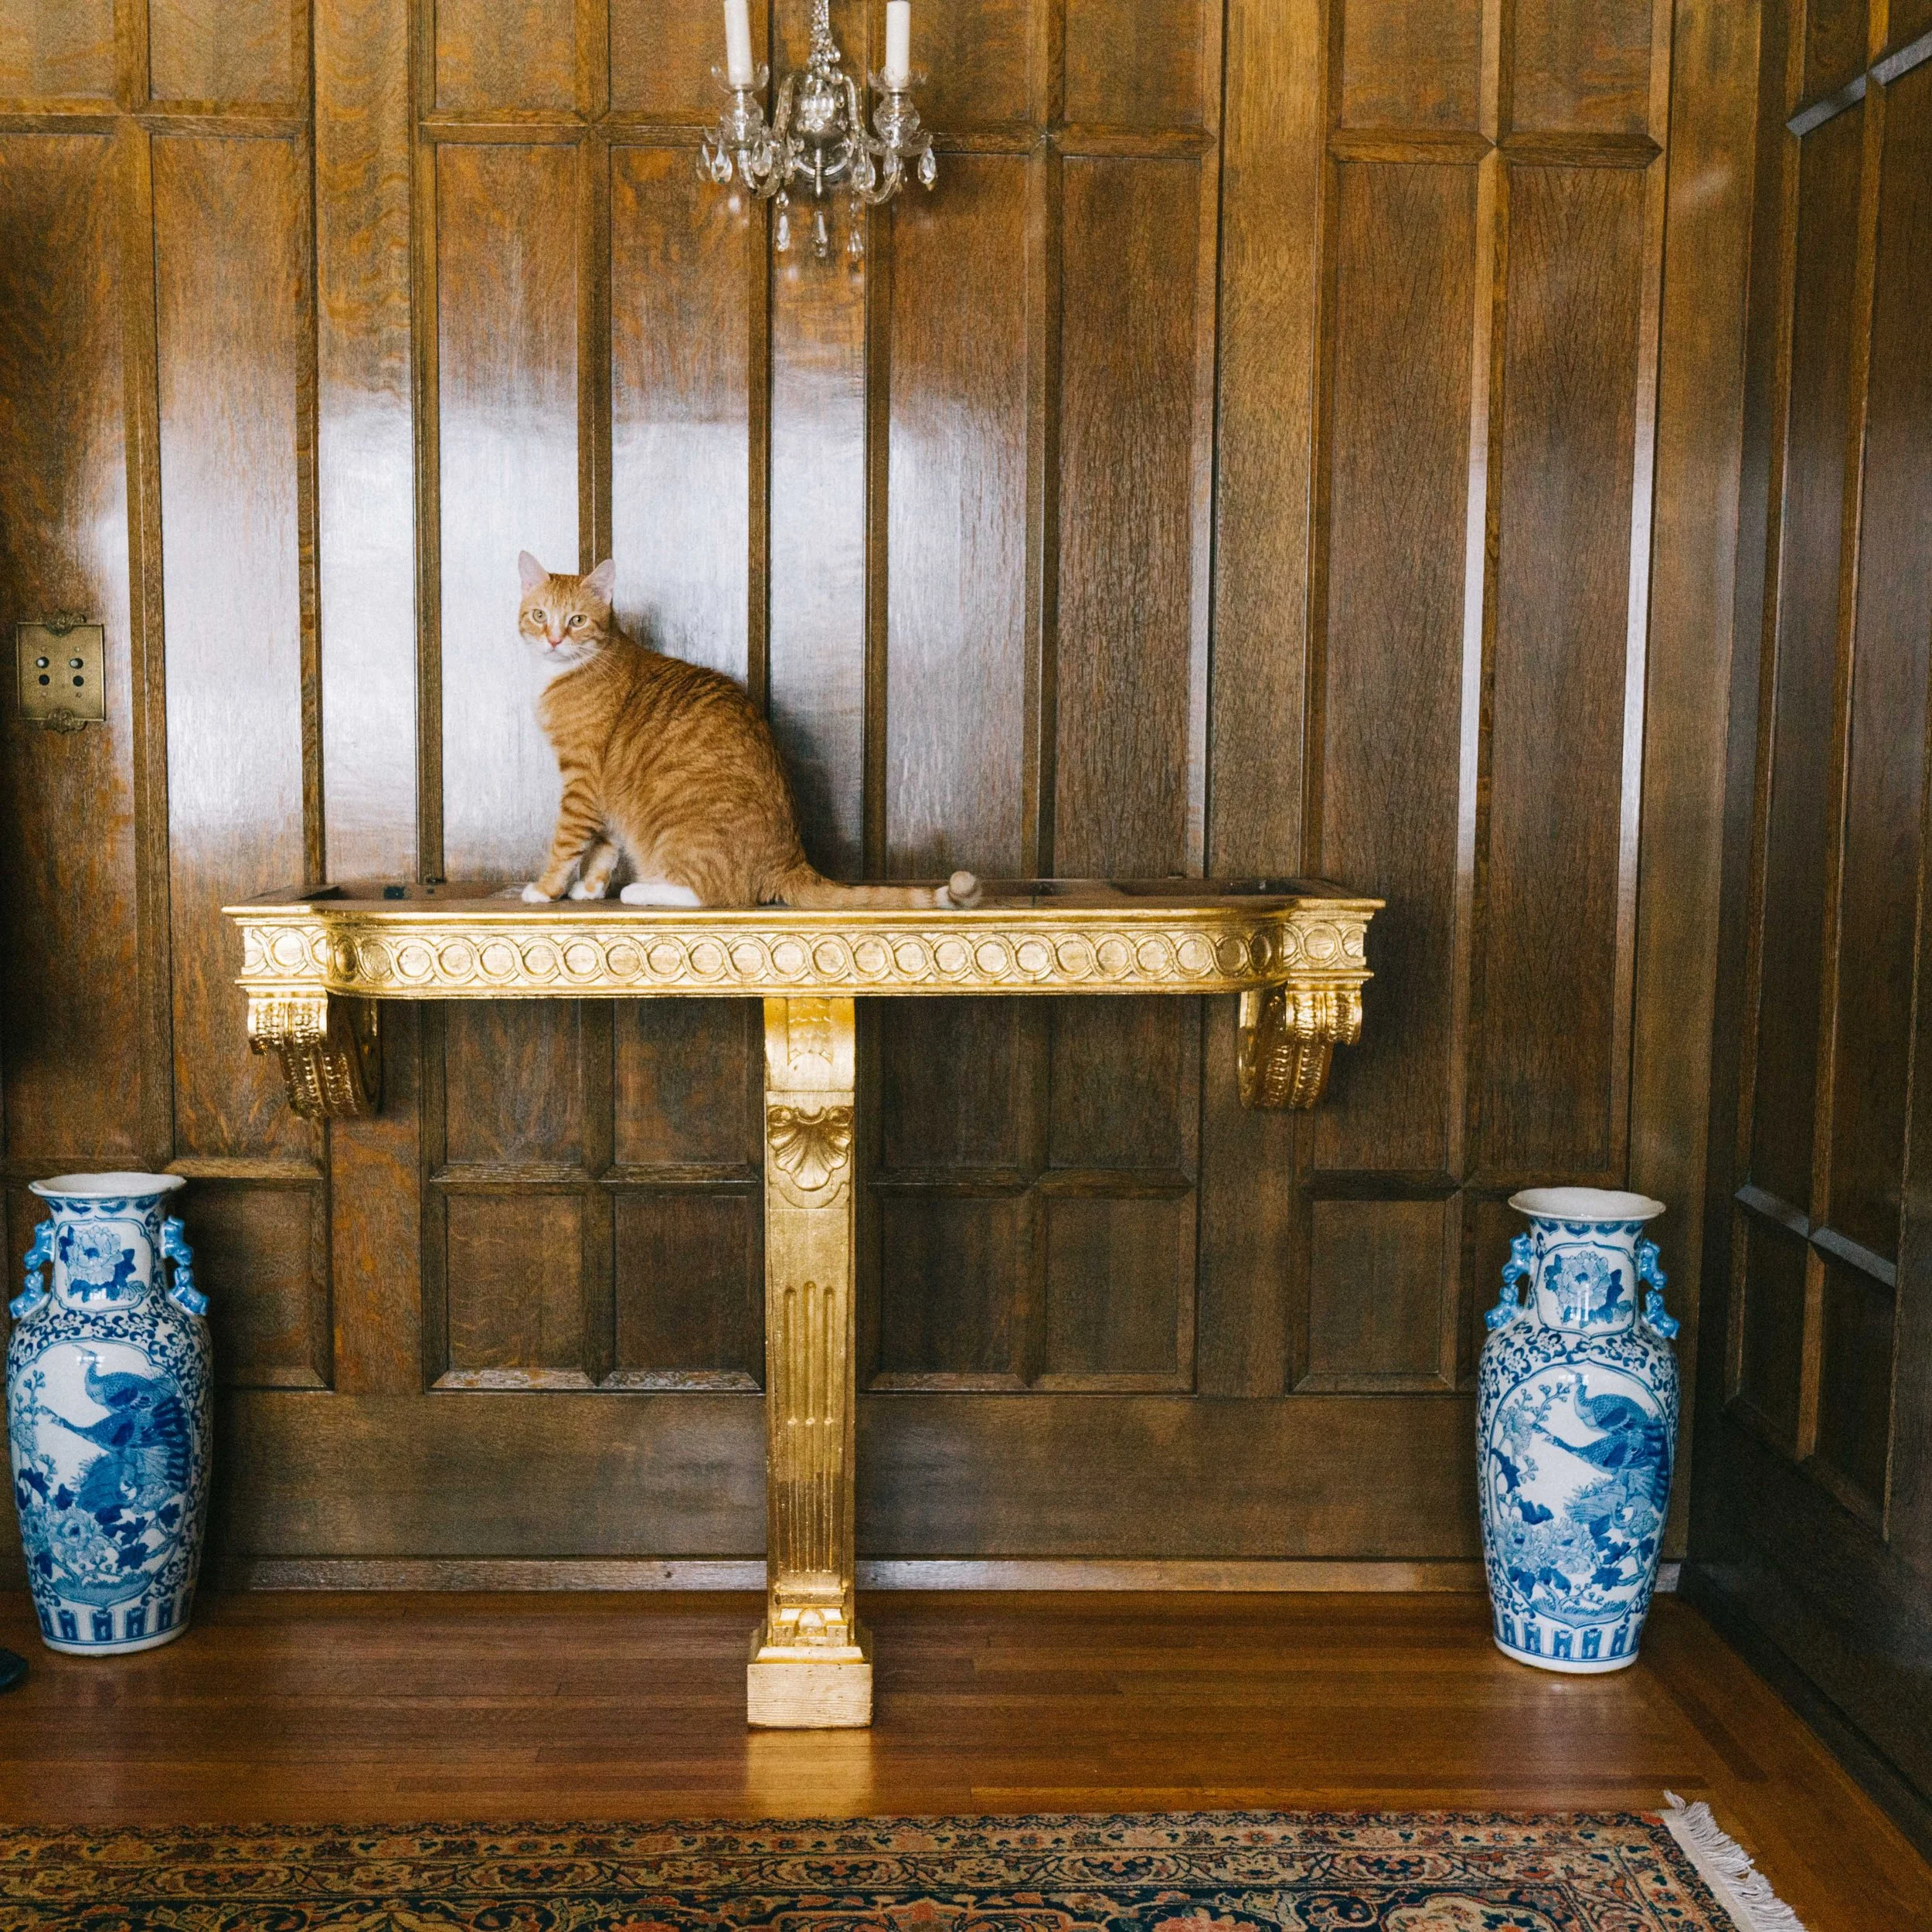
The end result
Gold leafing has been a quick-to-learn skill that drastically transforms and elevates our antiques. It took a while to decide how to transform our drab grey side tables. I debated painting but eventually decided that giltwood would be the only way to go.
I am proud that I was brave enough to go for it on these console tables, and I did not let the fear of never having done this before get in the way! The end result is better than I envisioned and I am excited to share with you how to gold leaf at home.
Time took for one table: 3 days
We still have the second table at our friend’s workshop to fix the loose side scroll. Also, we need to figure out how to confidently install the tables to be in the woodwork. That is the most terrifying part! There is a huge marble slab that goes on top, and our installation needs to be perfect on the first try, to not damage the woodwork..
What you need:
Sheets of Gold Leaf, I used 24 carat transfer leaf from LA Gold Leaf, because why not go all out on the first try?
Brushes- 1 to paint on size, 1 for brushing flakes, 1 for poking in gold leaf
A soft cloth to brush in the Leaf
Drop Cloth or something to catch the drippings
Tack Cloth to prep surface from dust
Confidence to go for it
Before
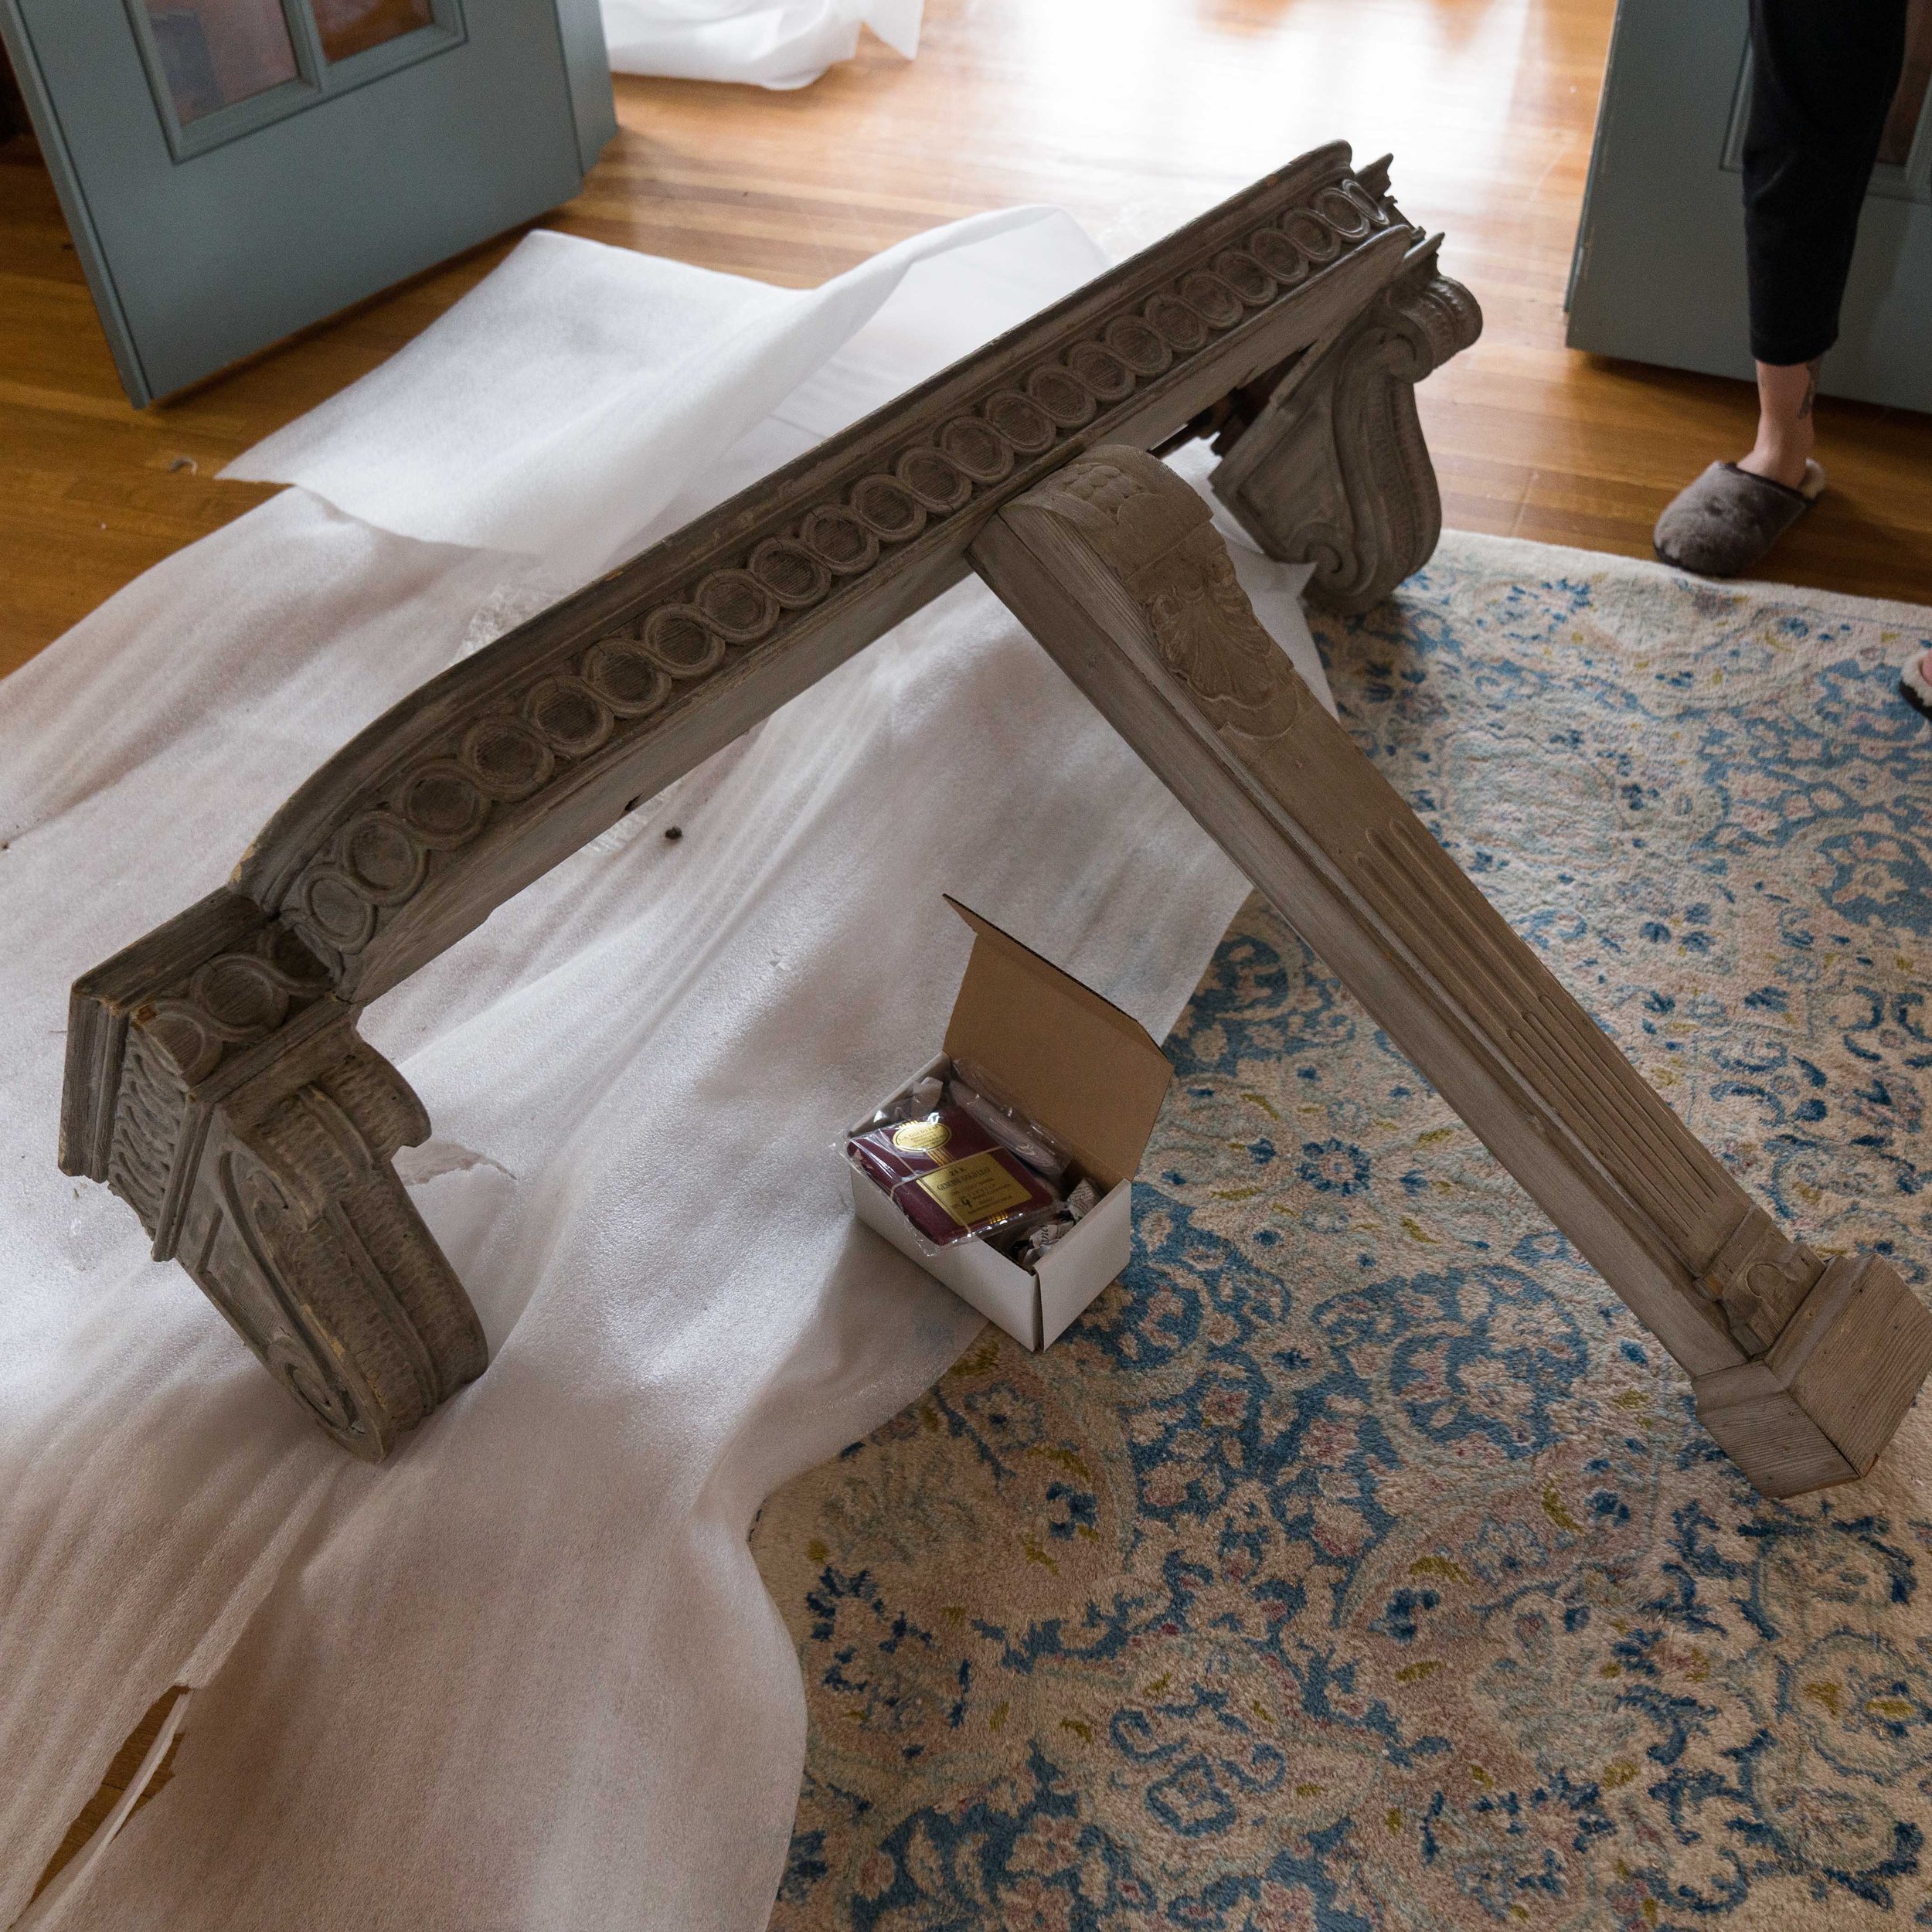
Our grey table ready to be transformed. To start, use the tack cloth to remove dust and debris. Alternatively, you can use a soapy rag to wipe the surface clean. I decided not to pre-paint the surface since I wanted an antique look. You can decide to pre-paint the surface, if this suits your needs.
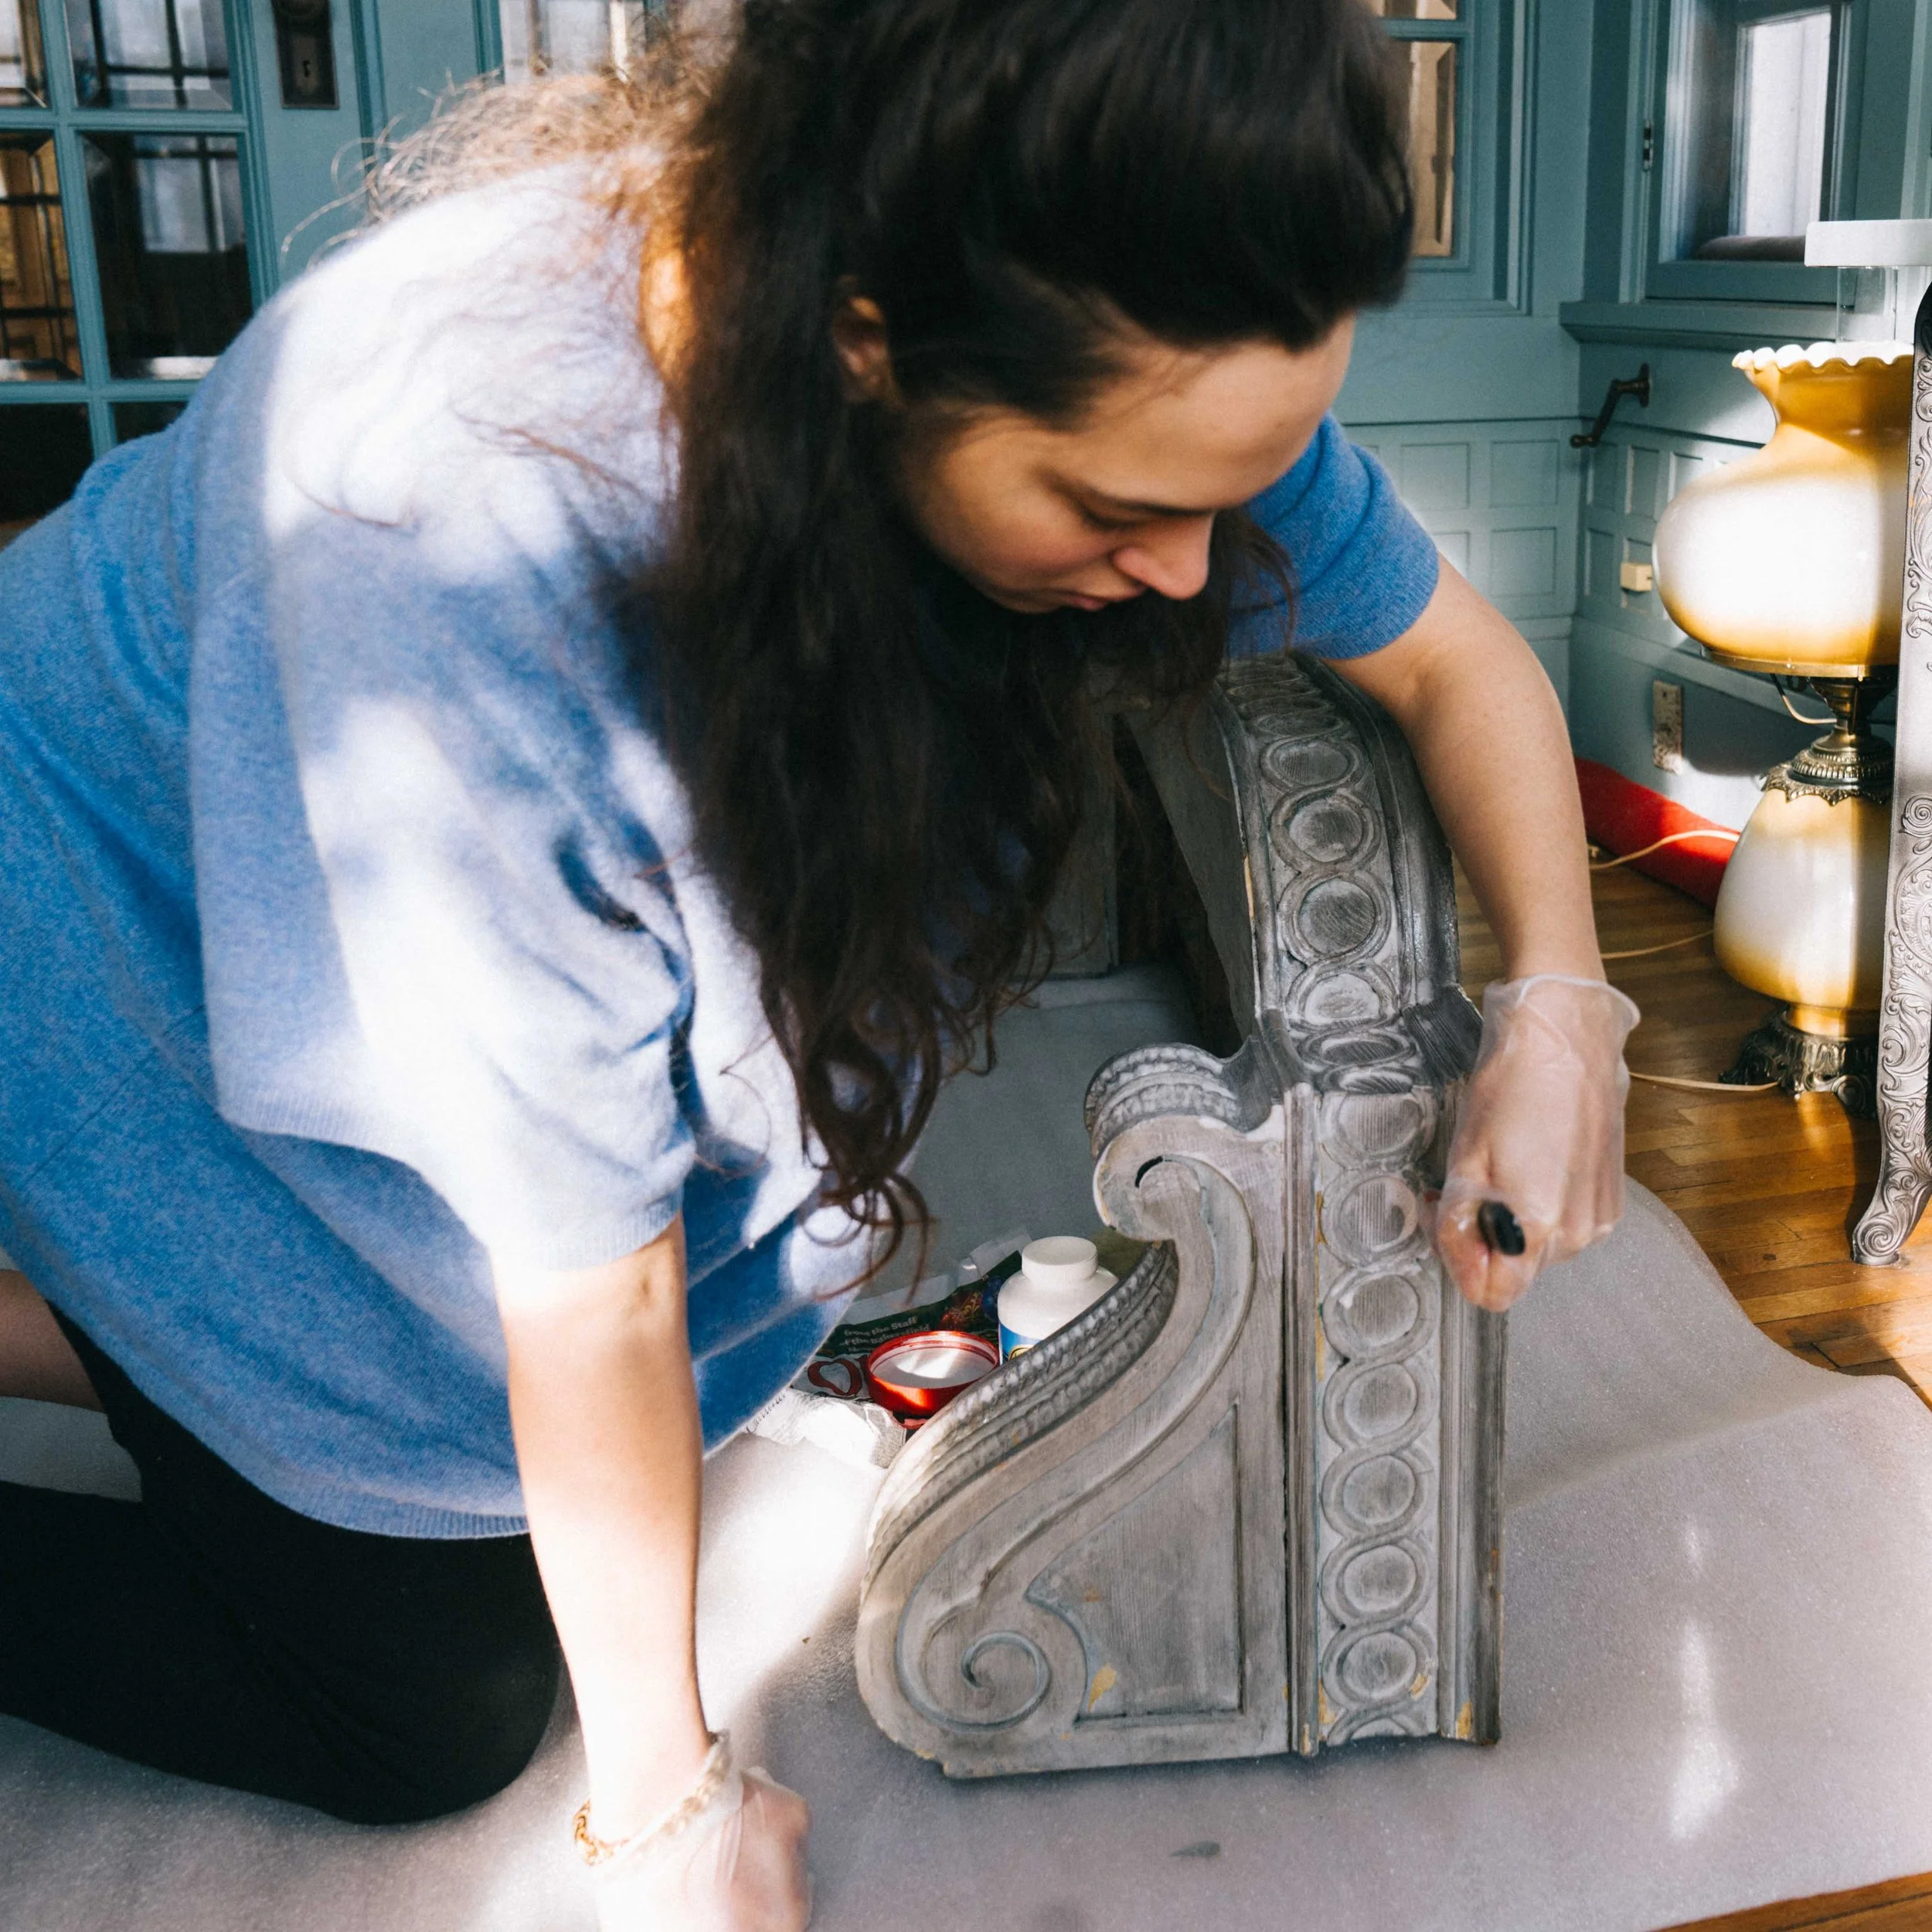
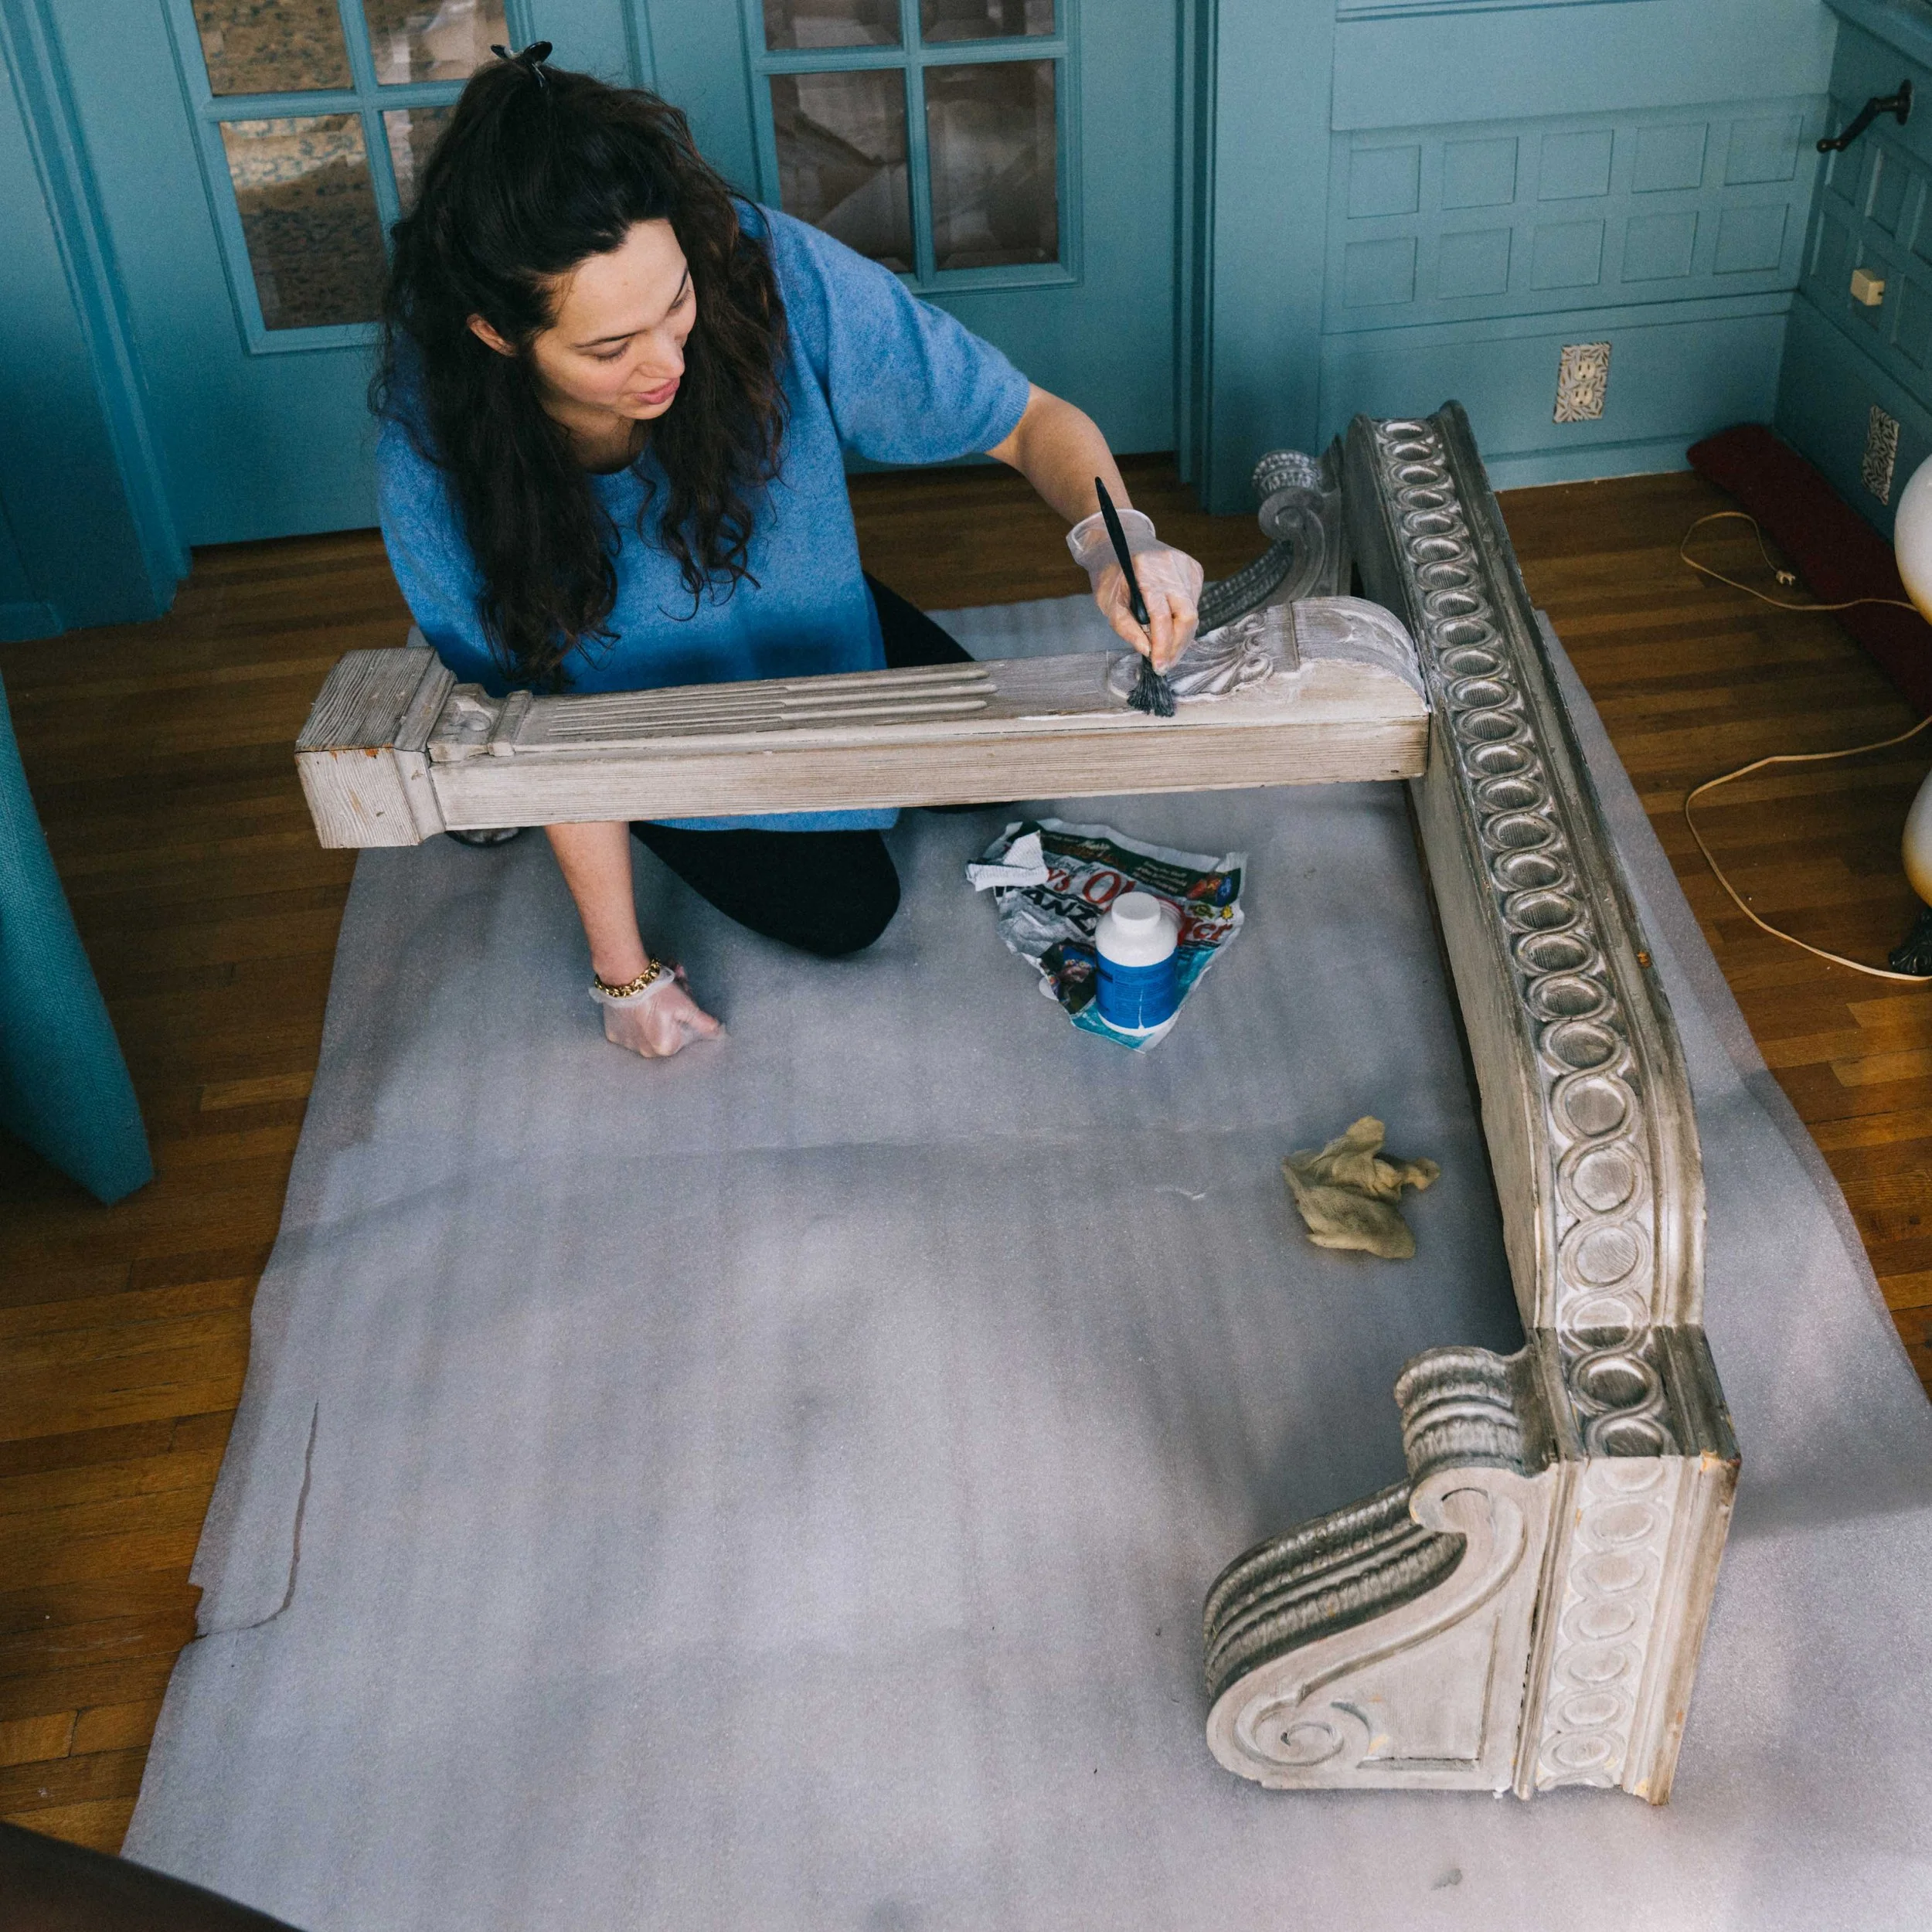
Then paint on the sizing according to the manufacturer’s instructions, and let to dry for about 25 minutes, or until it is tacky. Where you apply the sizing the gold leaf will stick. So, only paint where you want gilded. This step is the most important. Make sure you do not miss any spots and apply carefully.
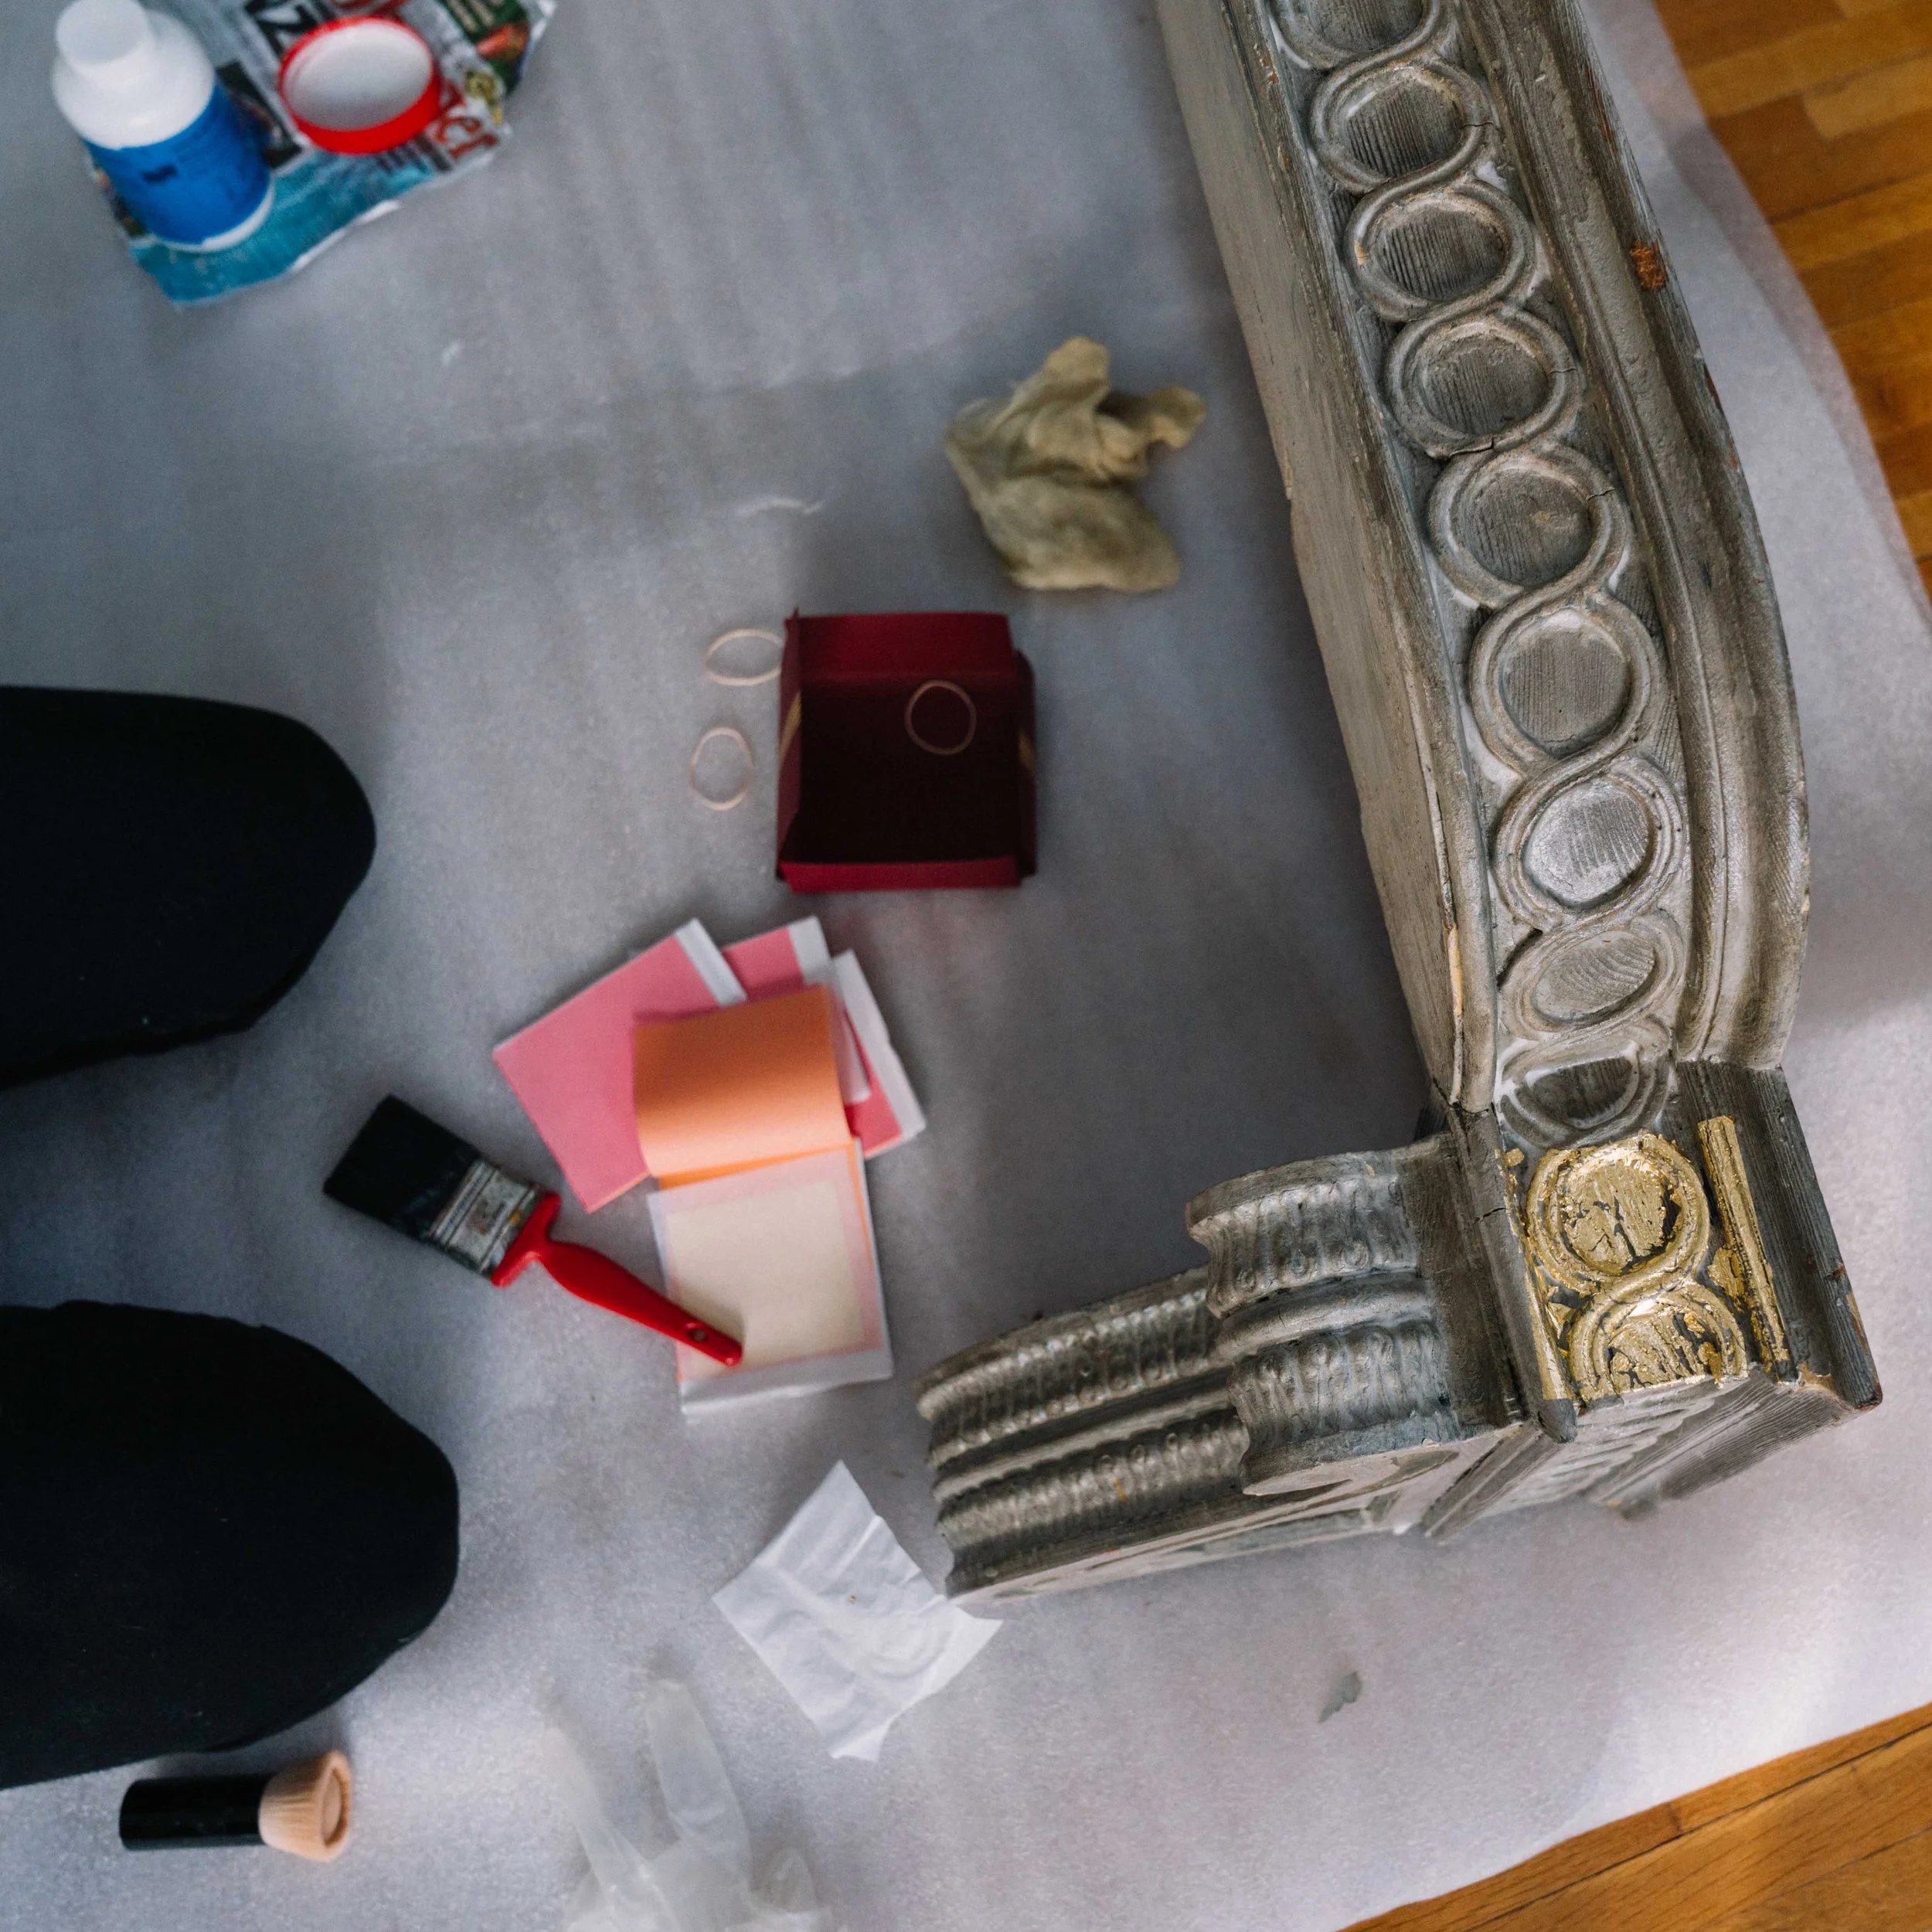
Place sheet gold down on area to gild. Our surface was super uneven, a paintbrush helped to get in the crevices. Eventually, I went in a selectively placed in missed corners and spots to fill in the gaps. Brush off with a cloth.
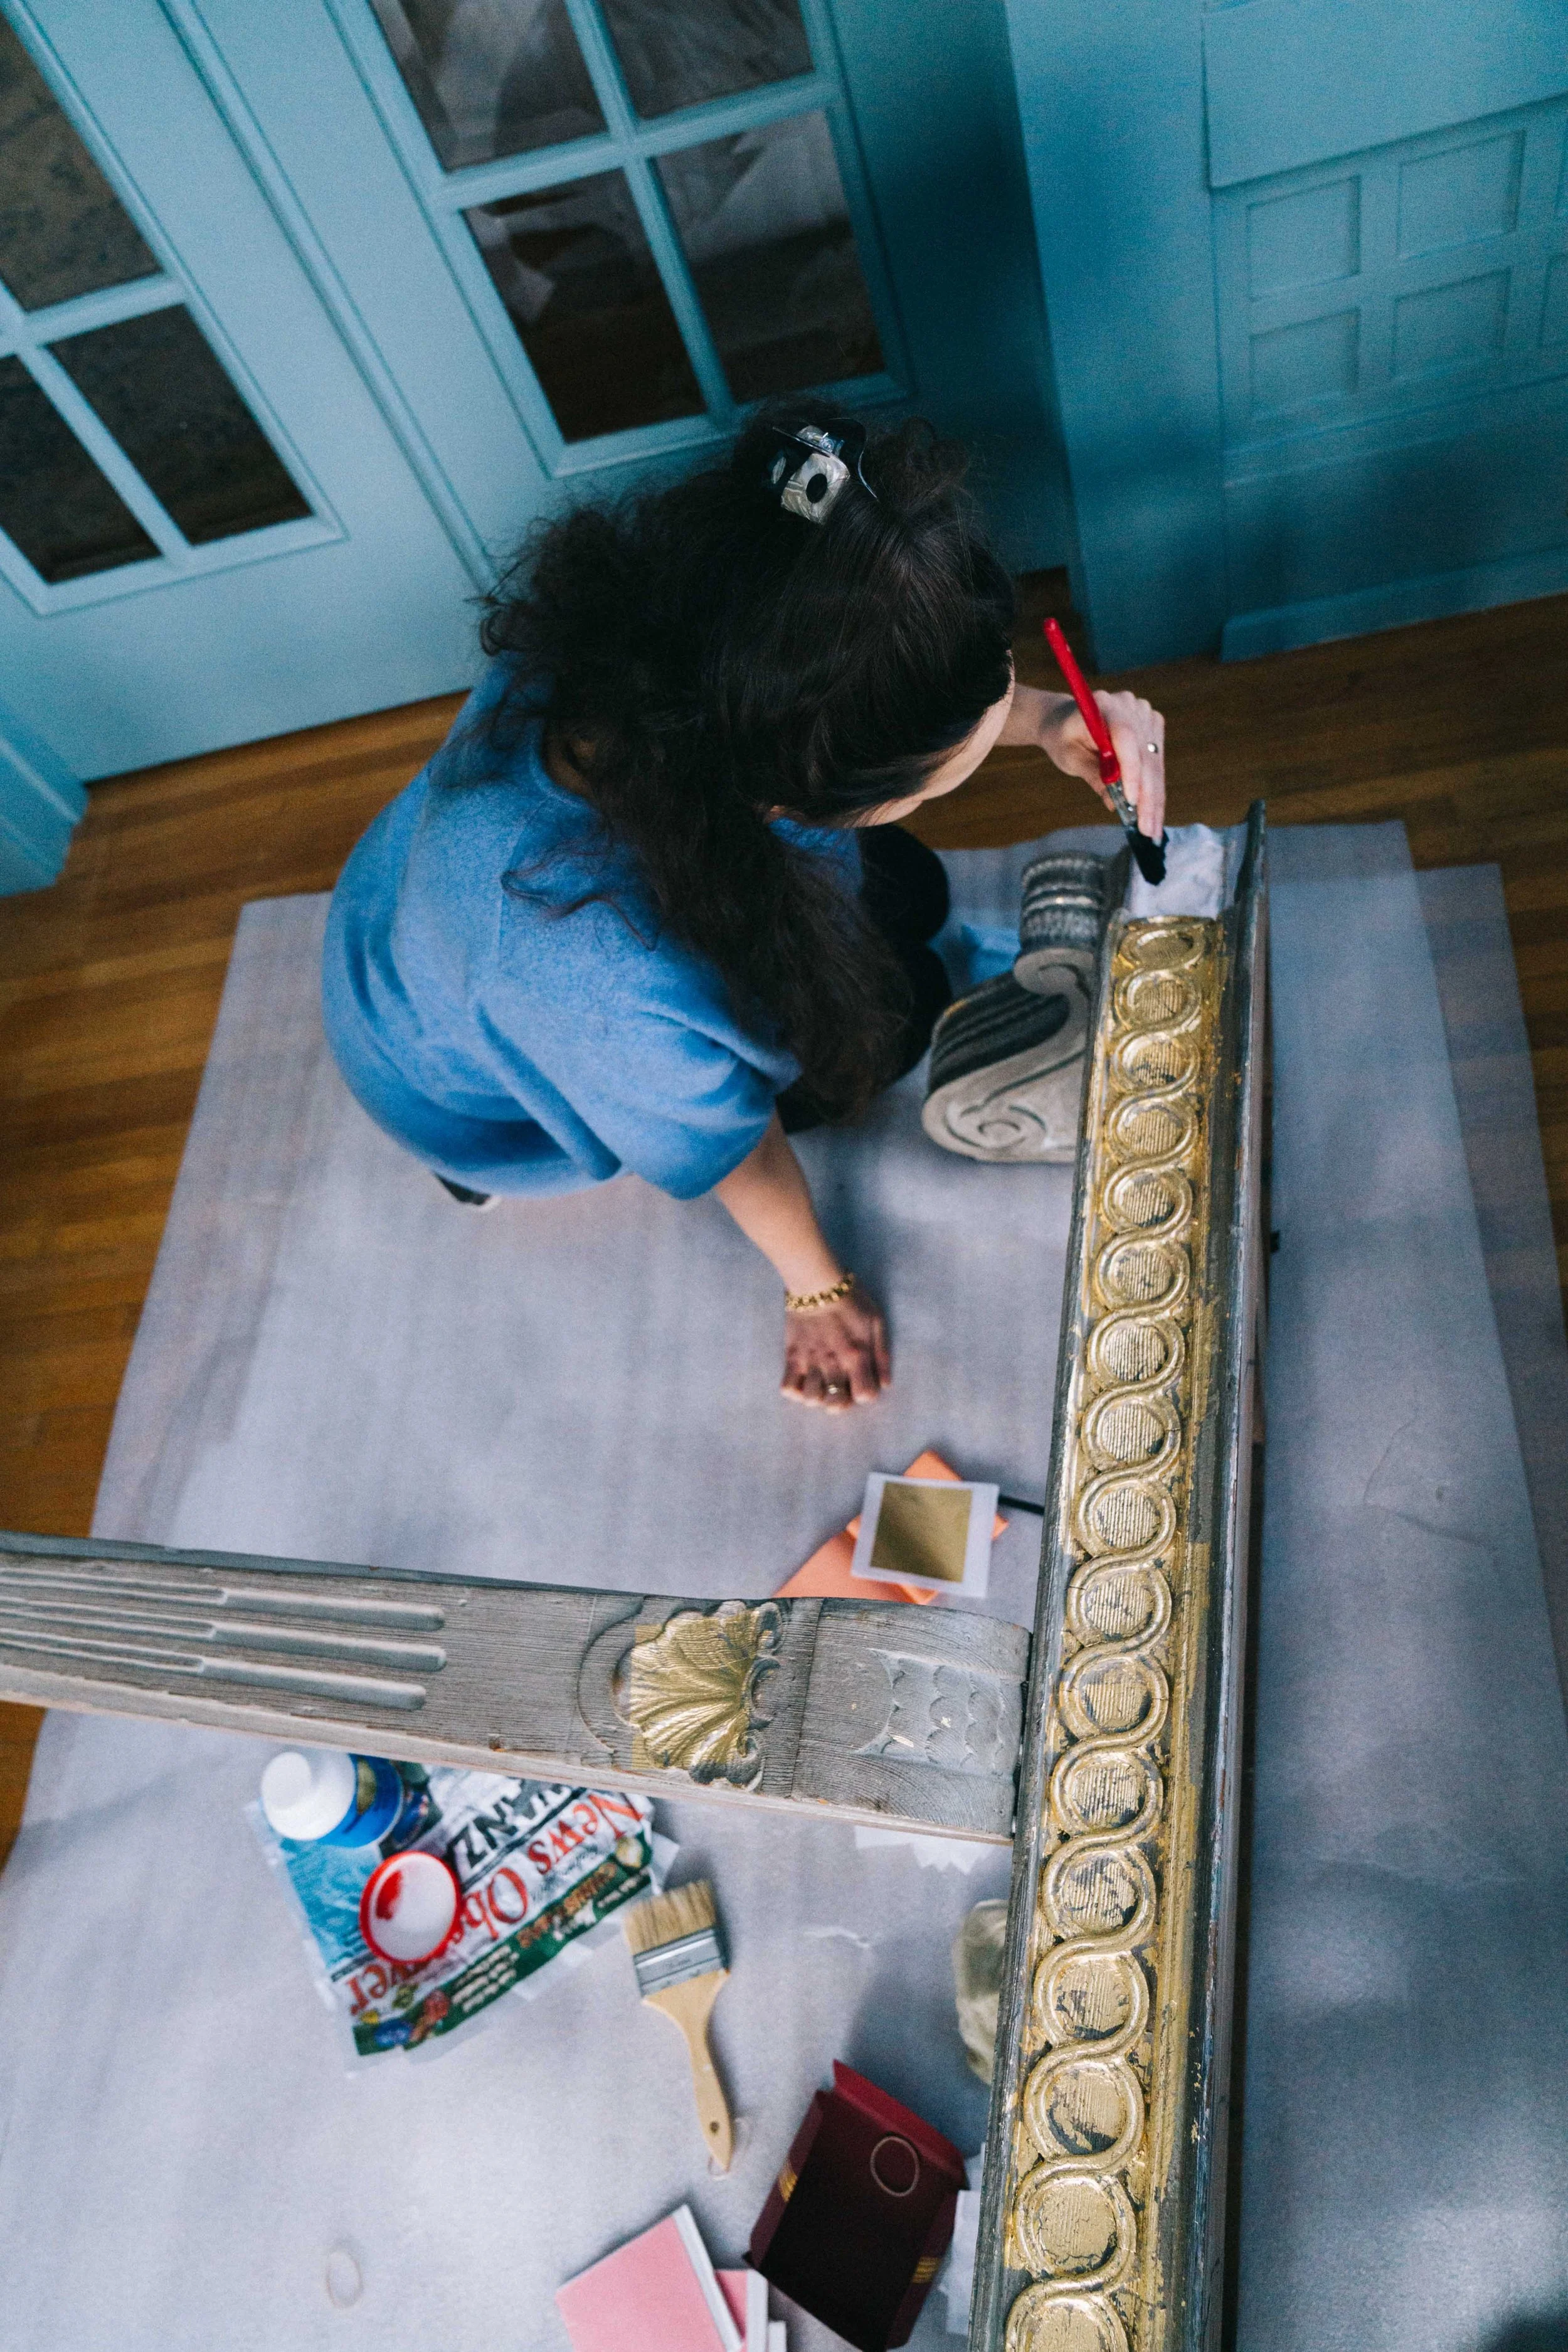
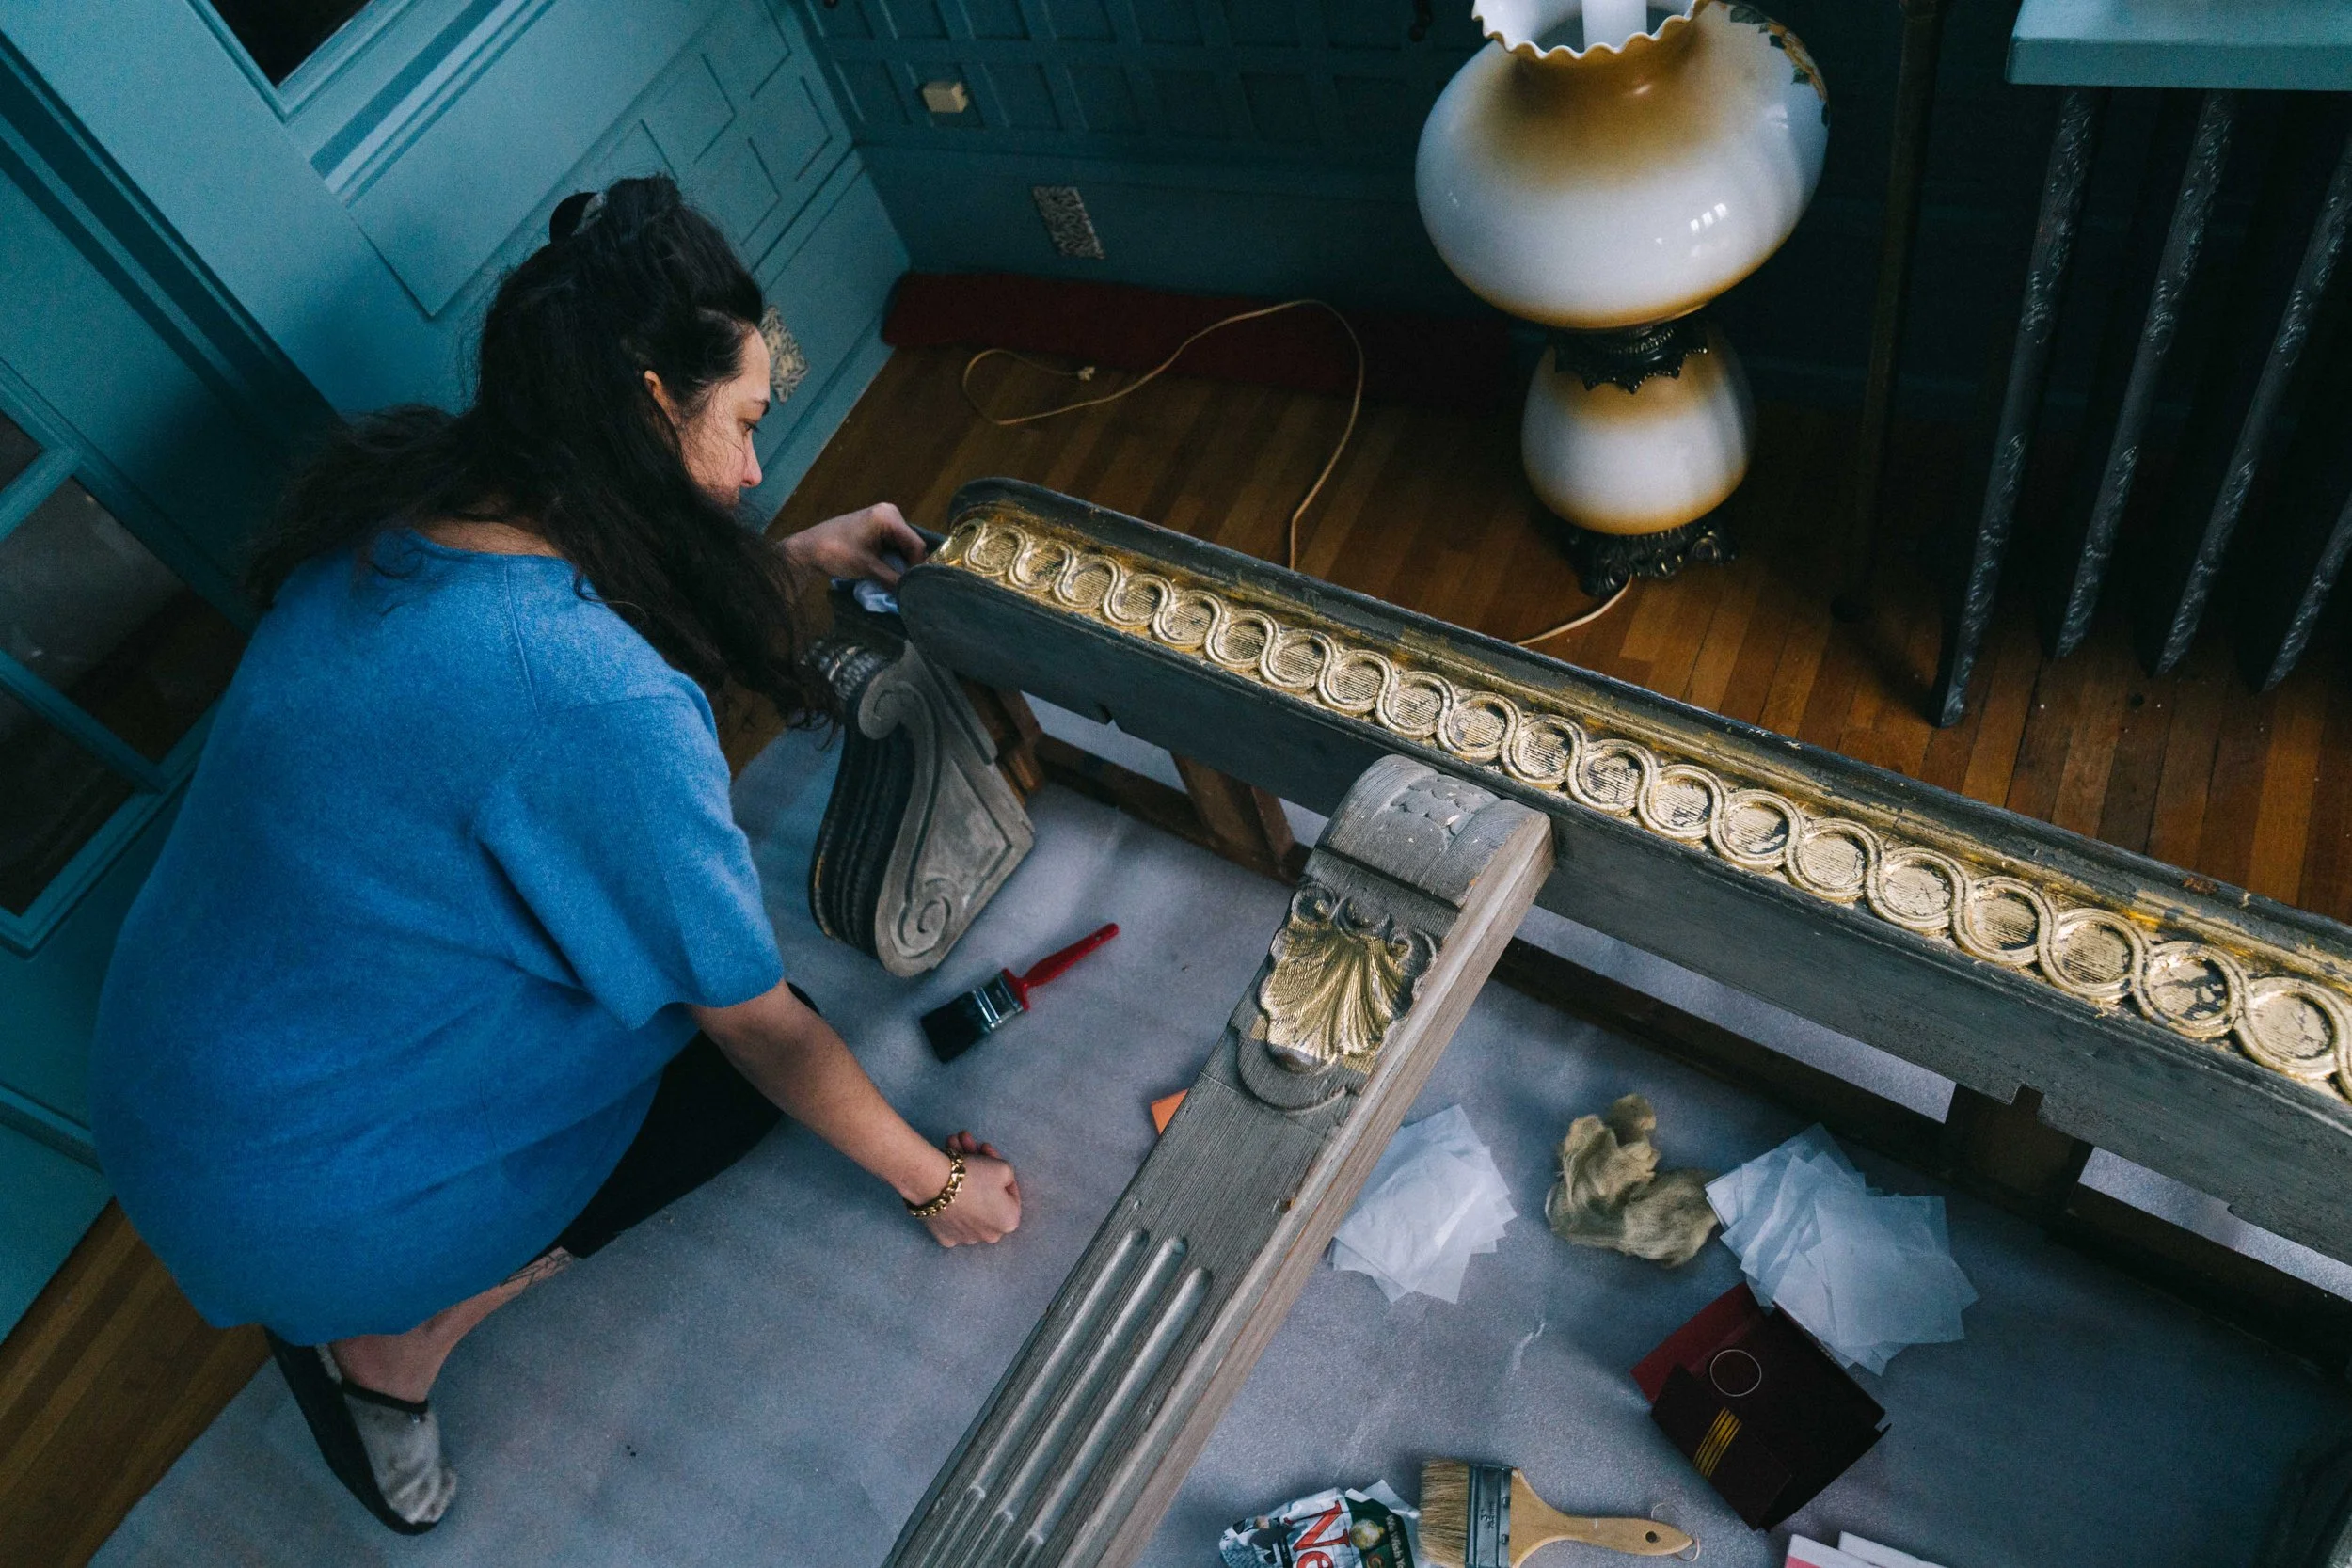
Keep going! This is the patience and work part!
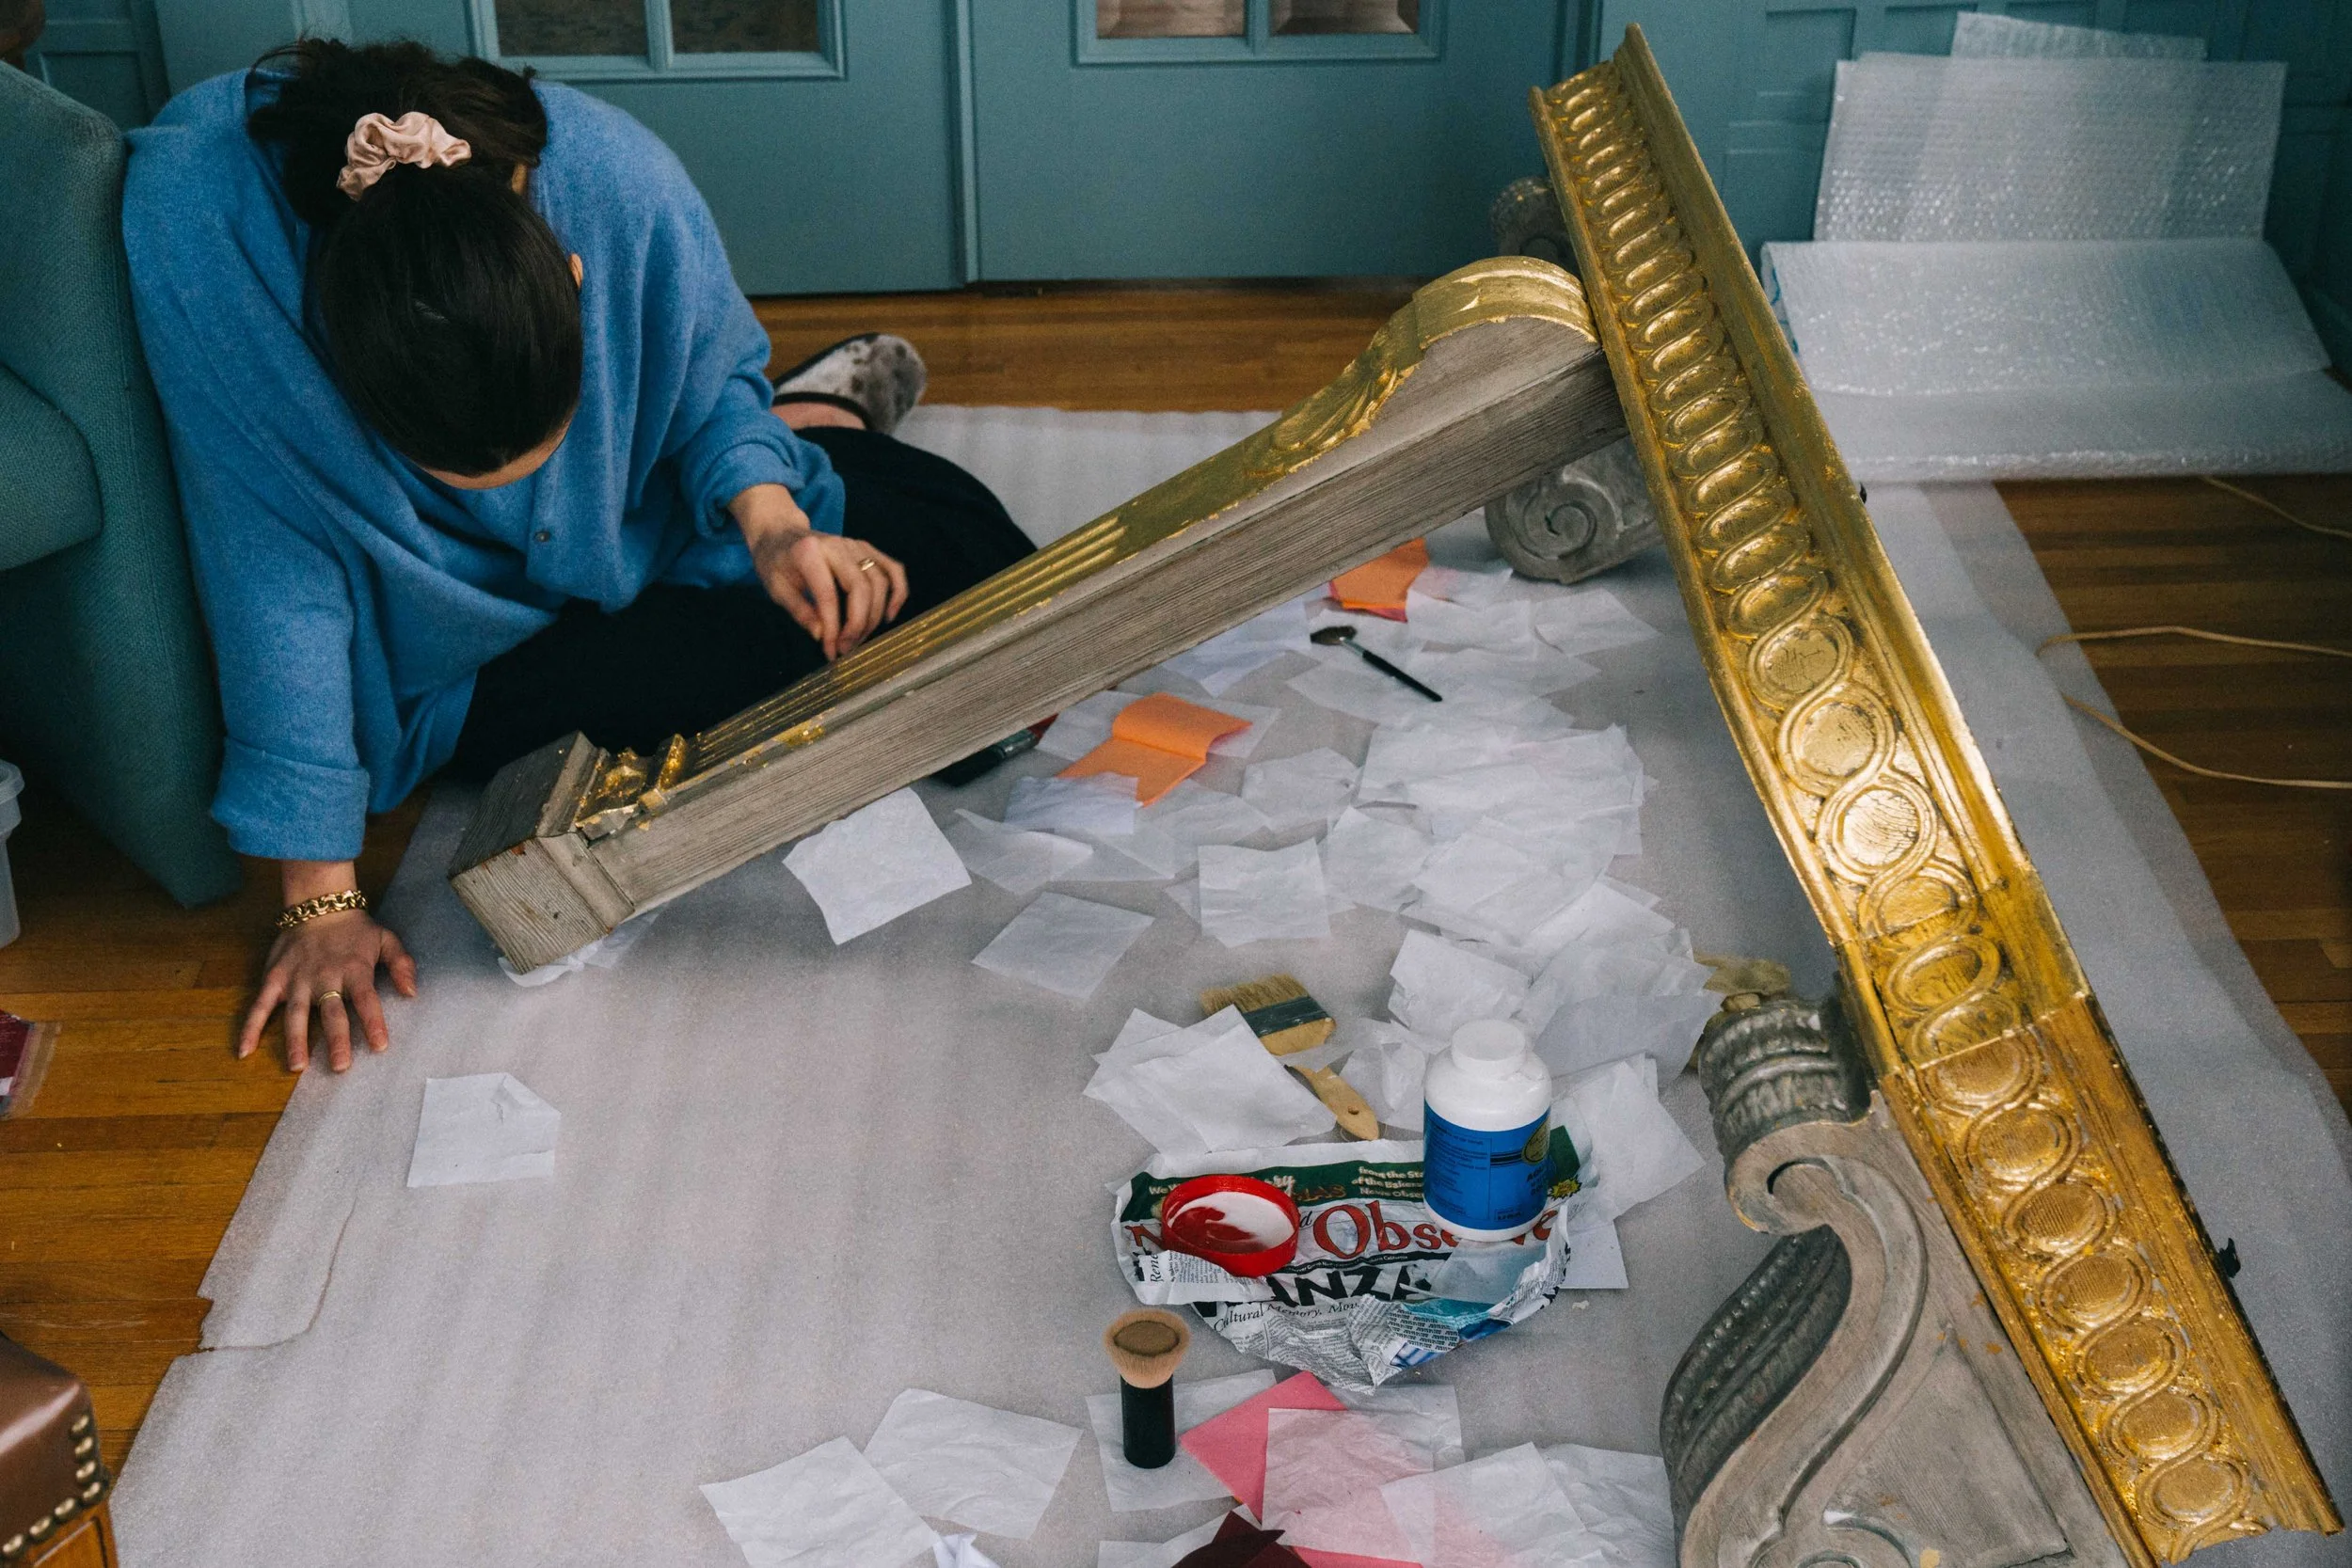
Place, wipe, place wipe.
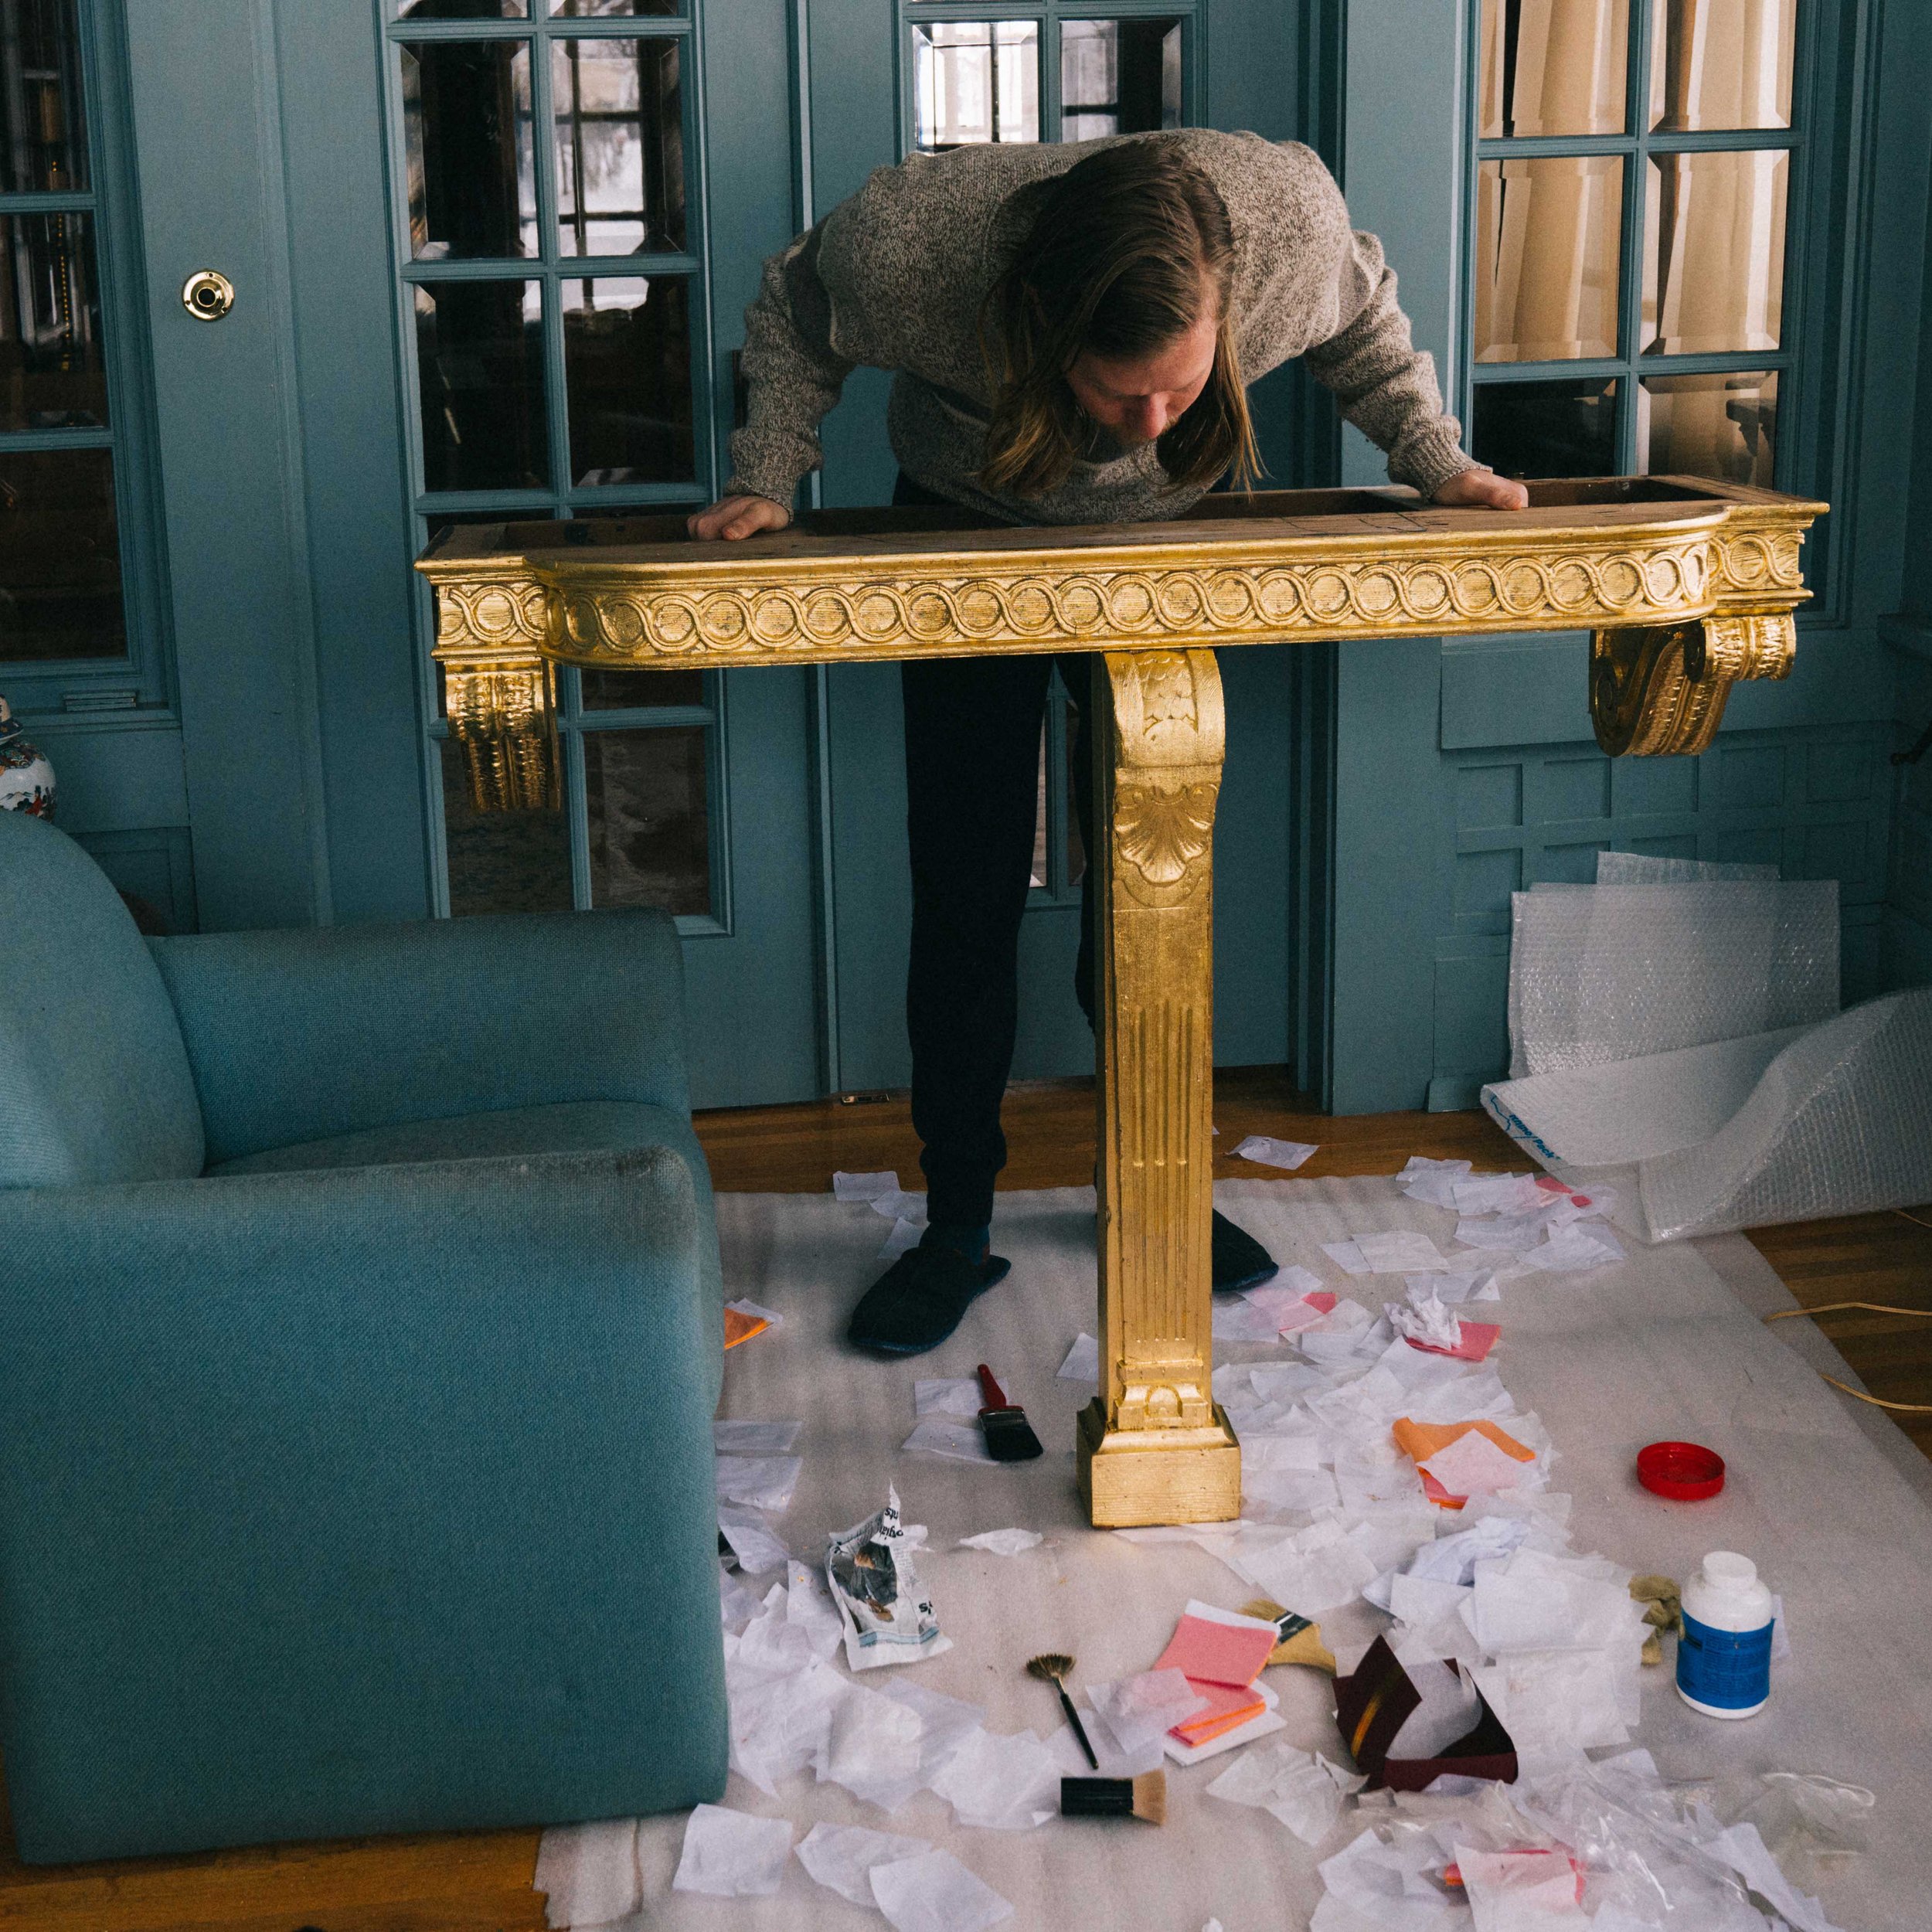
There you have it! The technique is simple, but practice makes perfect. I am sure the technique improves the more you gild. I am happy with the result!
I am still deciding whether to seal off or not. Since we used 24k there is not the risk of tarnishing.