DIY Home Office Desk- Under €100
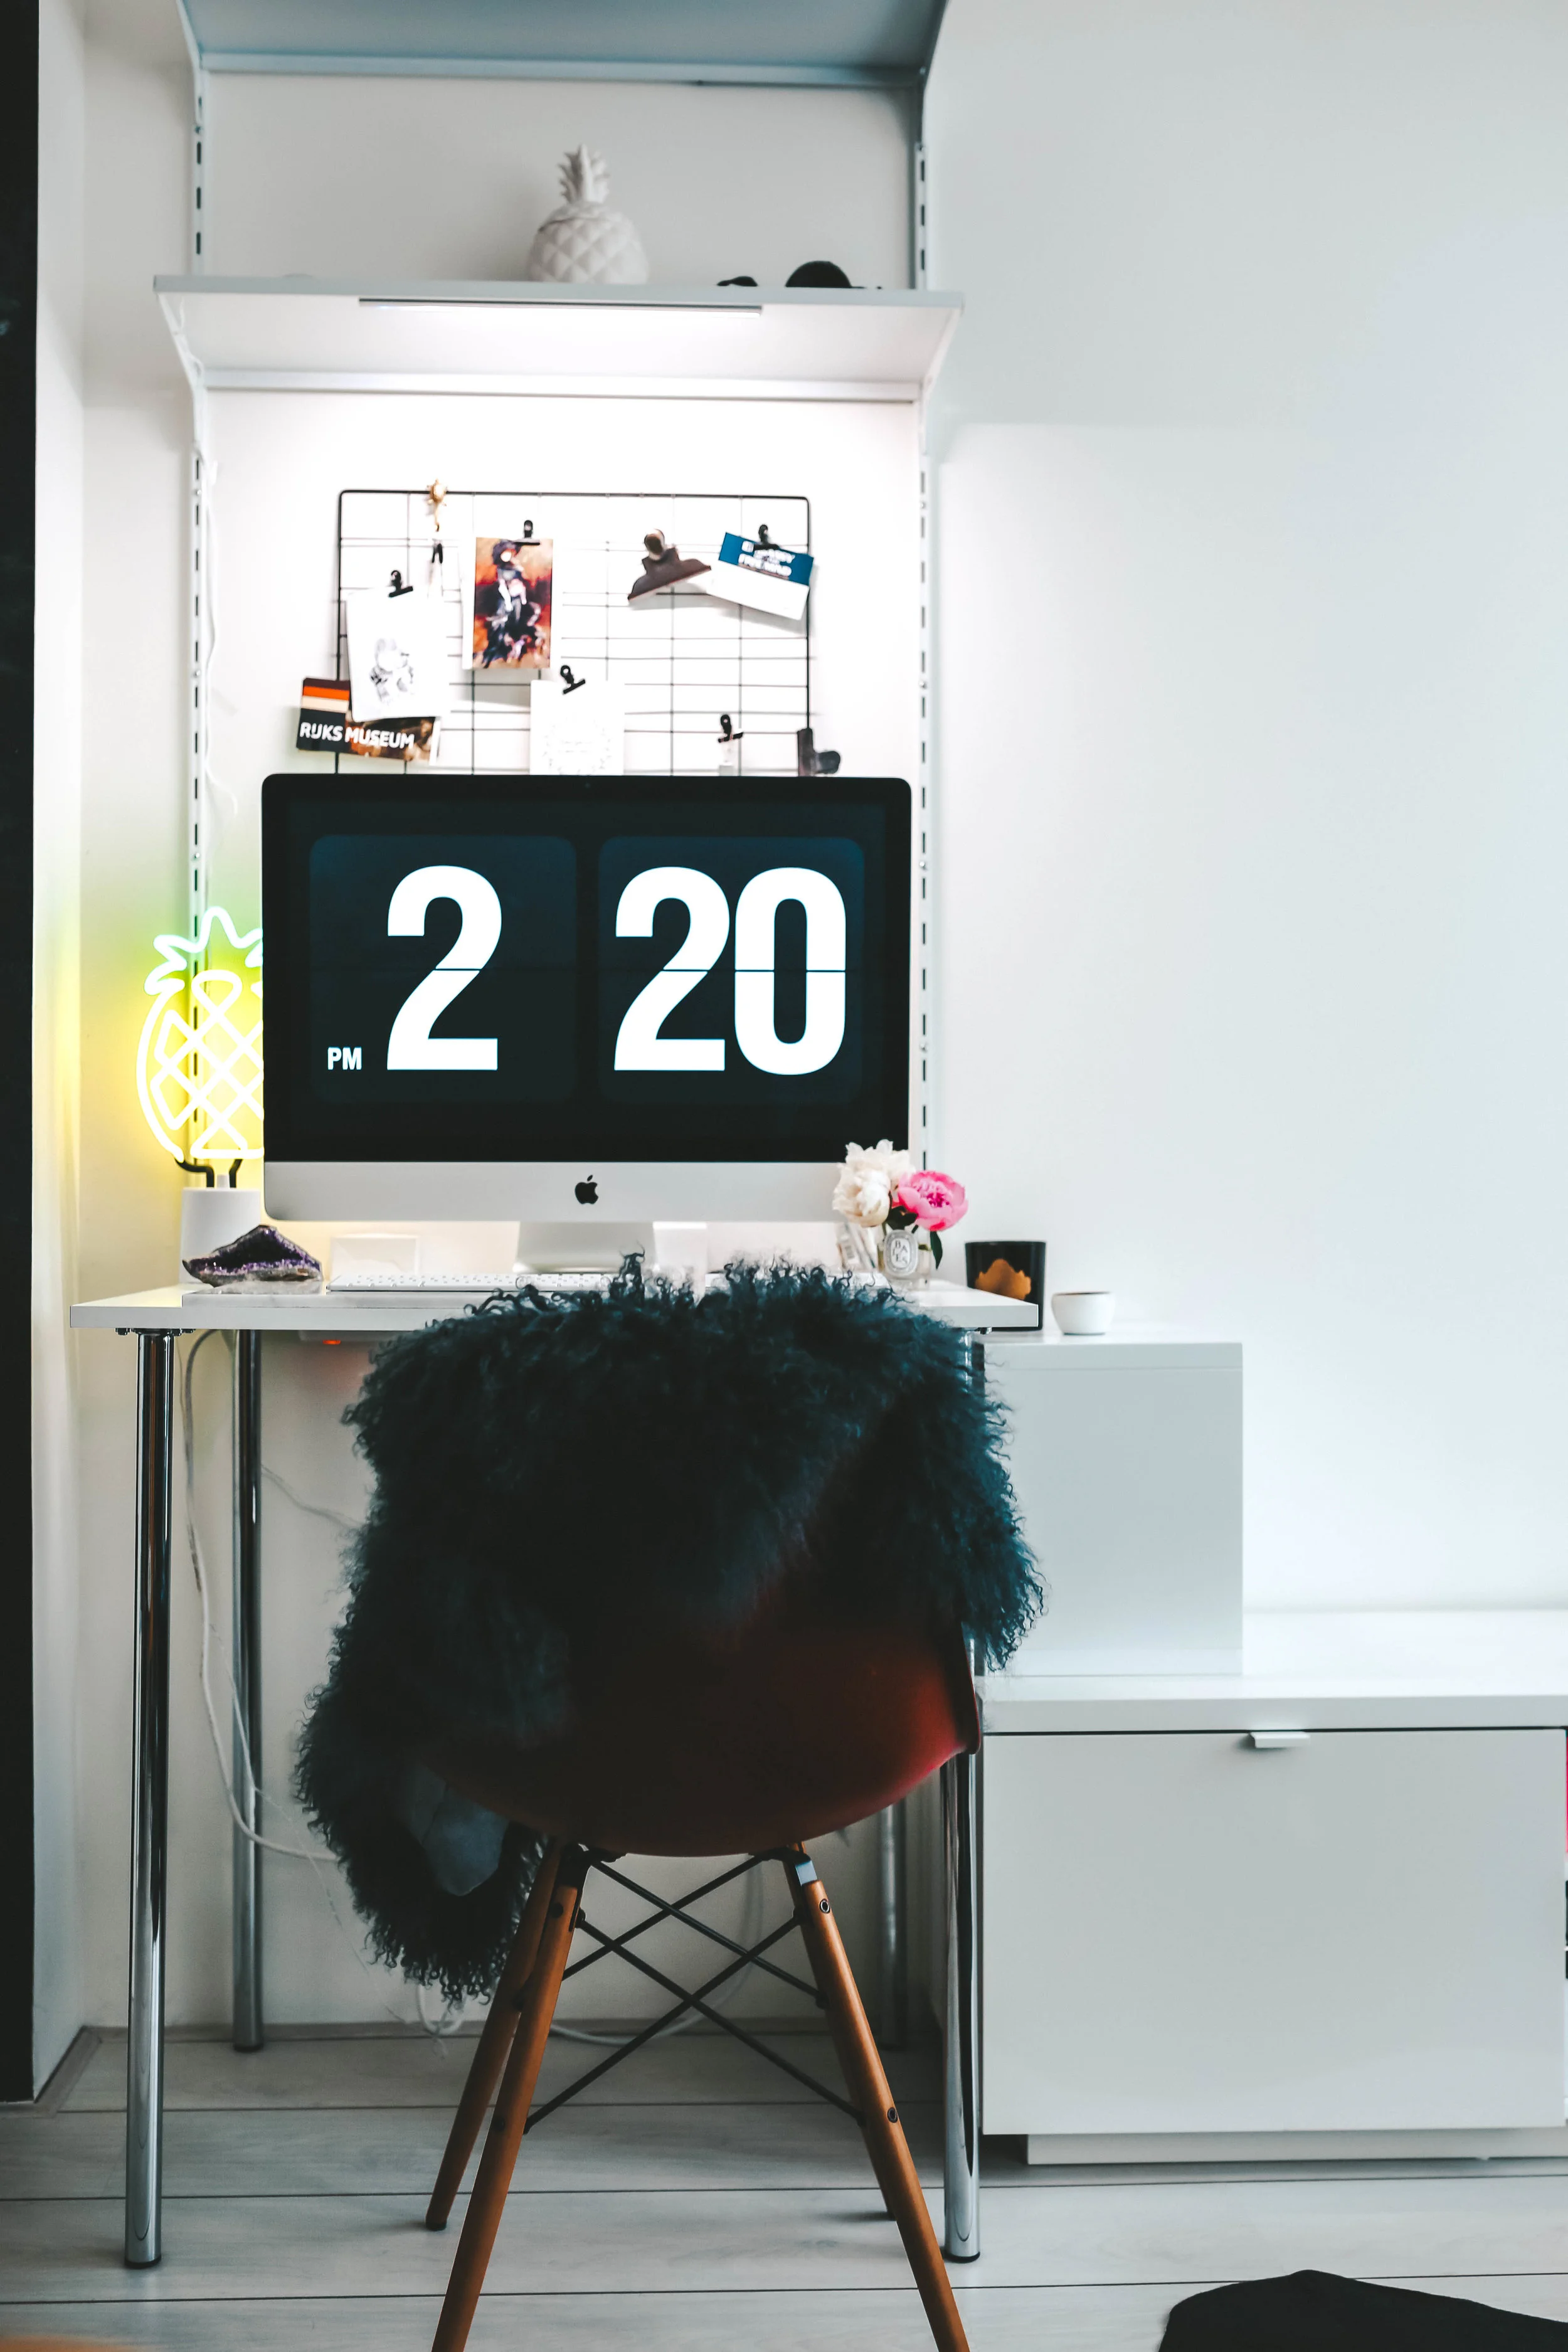
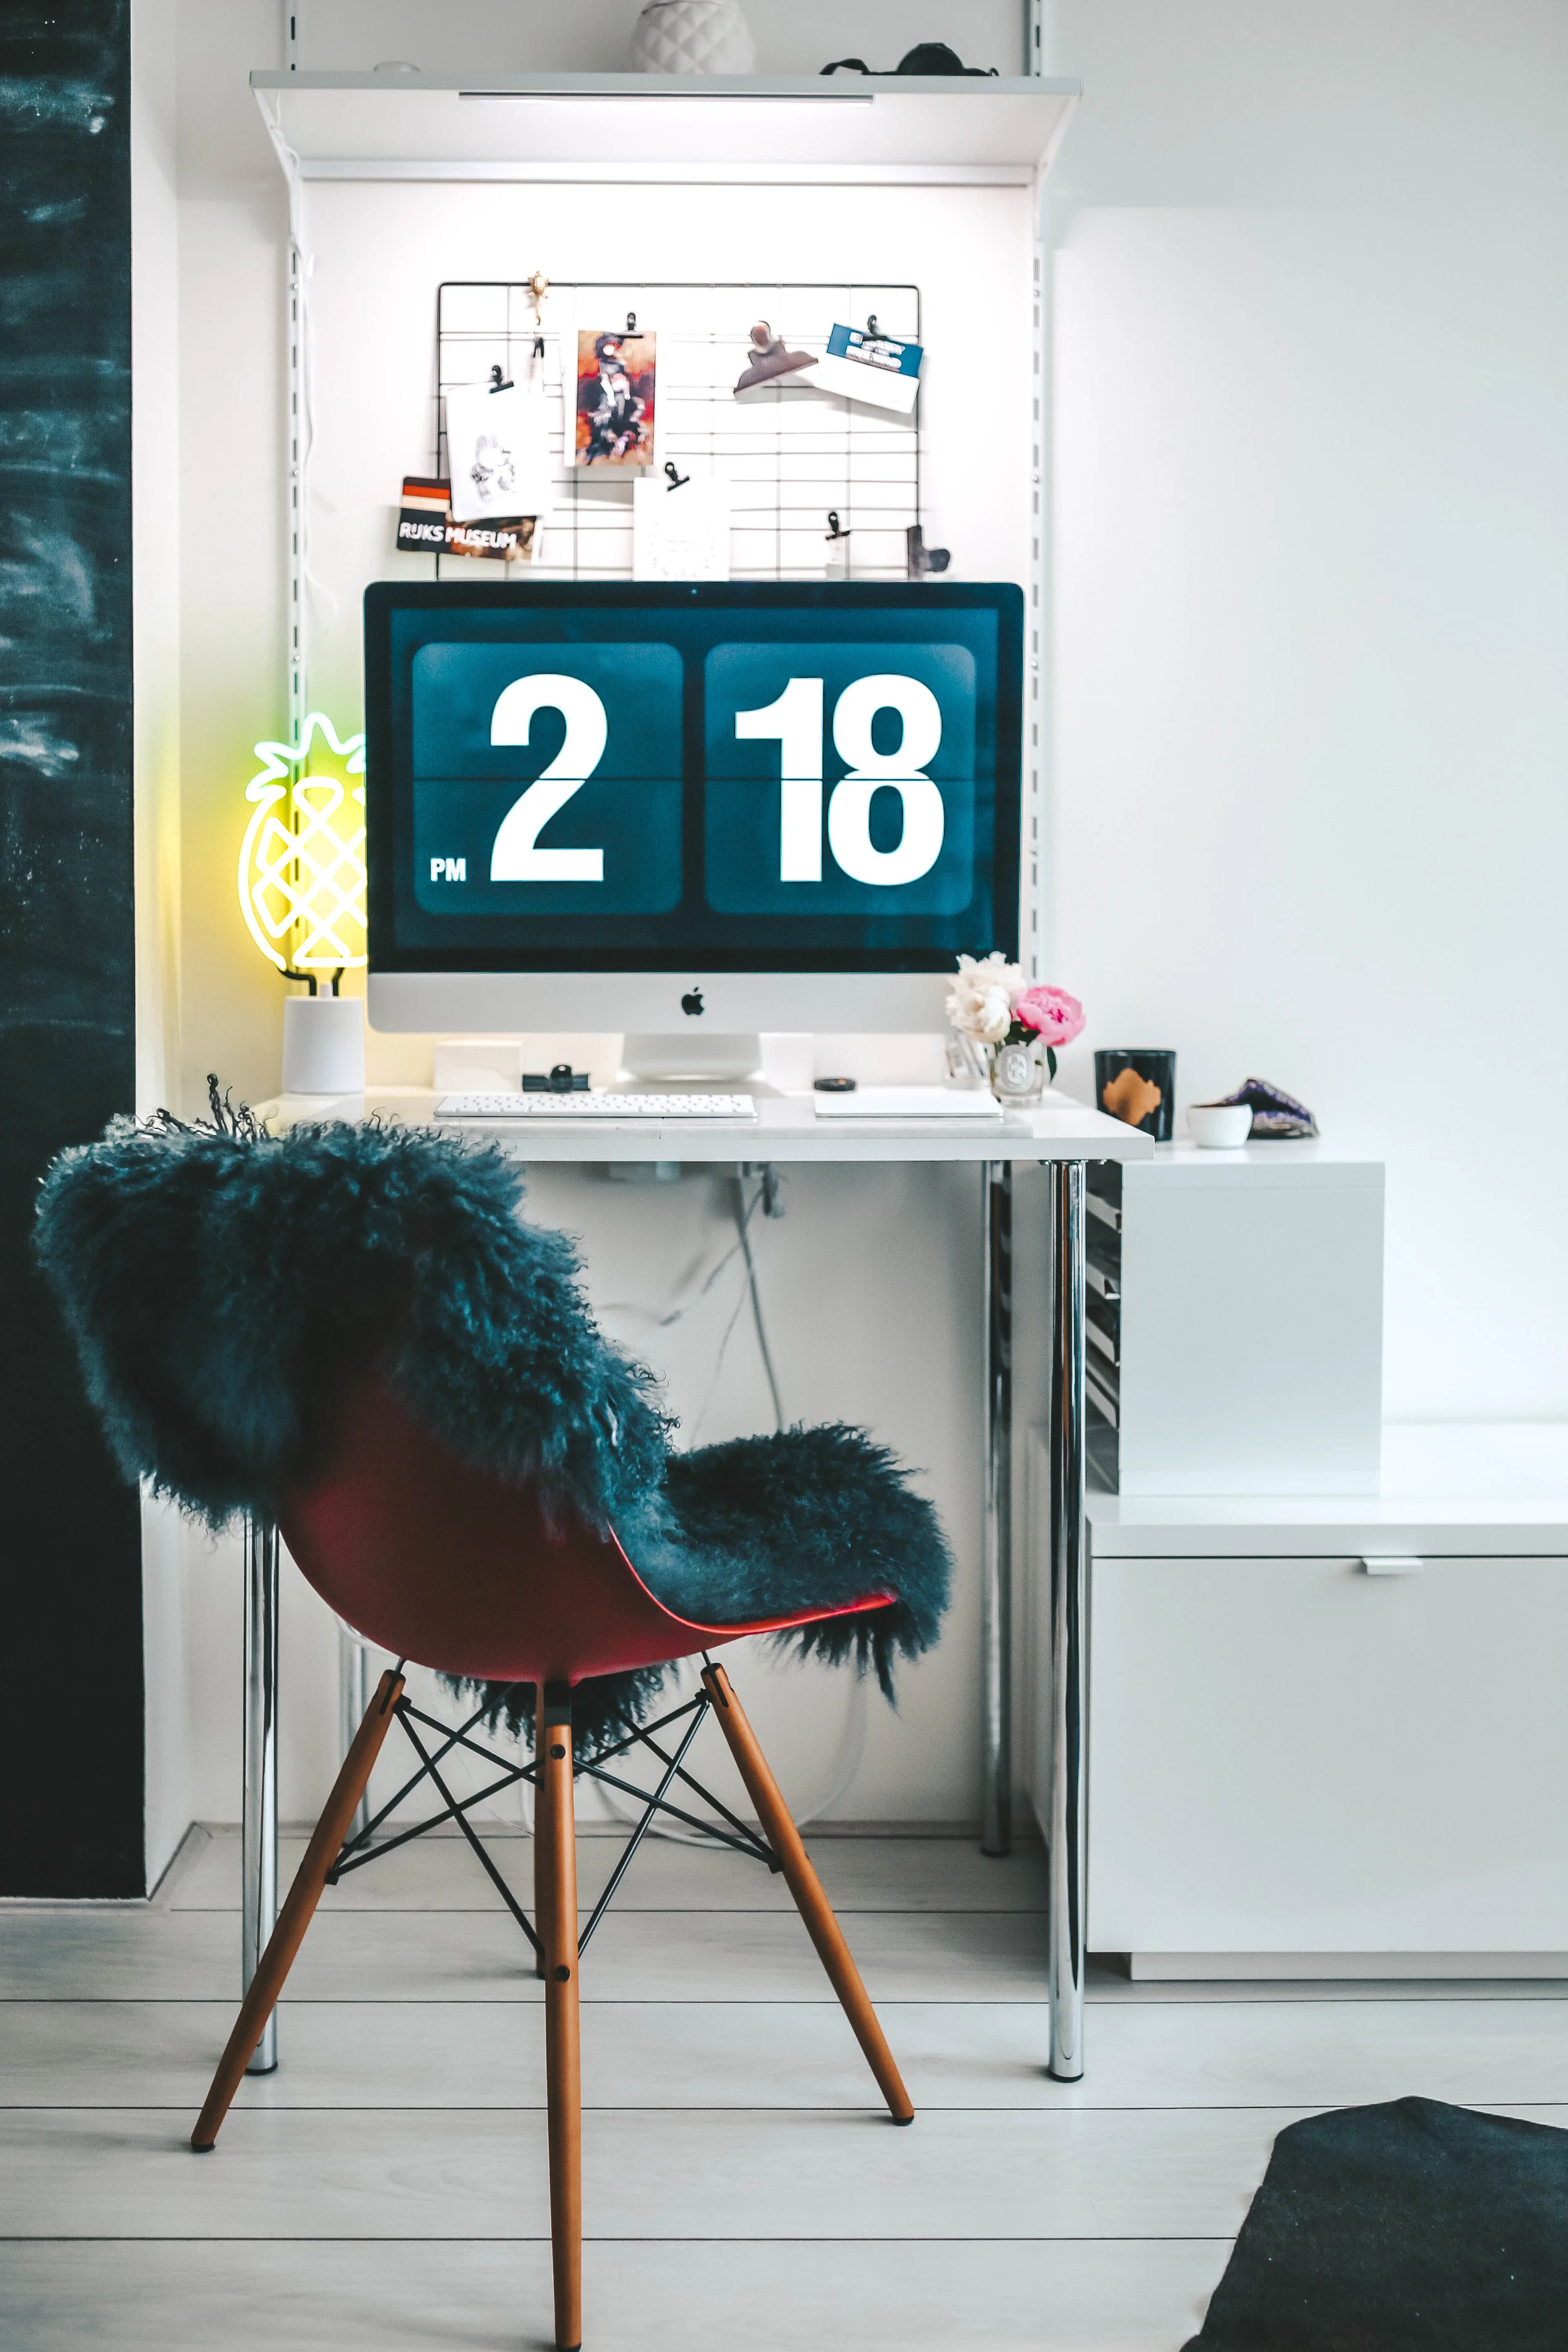
Final Product
Here is a simple DIY project that can be completed in around an hour, give or take.
We had this little nook in the apartment and no space to work on my Mac. After sitting on the Kitchen table for way too long a solution was needed. I looked all over Pinterest, IKEA, Elfa, String, you name it to find a solution. I love the Elfa shelves and hope to eventually have some, but since this is a rental and our Dutch stairs are steep it was too much money for this time around. In the end I decided to wing it with no handy-craft skills and do the DIY route. We got all of the supplies at Hornbach nearby Utrecht. The supplies are pretty simple so I think any home improvement store would suffice.
The total cost of the desk was under €100 and I am super satisfied with the results!
Supplies Needed
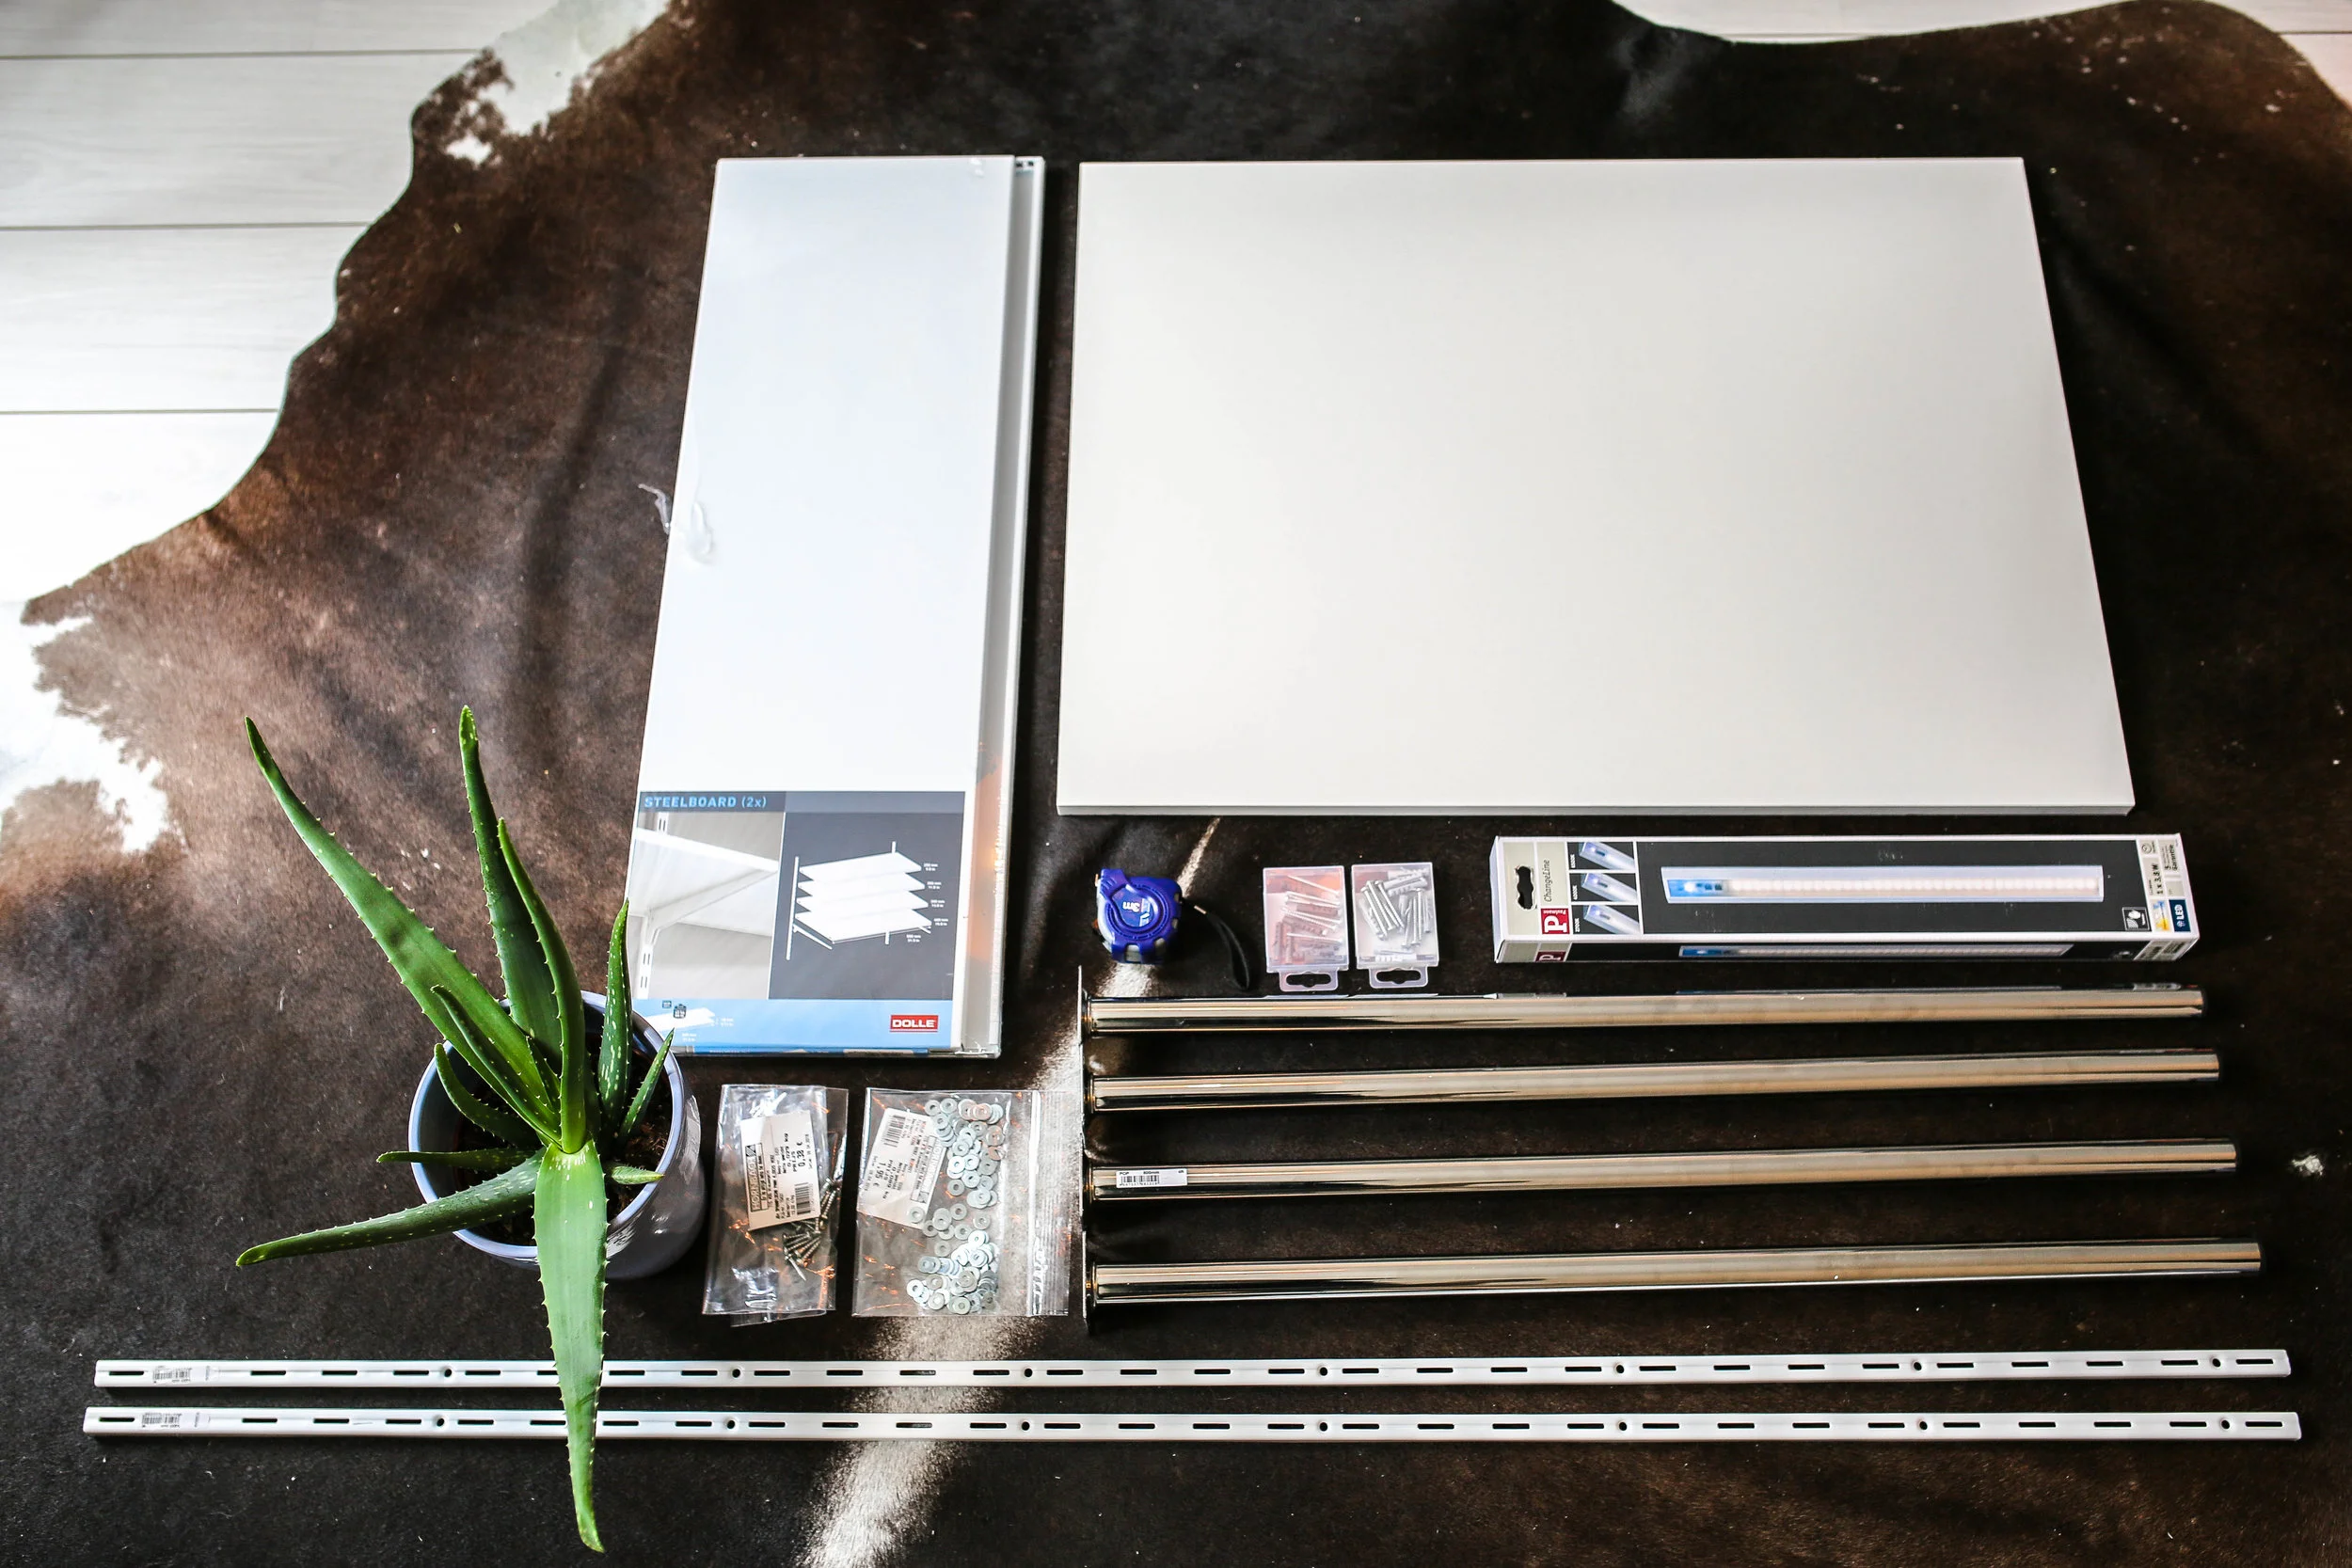
1 wooden board whatever size needed or preferred, 800x600x18mm
2 metal Shelves in 1 pack, 250mm
4 hooks, 250 mm not pictured
4 legs whichever length or color preferred, 800mm
2 wall brackets to support the shelves
screws, as many needed for the project
Make sure the screw length is not too long to poke through the top of the table top!!!******
Washers, if needed if screws are too long, we needed a lot
1 pack of wall screws and plugs for drywall
1 measuring tape
1 drill
1 Pencil
1 Level, we used a phone app, not the best option
Optional: 1 light for bottom shelf, adhesive double sided tape for light, Stud finder, & 1 handy German man
Step 1
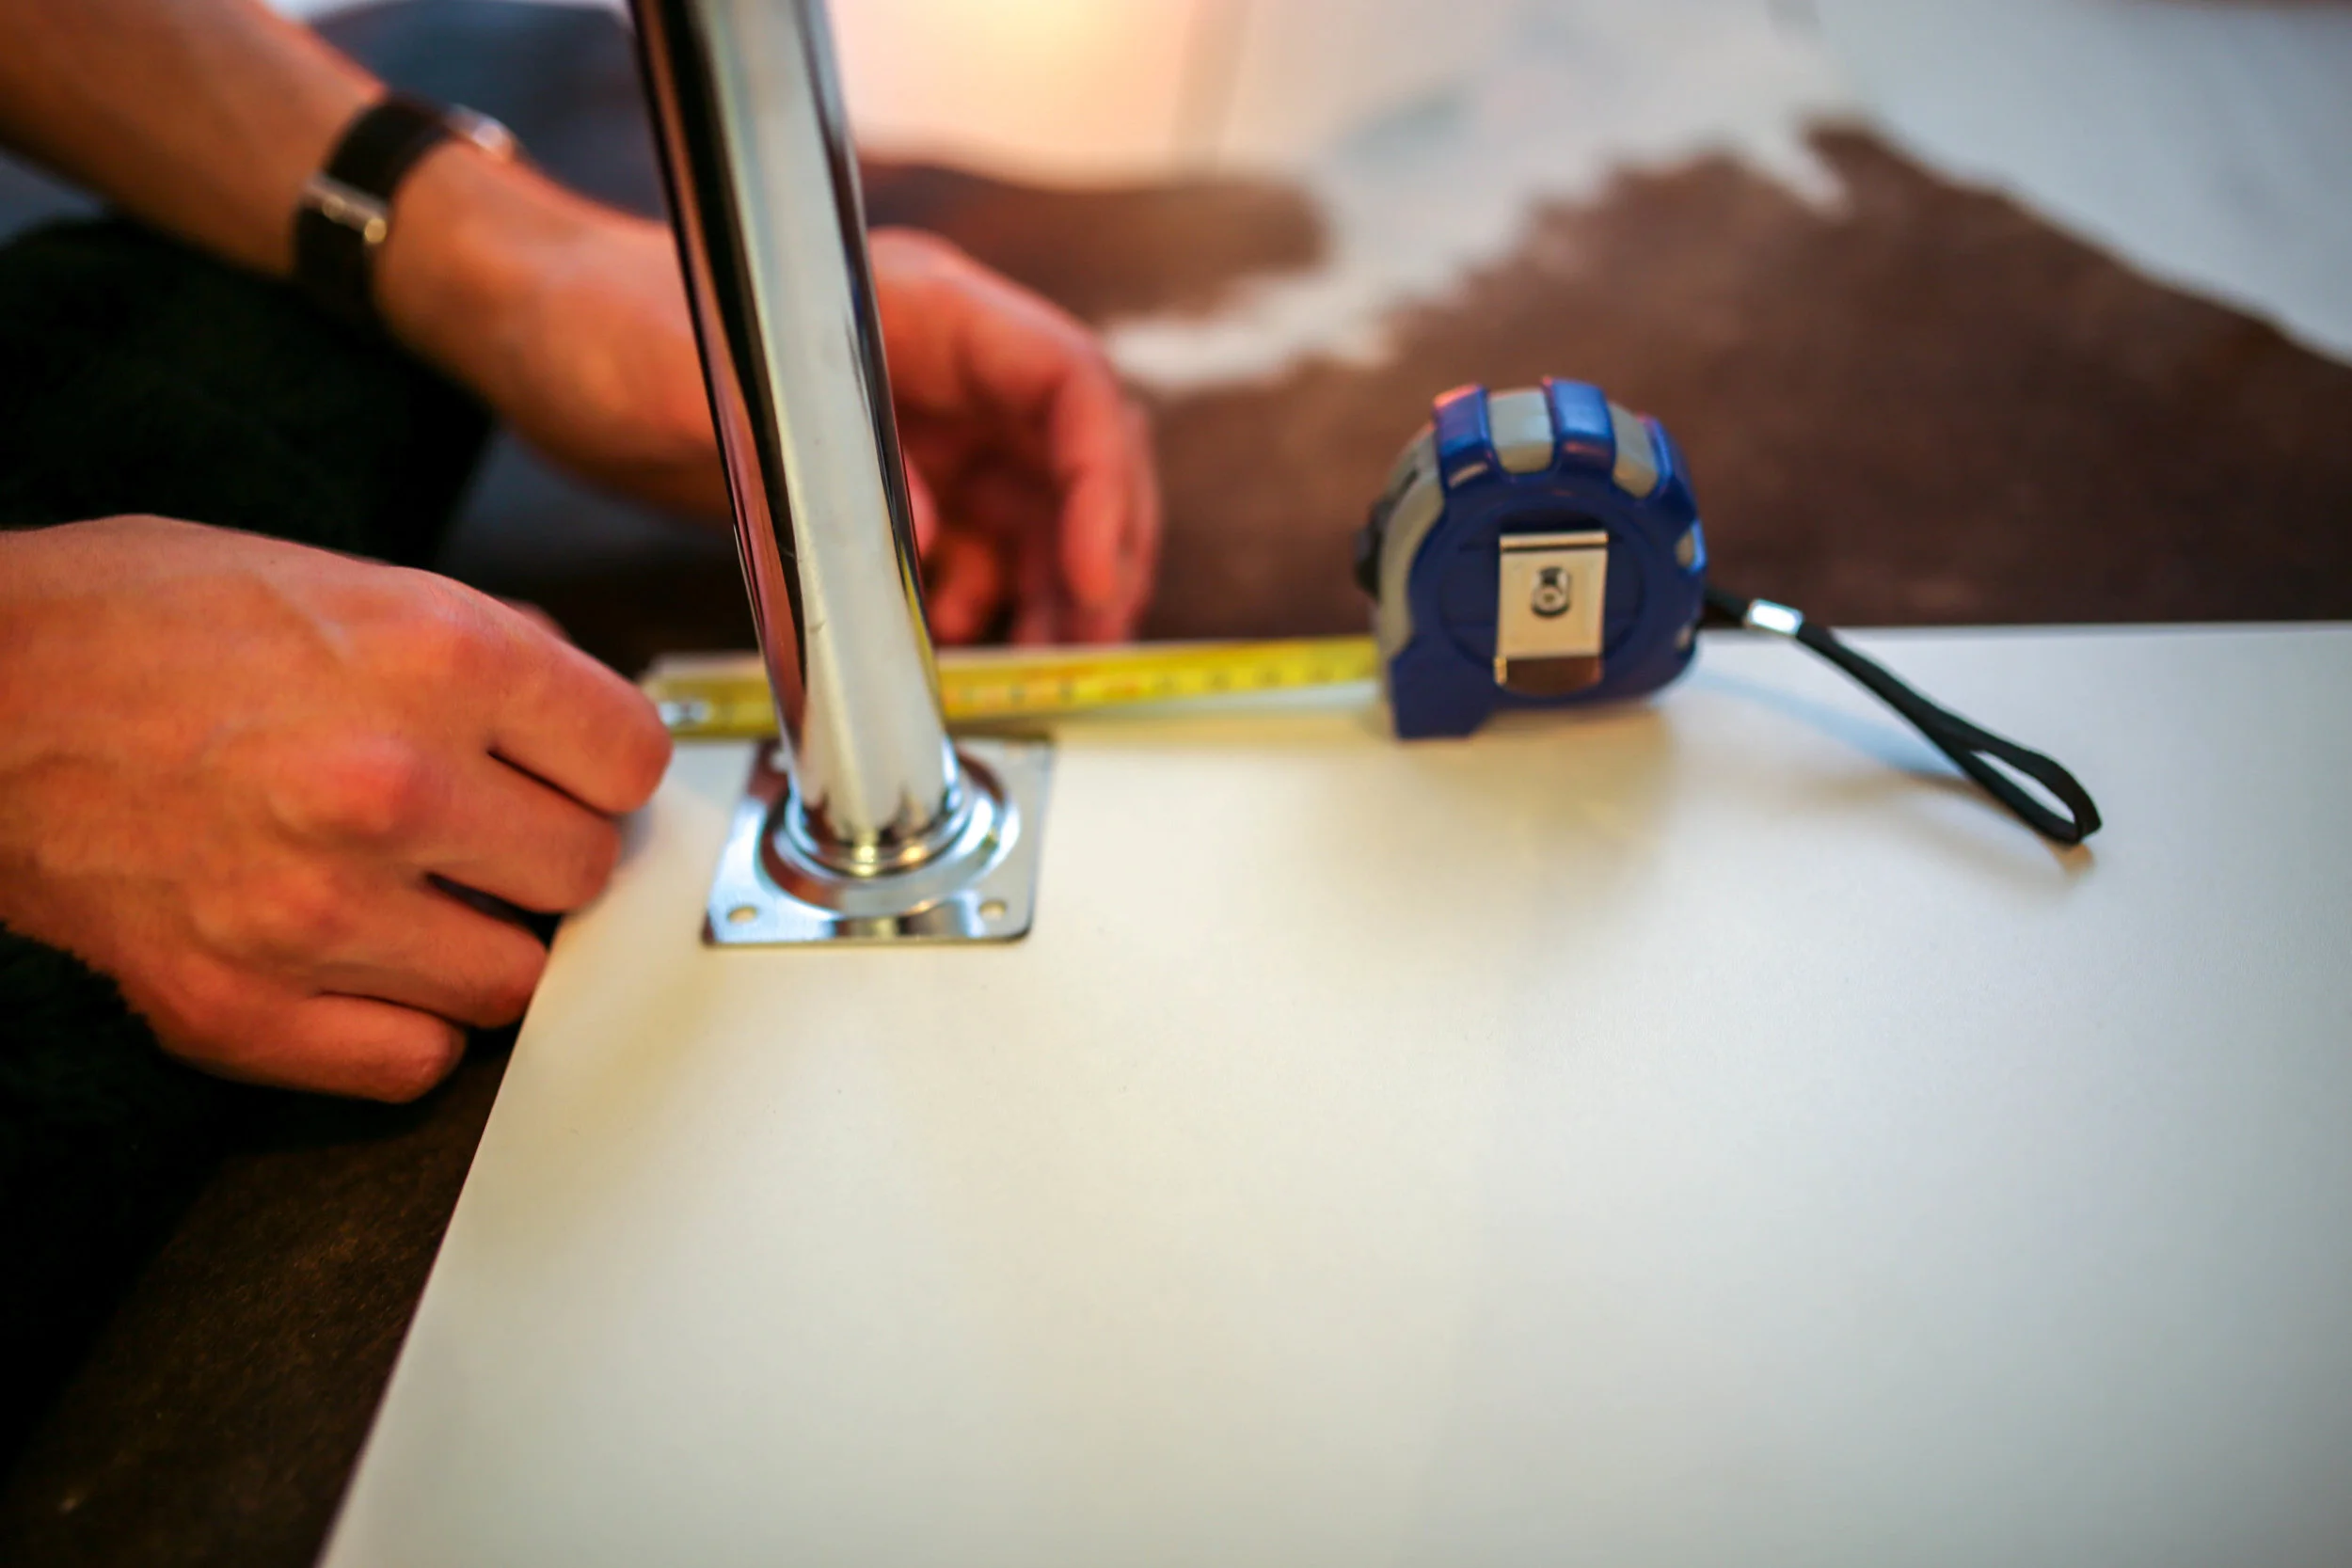
Measure the distance of the legs from the edges with the tape measure for where to drill holes and mark with a pencil. Make sure there is enough space for the floor trim to fit so that the desk top is flush with the wall
Step 2
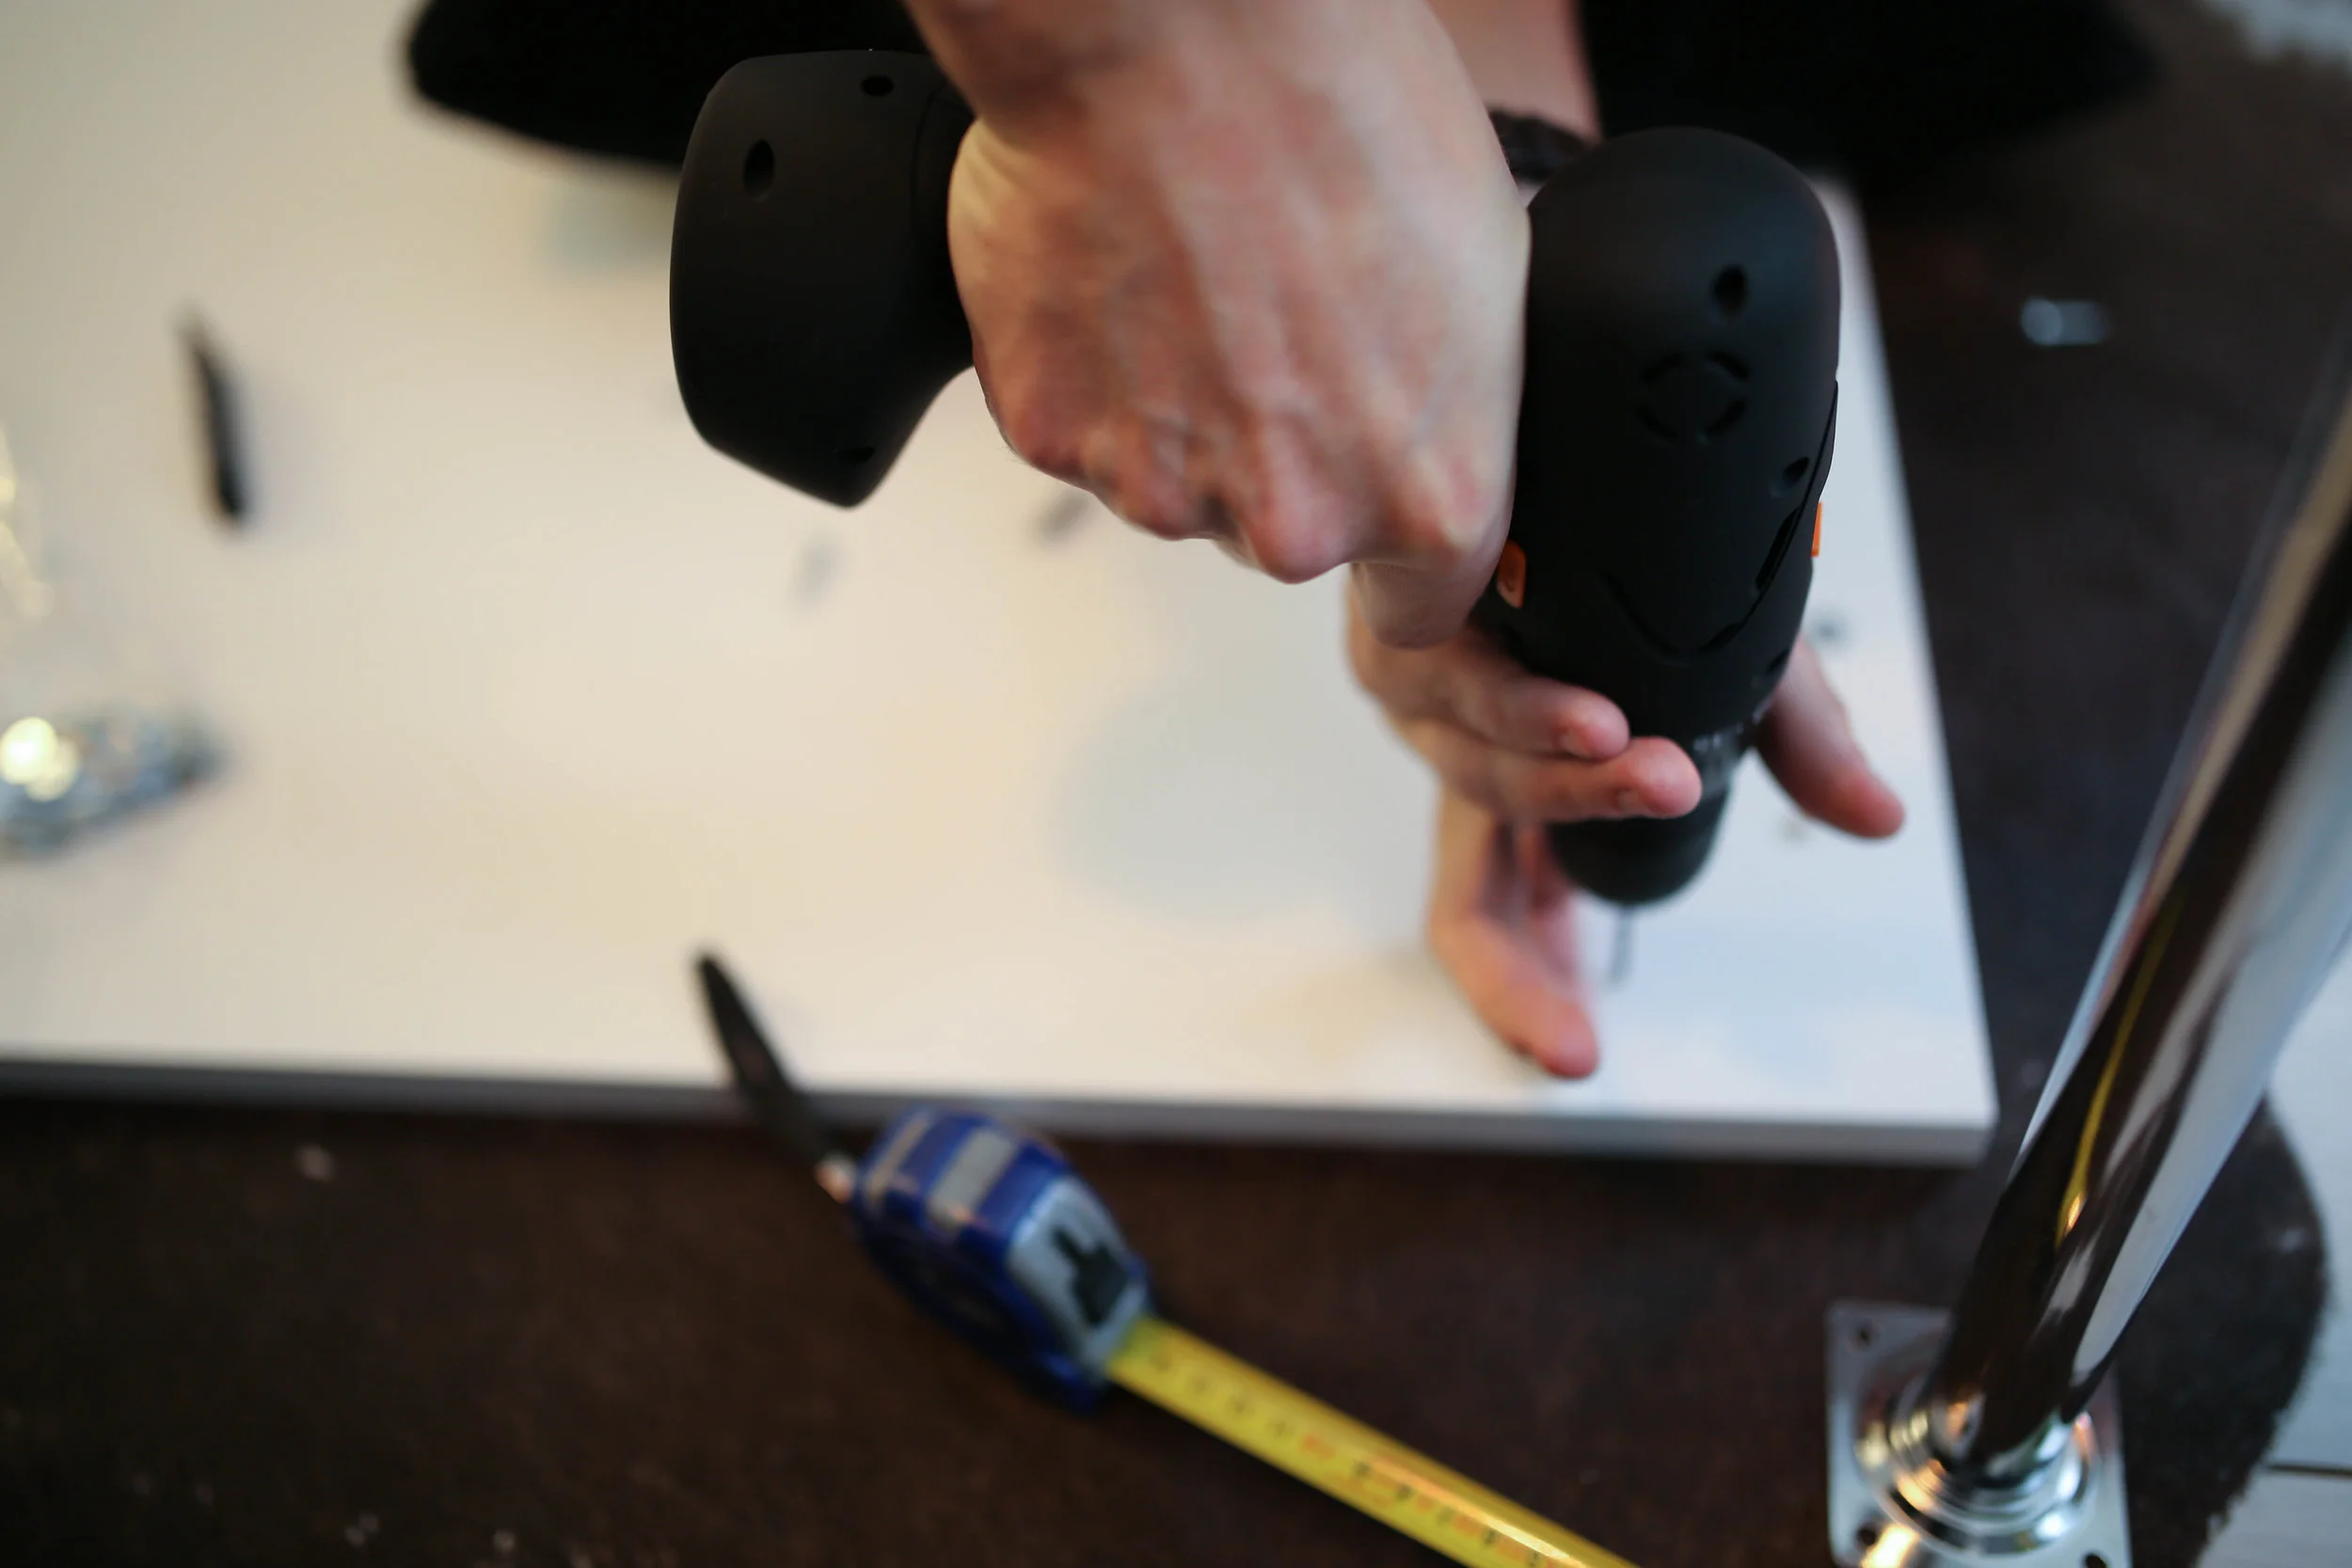
Carefully drill holes in the marked spots making sure to not poke through the other side
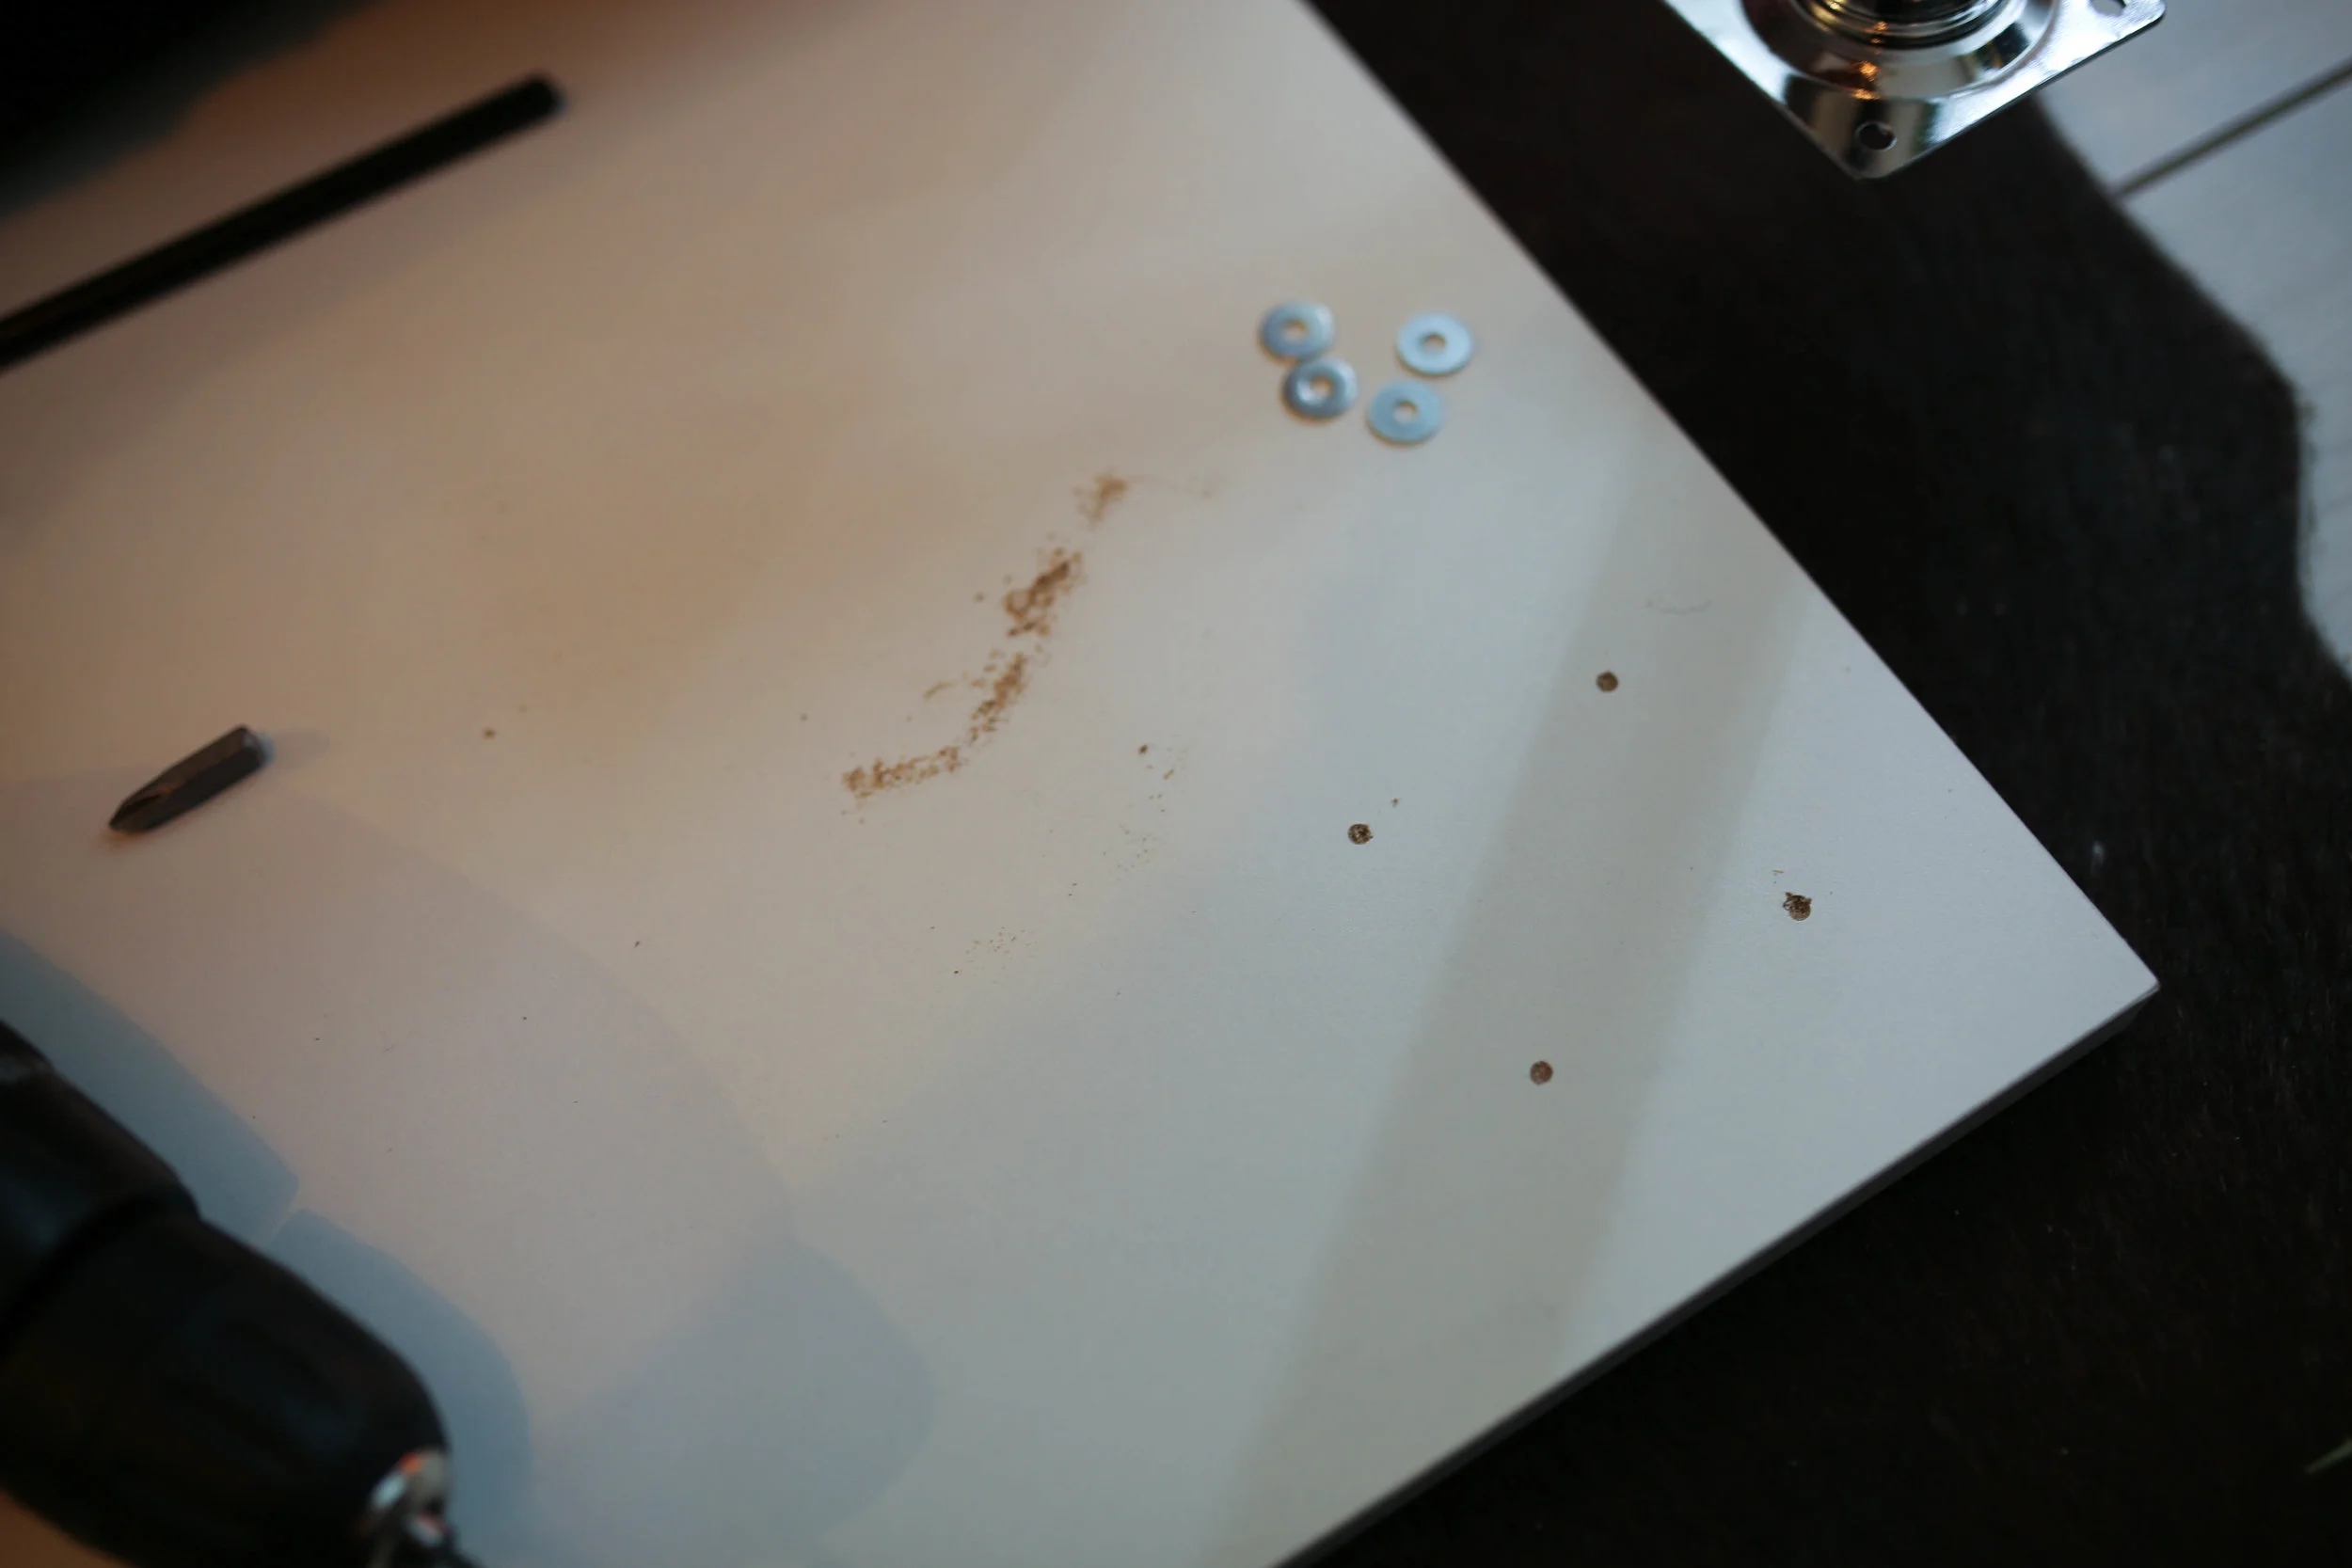
Drilled holes
Step 3
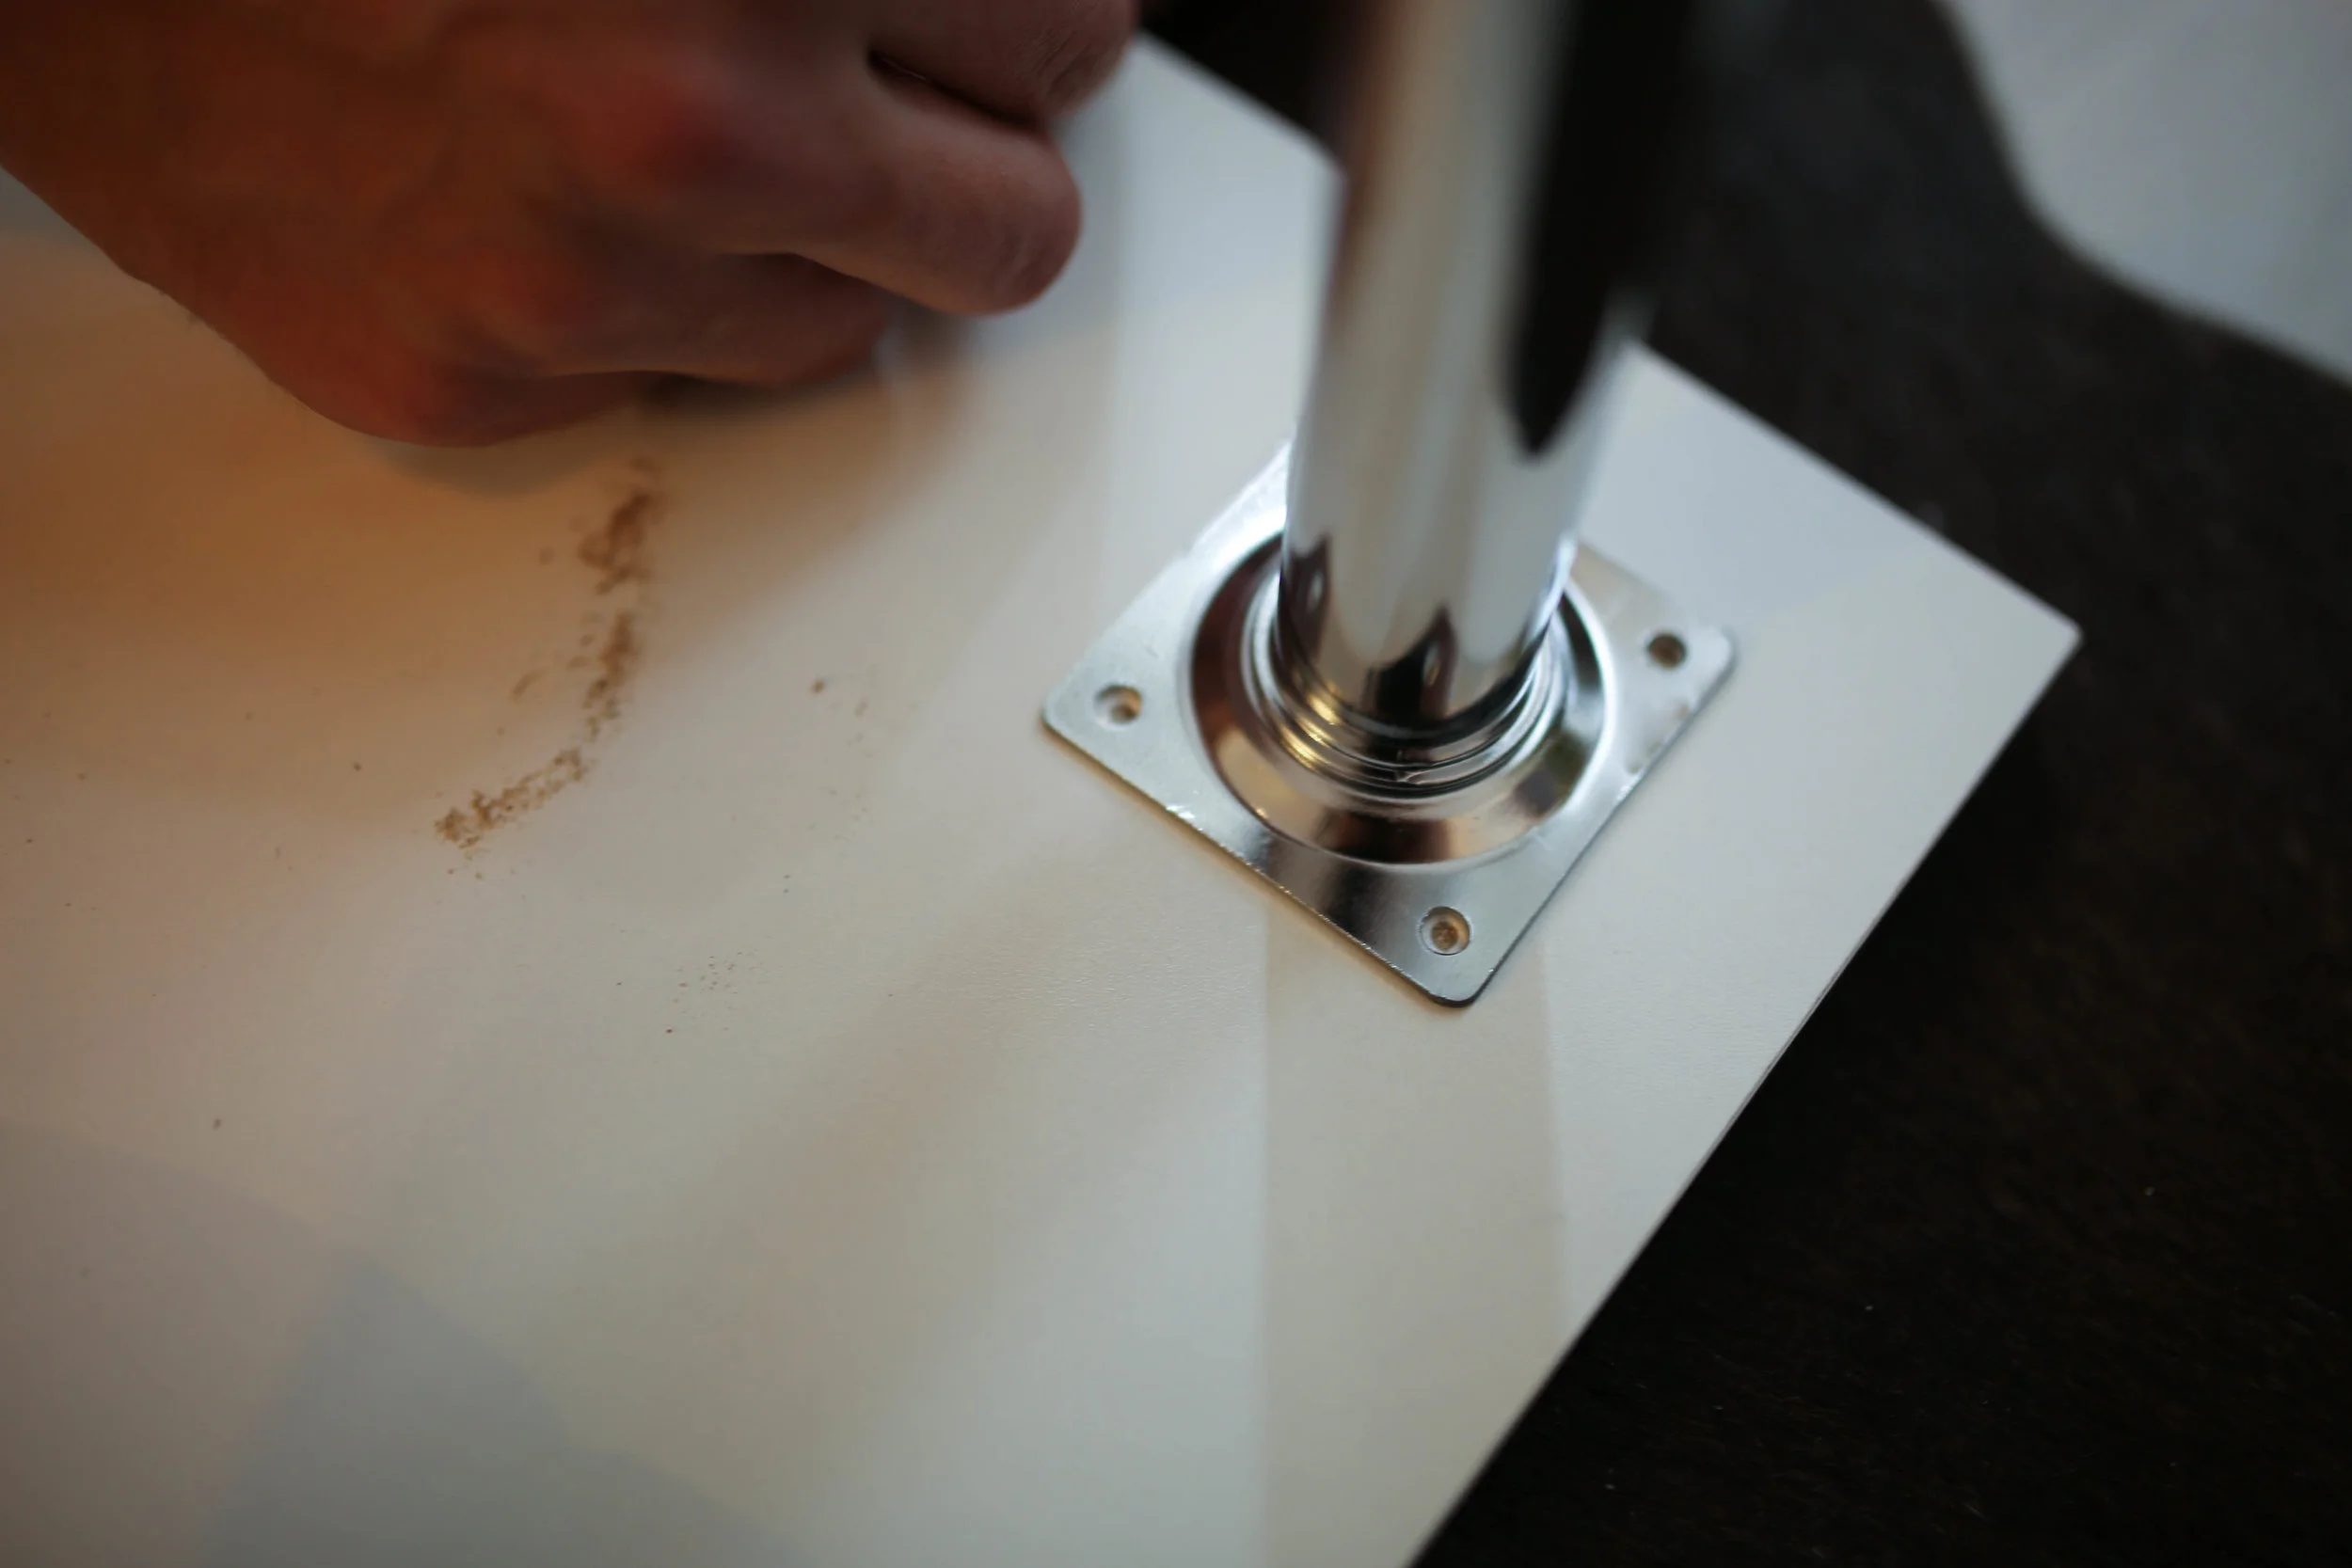
Line up leg with holes
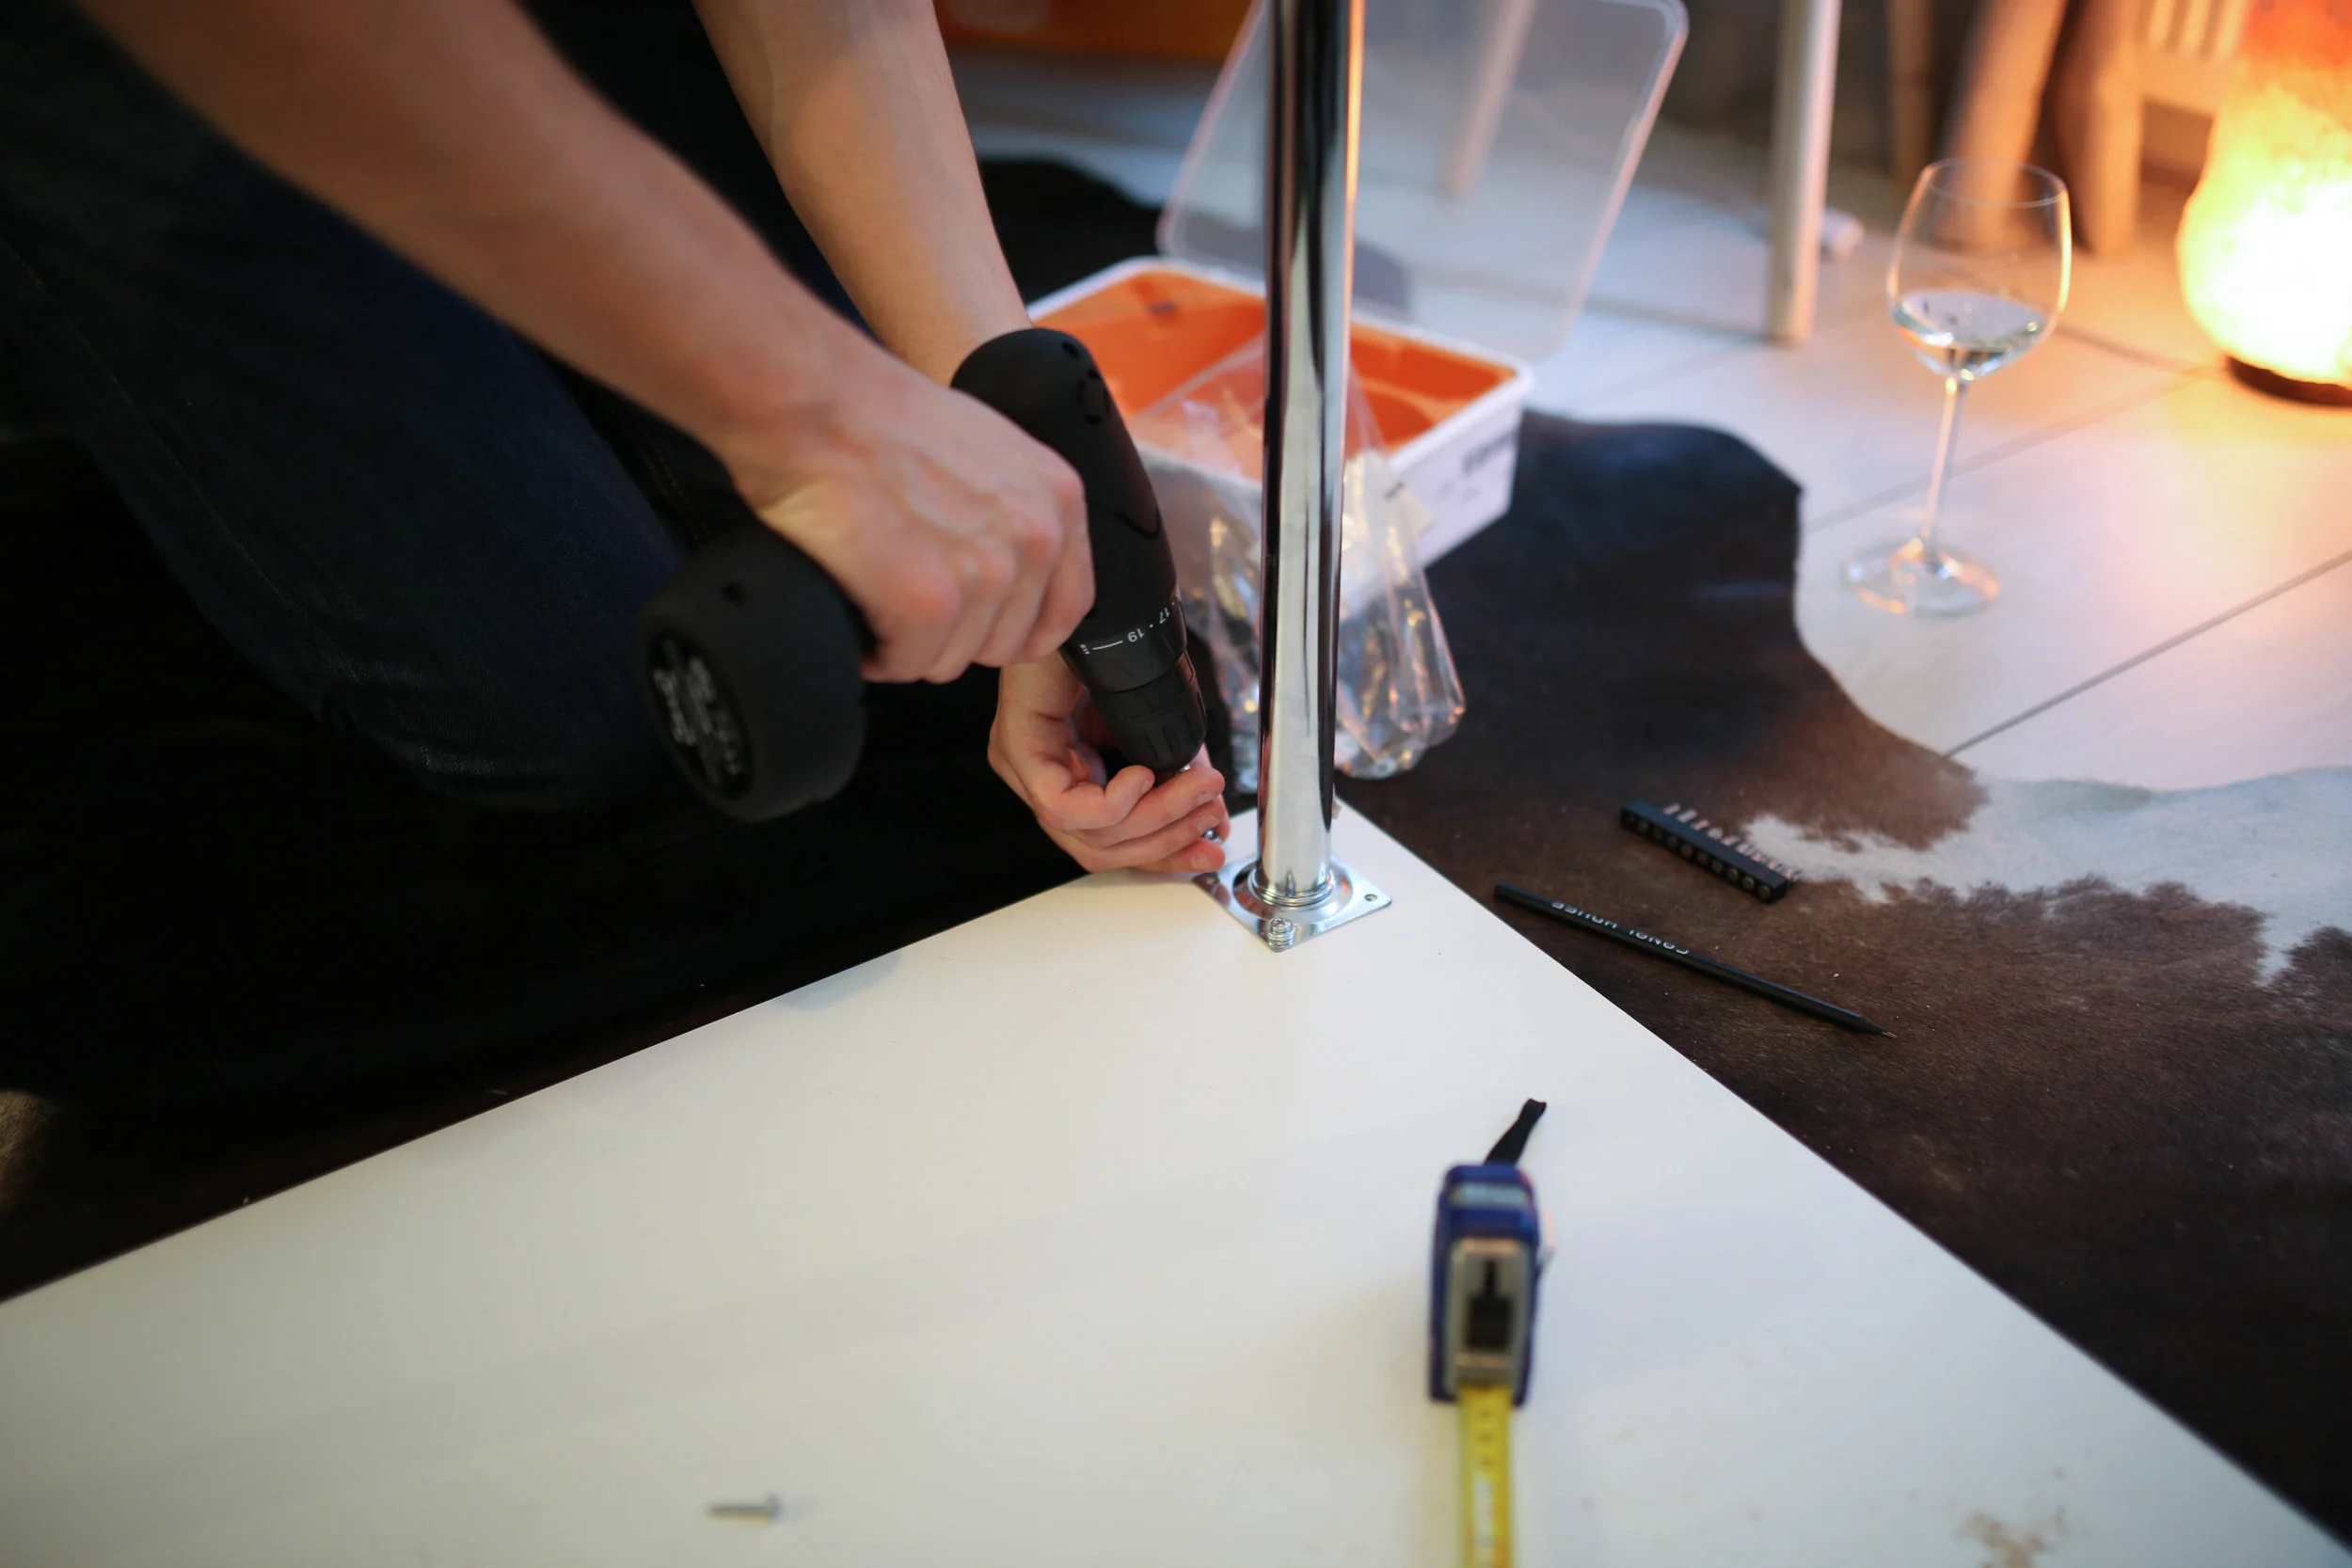
Screw in, don't forget the washers!
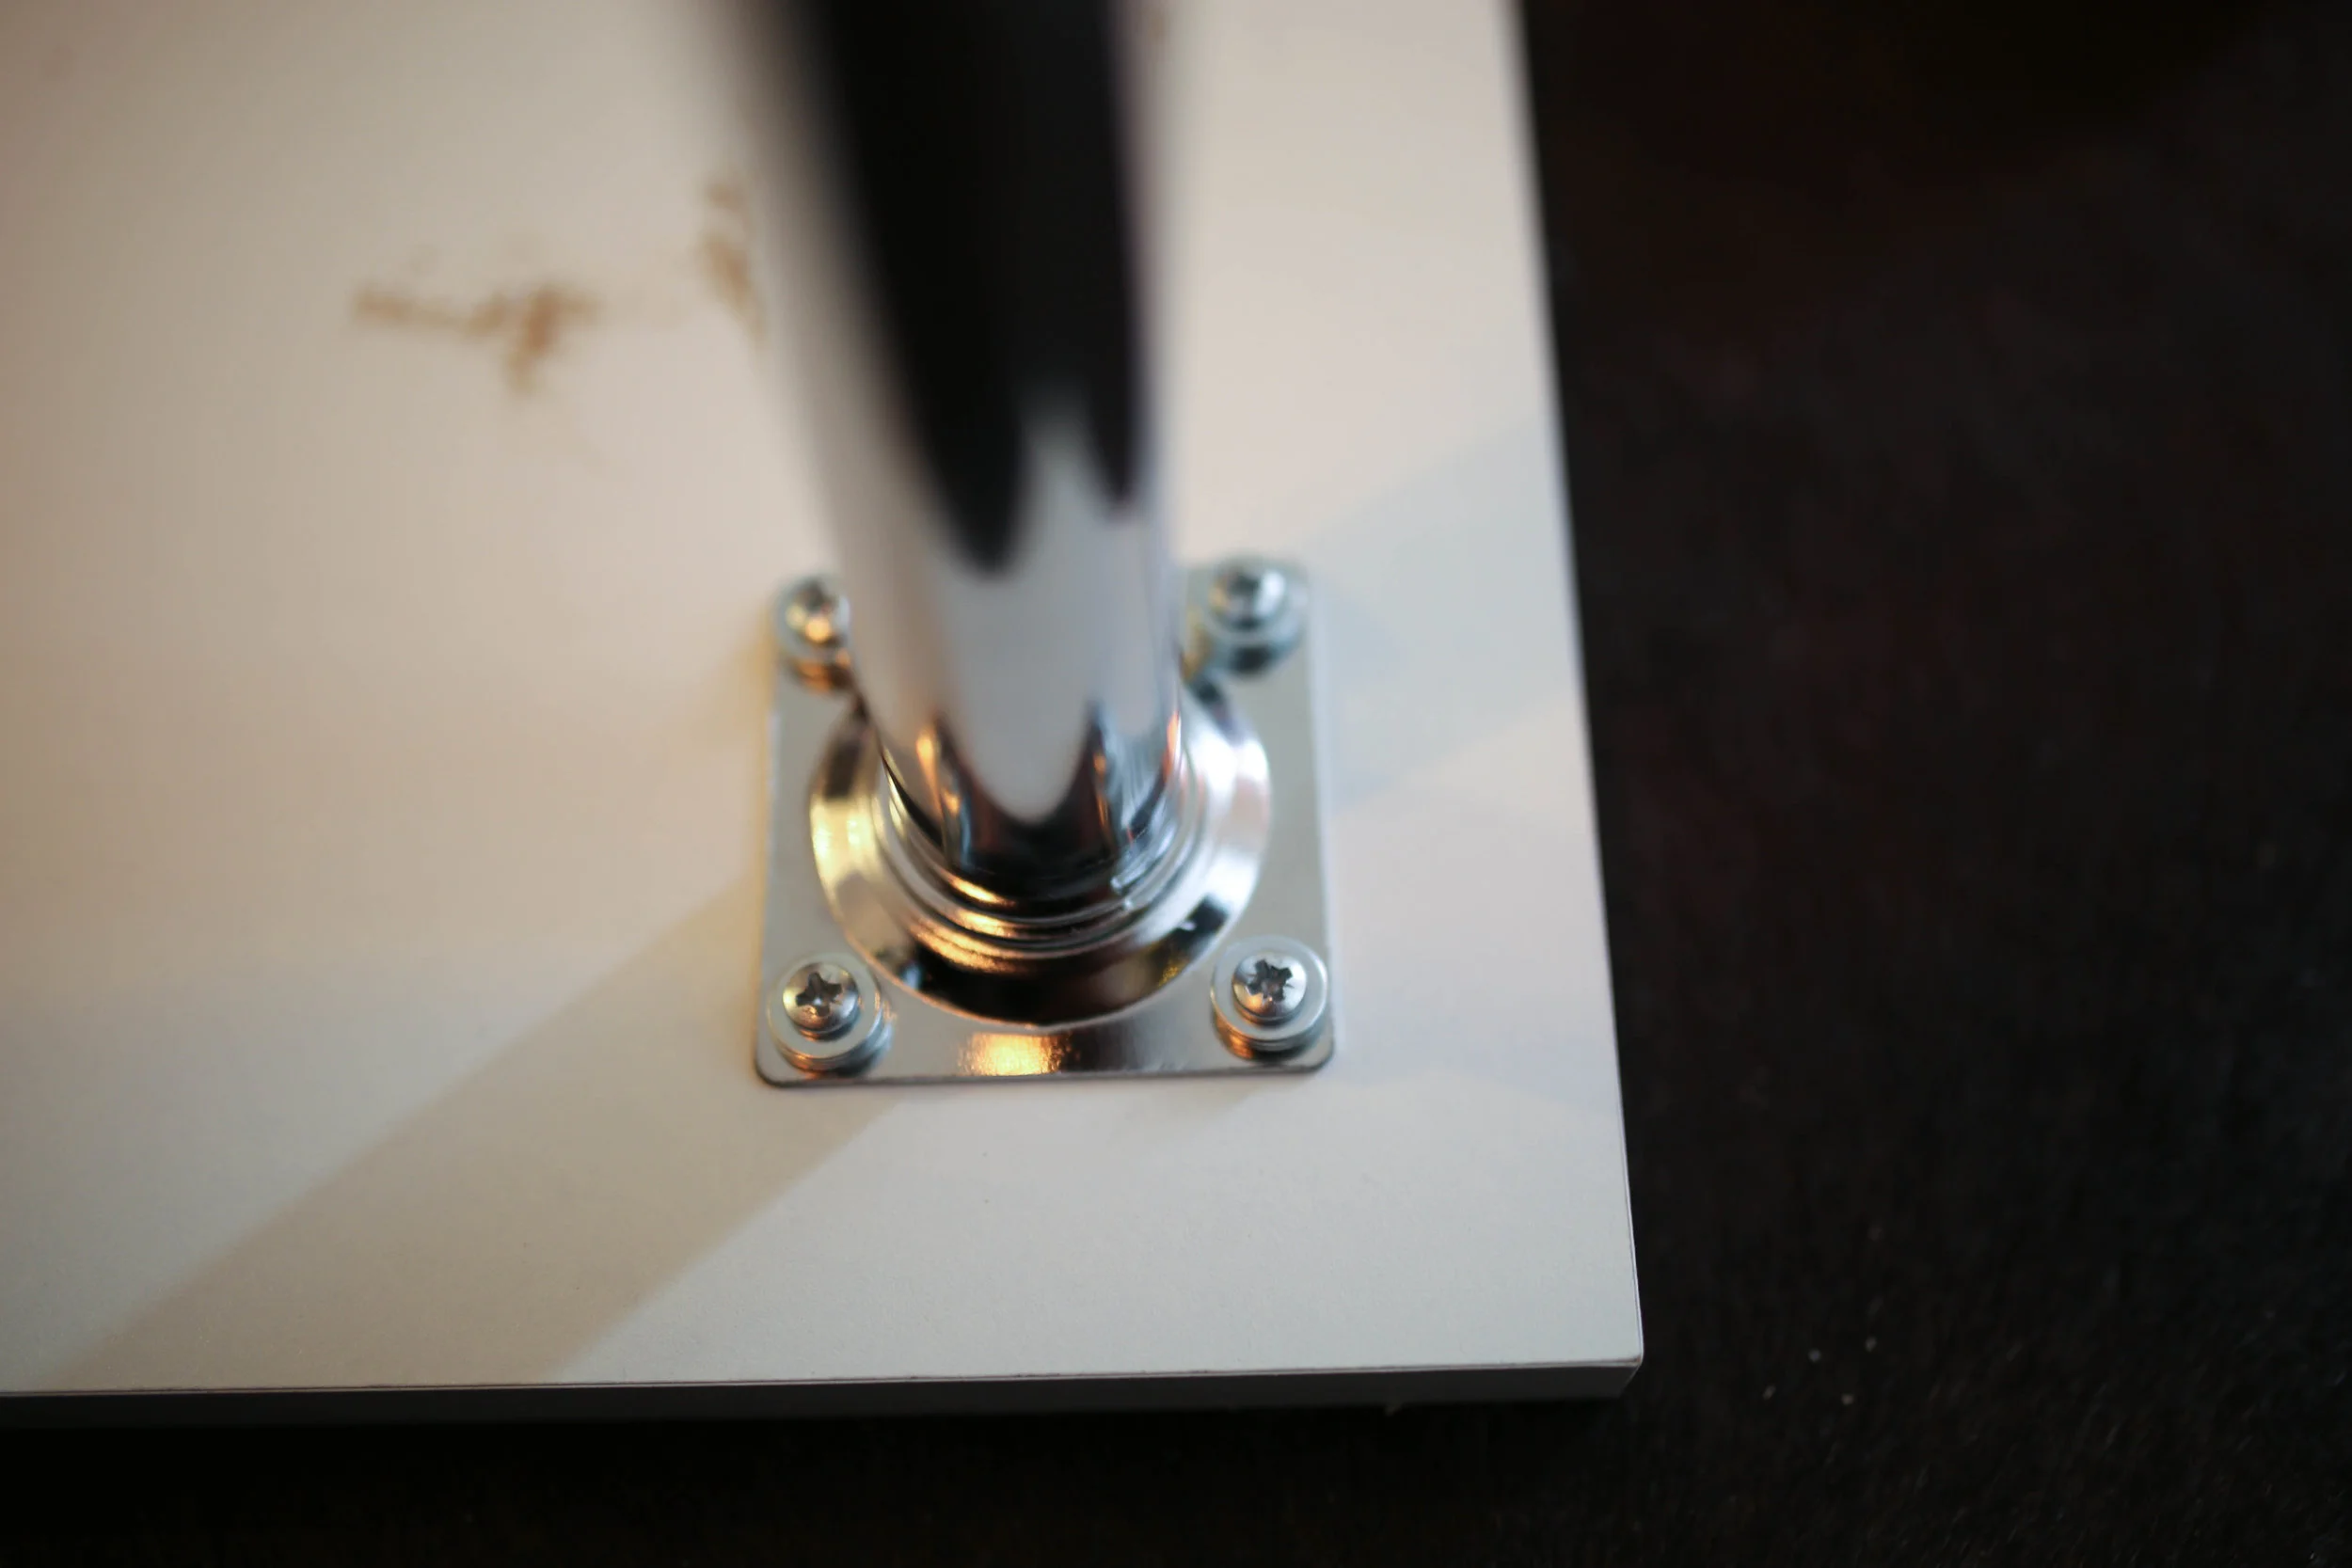
Continue with all the legs
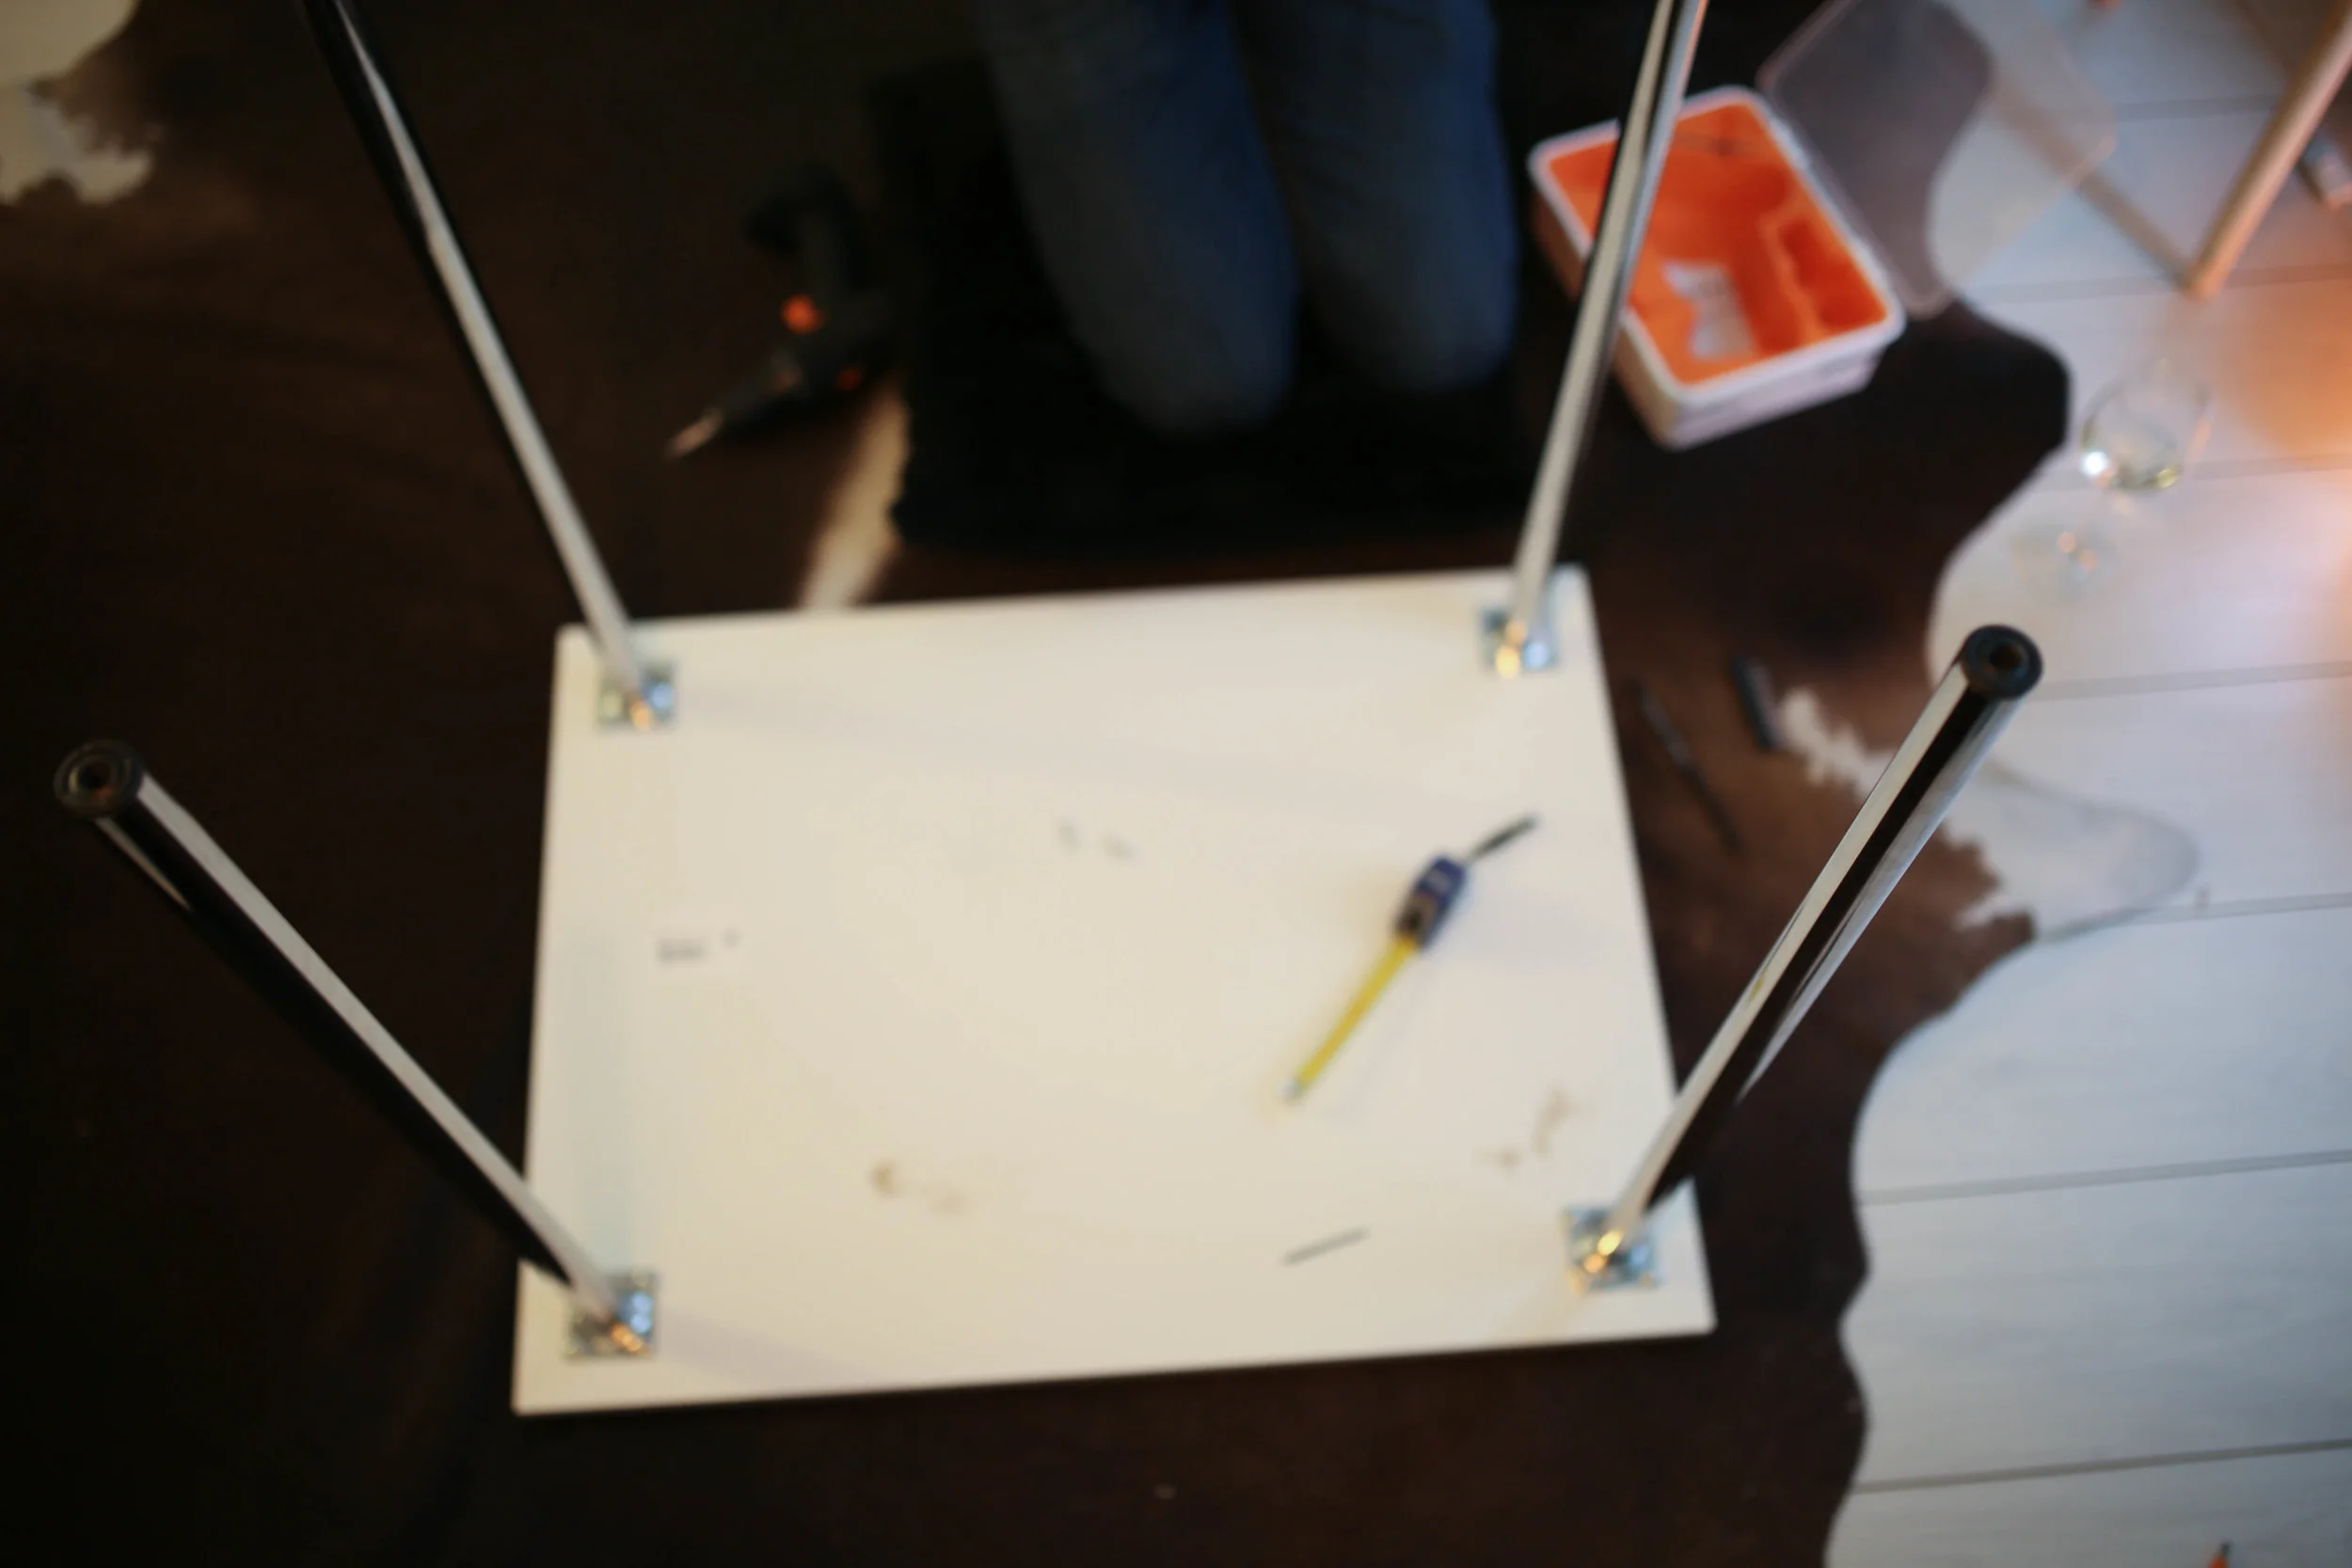
Apologies for the aperture, legs all in place!
Step 4
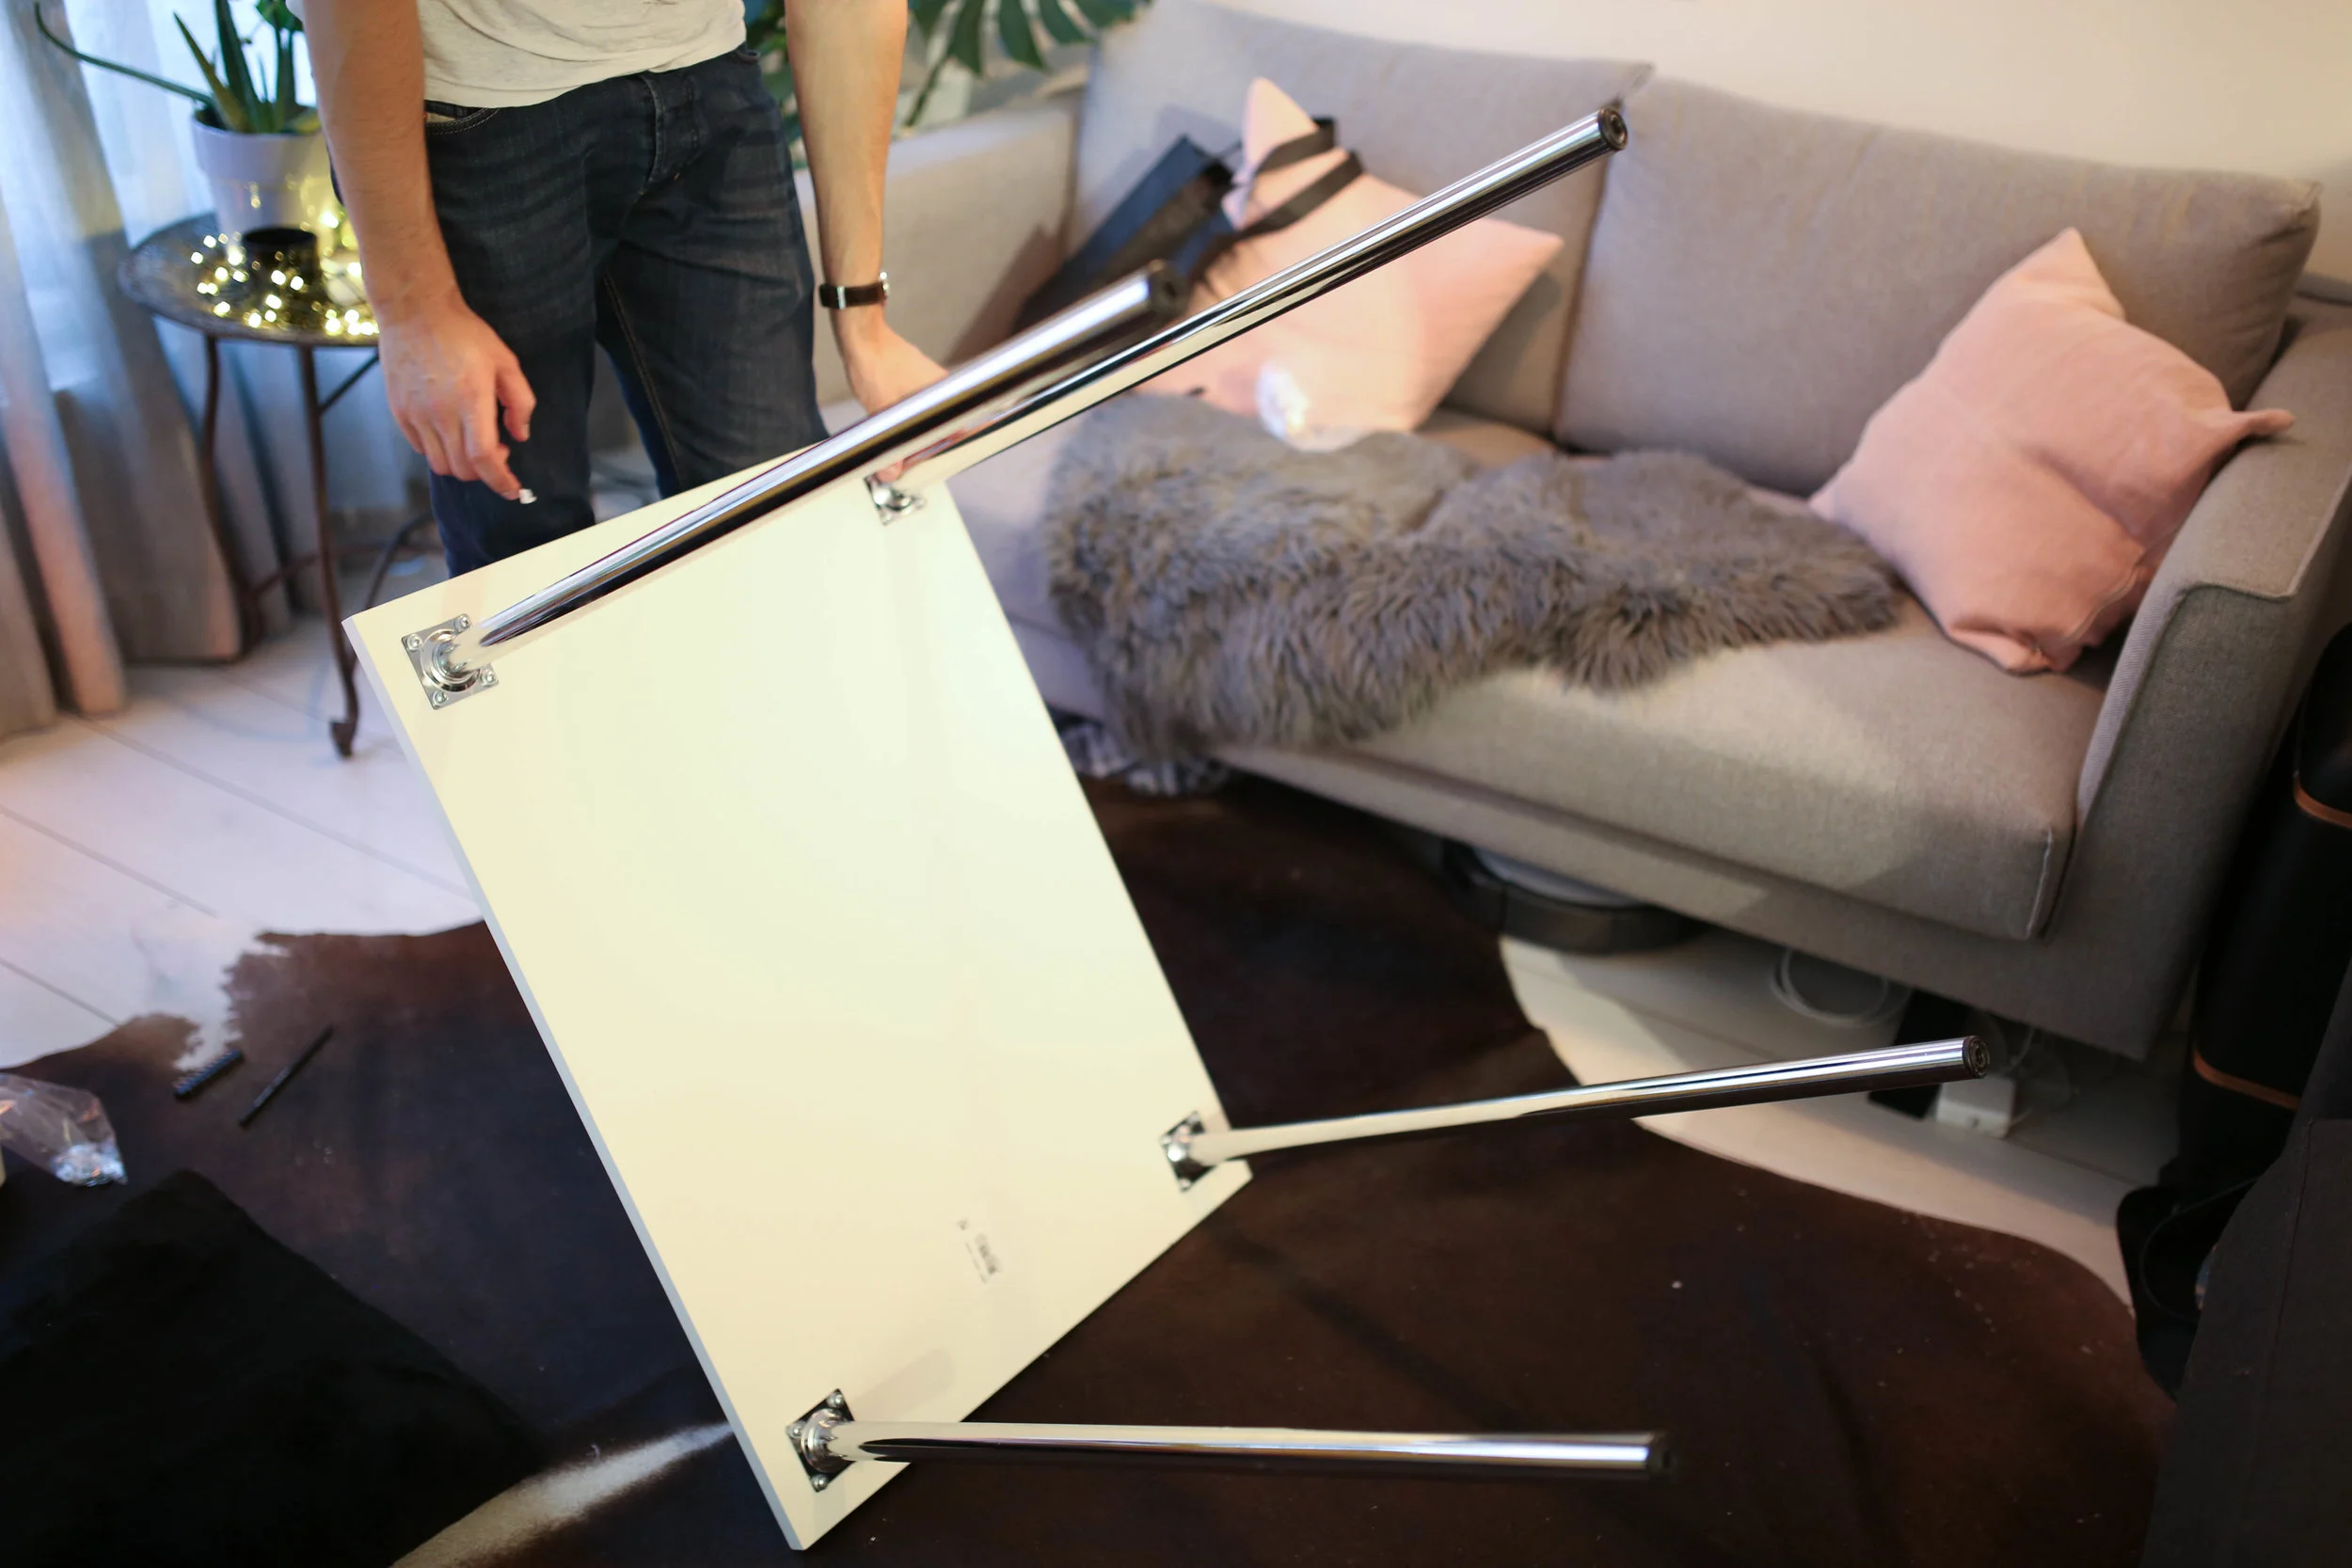
Flip, table part complete! Not too difficult.
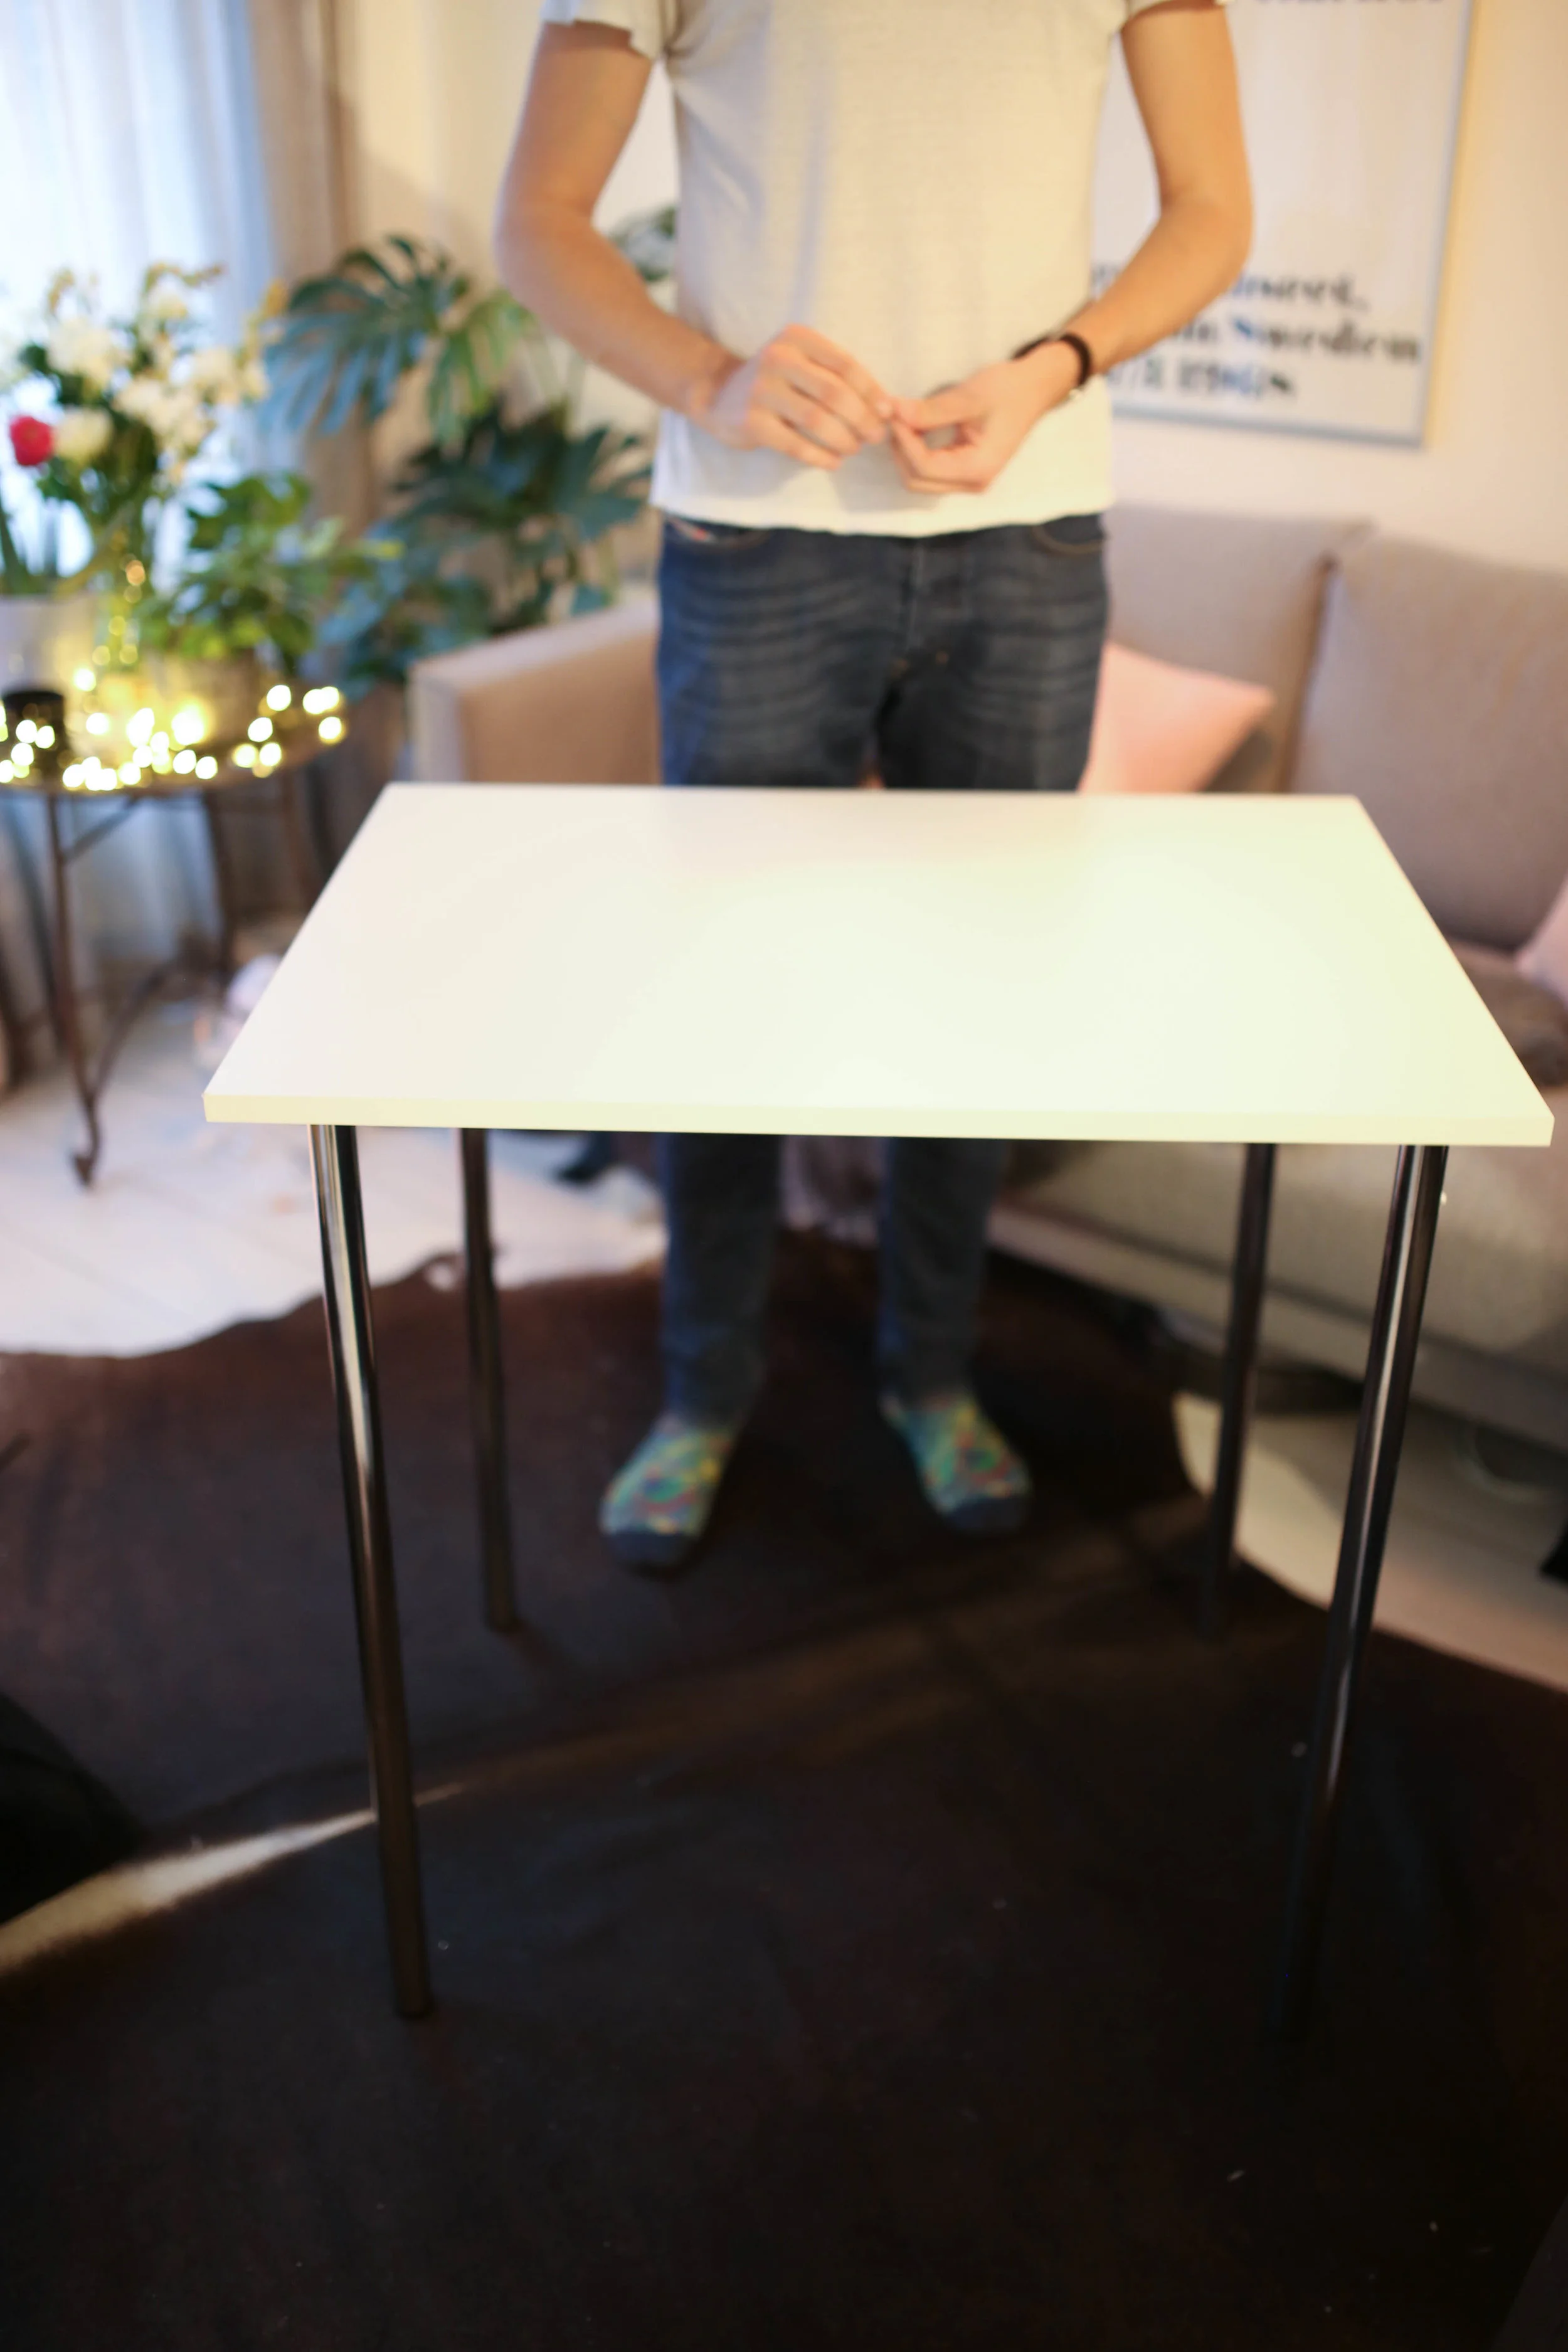
All done
Step 5
Drilling in the wall brackets, this was the trickest part. It was tricky for us because our apartment is old and Dutch, meaning that there are hidden electricity wires and pipes randomly placed! We drilled in one hole only to find out the distance for the opposing shelf had some wire behind it. Whoops! Make sure to check the walls and pre-measure the holes for both sides. Also, we did not have a level so we had to constantly check if the holes were positioned correctly before we put in the plastic wall plug for the drywall because we only had just enough screws. A pencil and a couple of hands come in handy here!
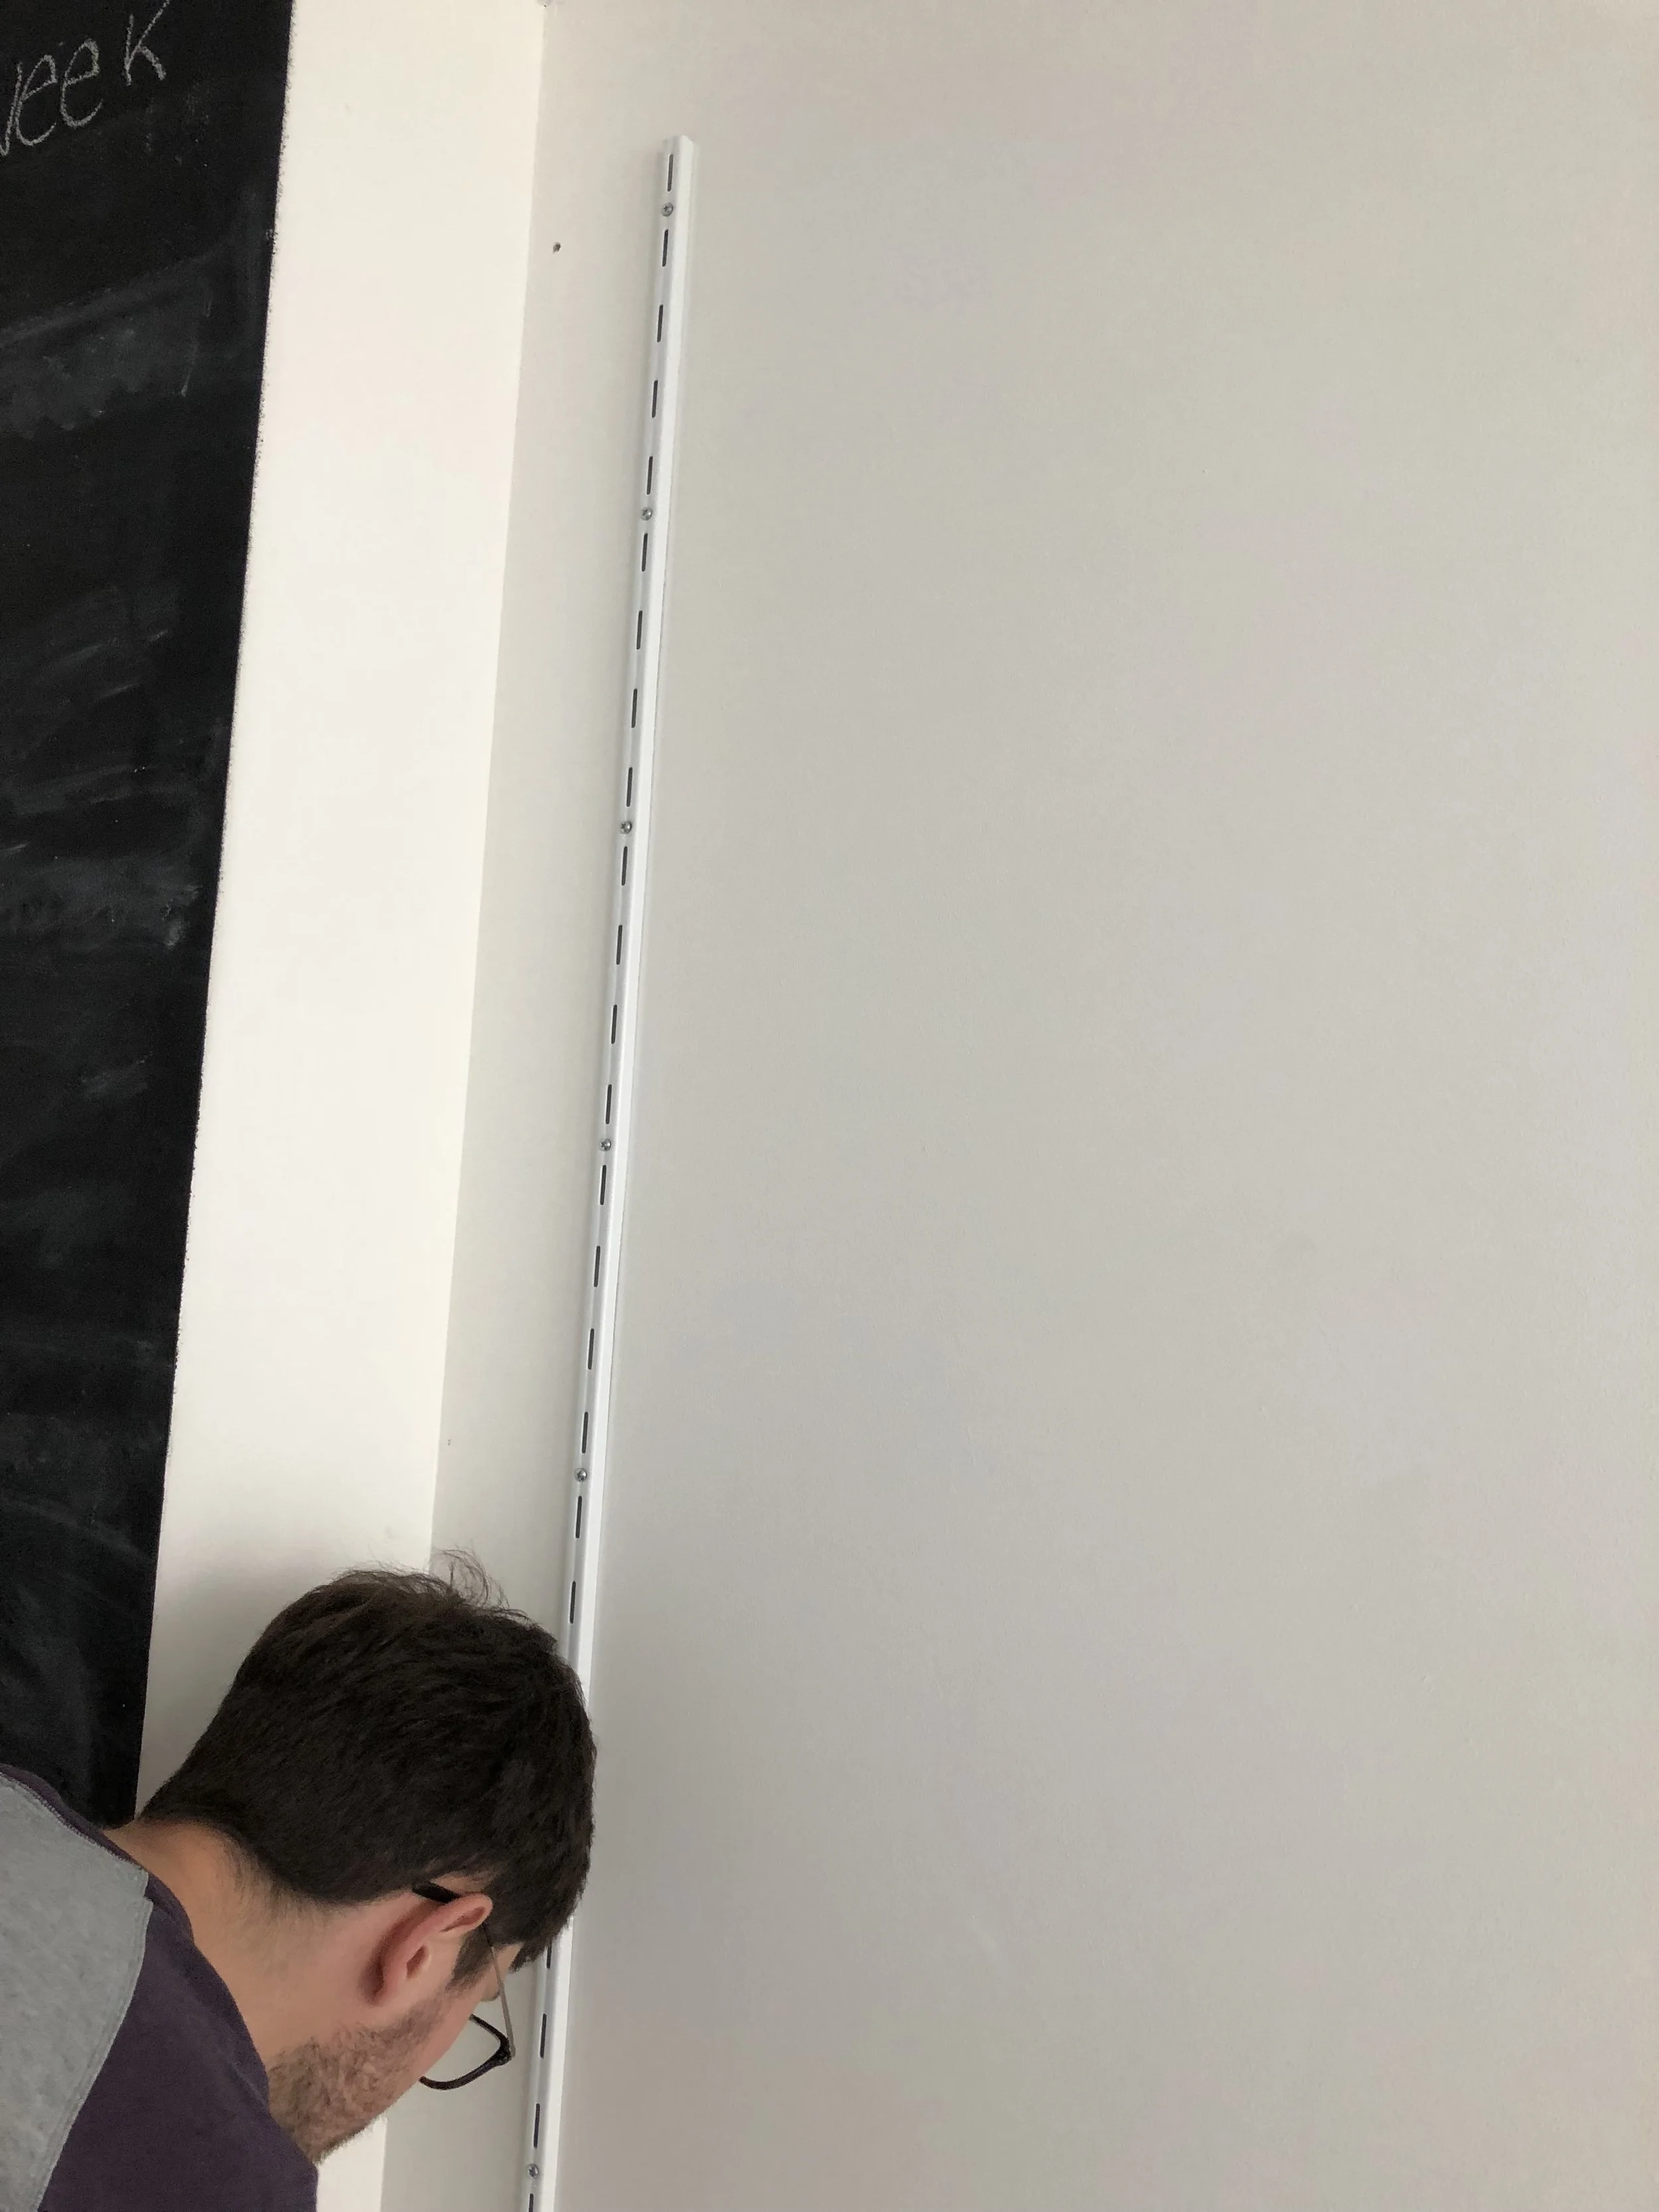
iPhone camera change for these steps. Notice error hole on top. 1st wall bracket thing attached.
Step 6
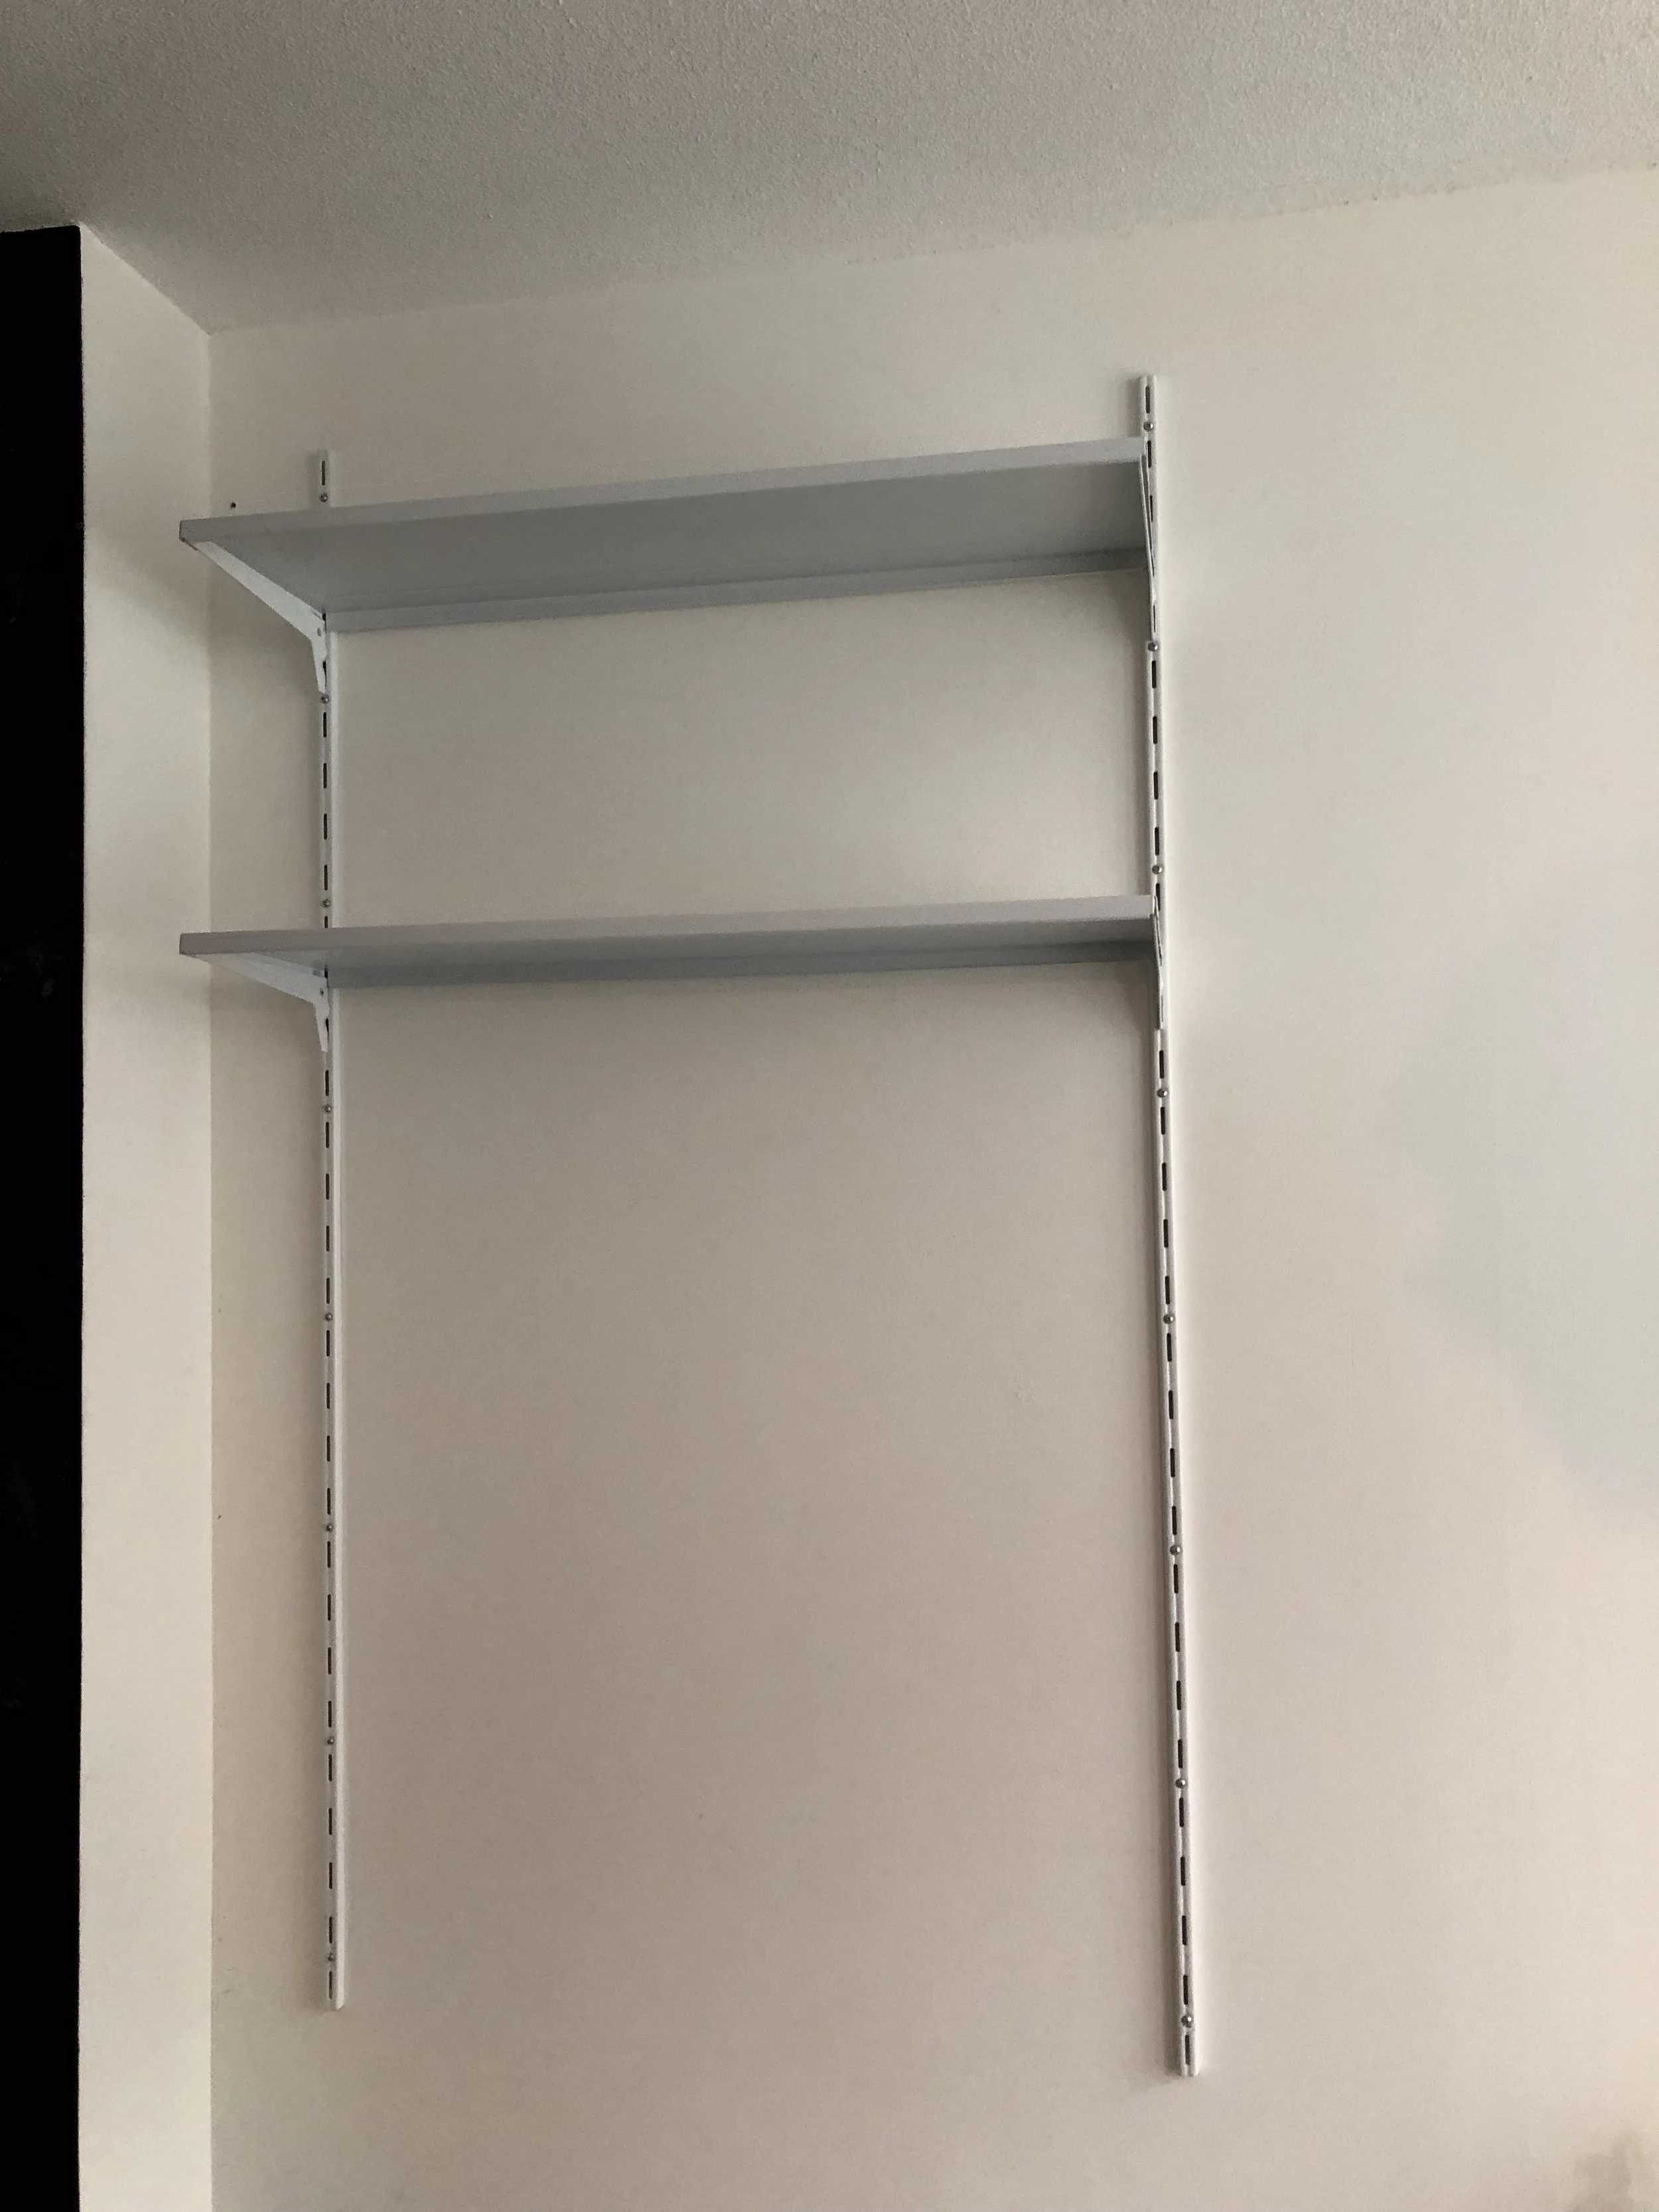
Finish up drilling in second bracket, place shelf hooks where wanted and add shelves.
Step 7
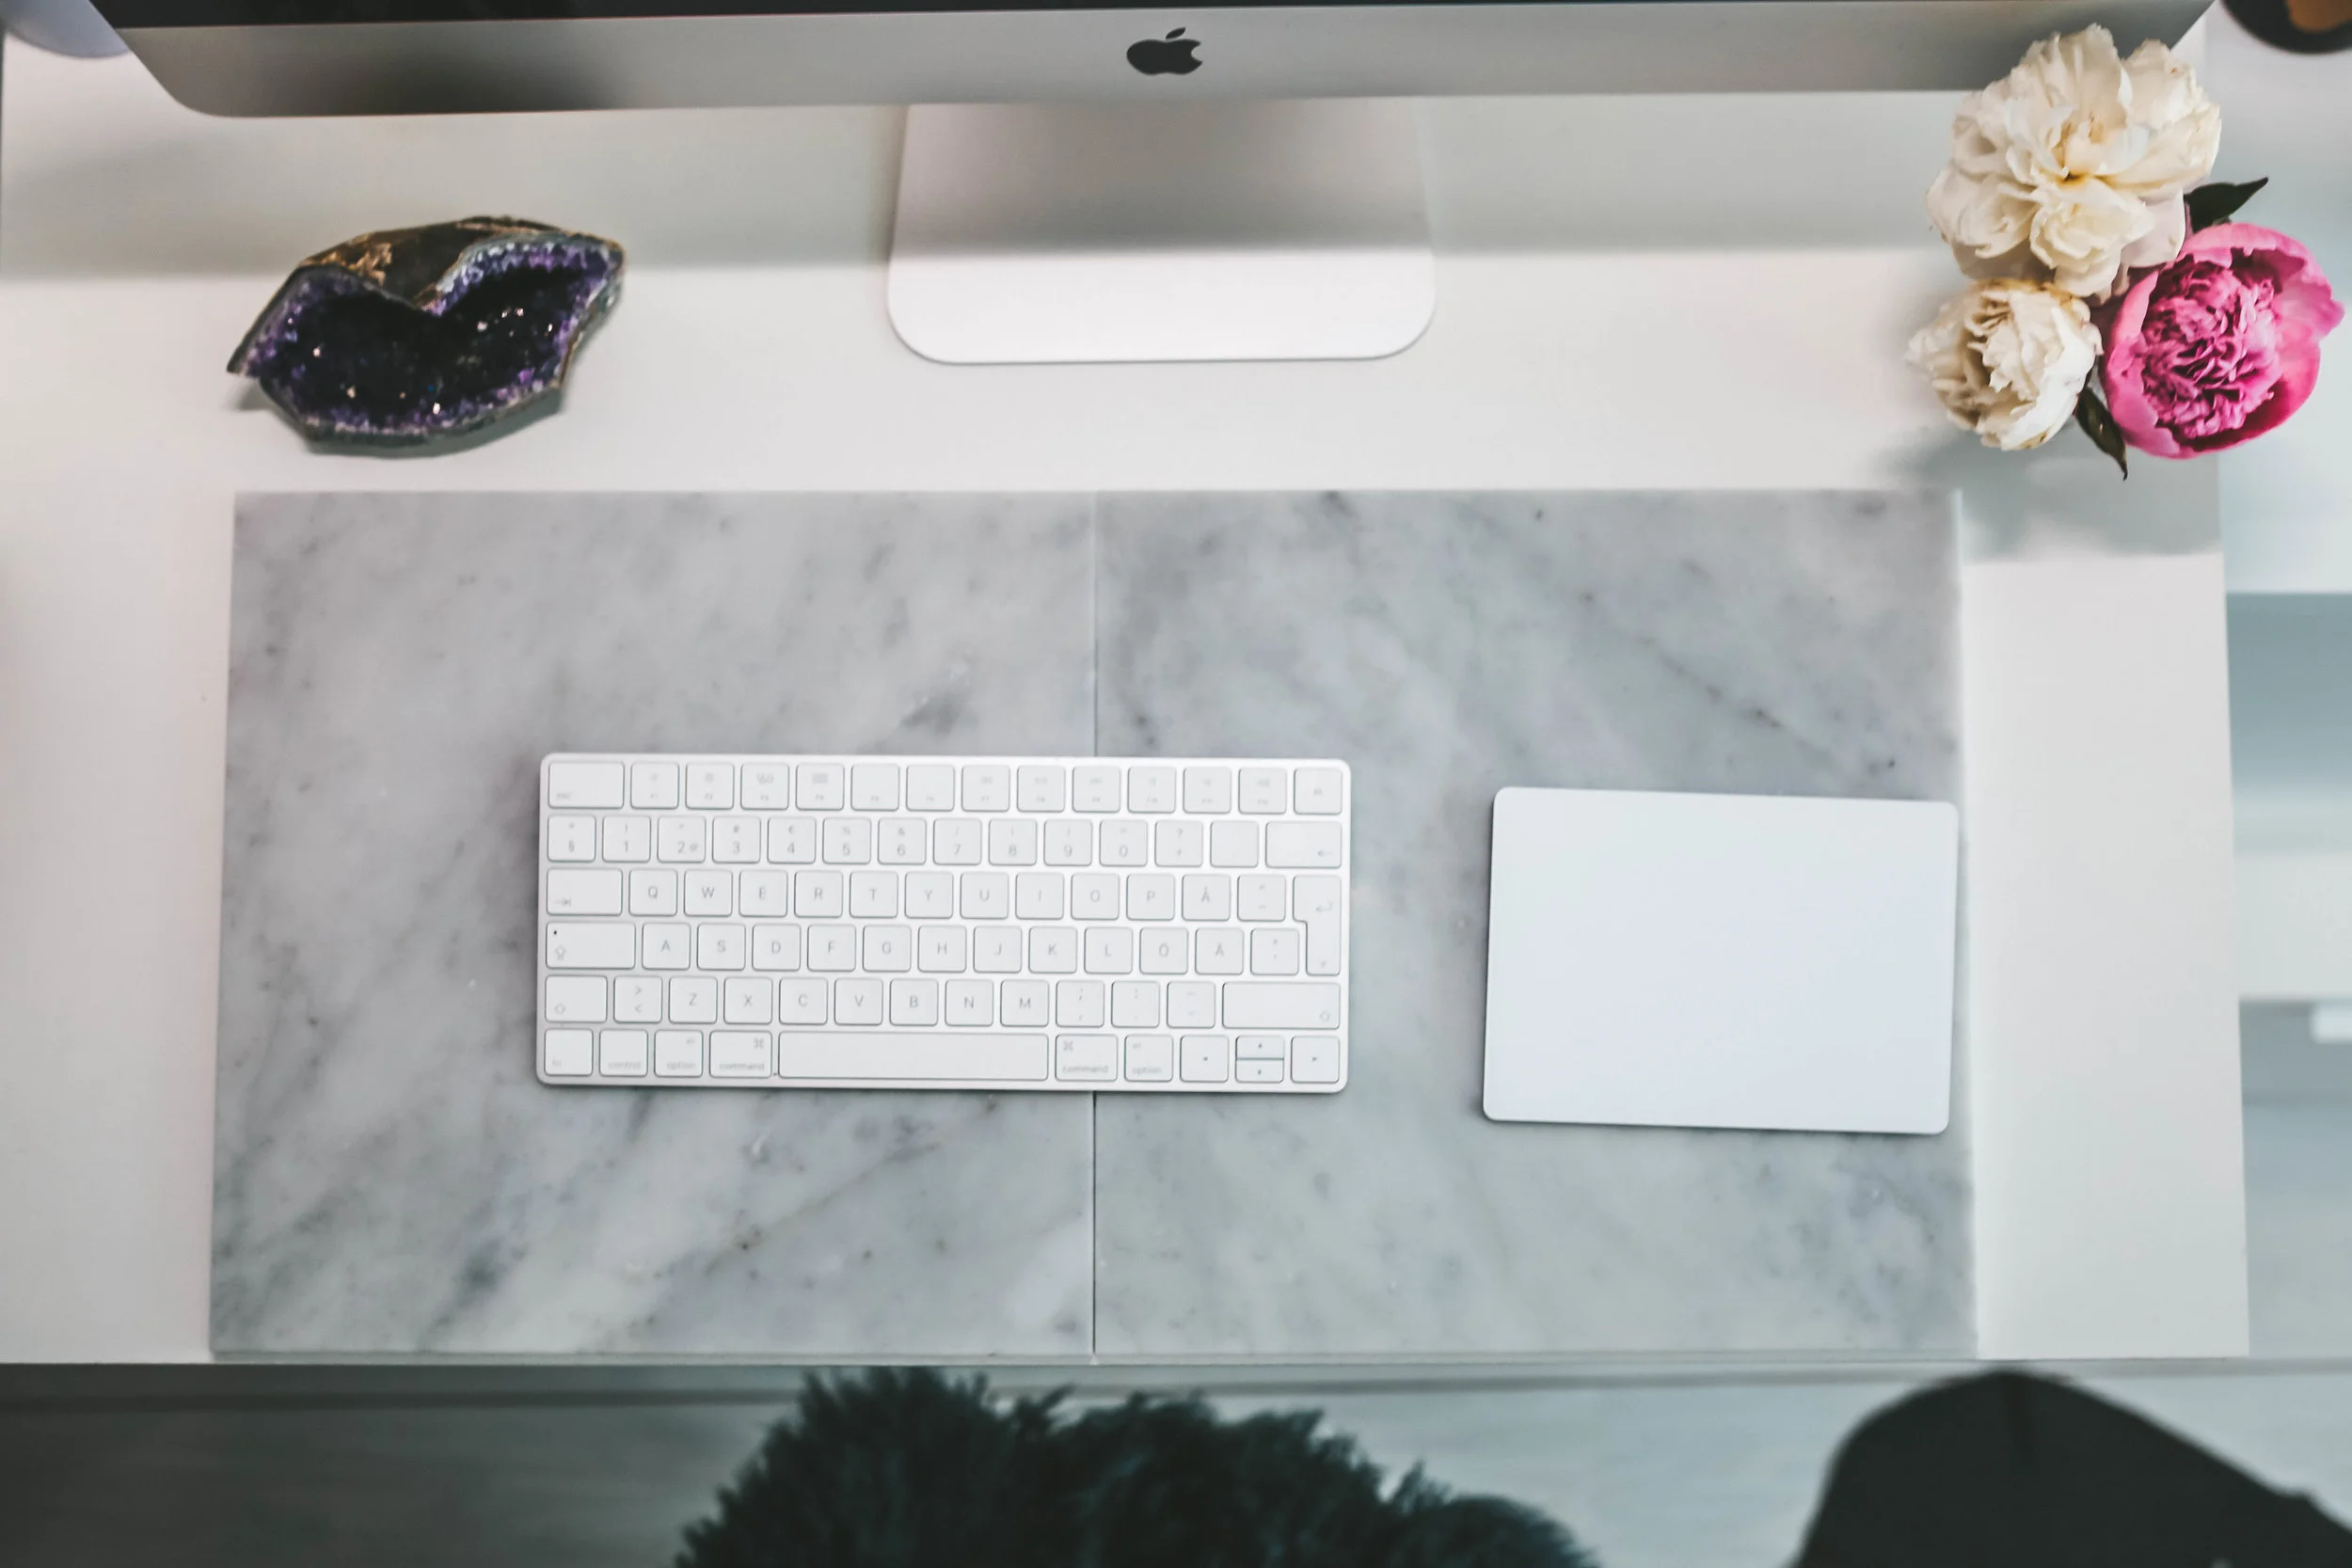
Add the table under, arrange the shelves, attach light, put velcro on surge protector to hide the cables as best as possible, add a bulliton board, and voila! A desk! I had leftover marble tiles from my bathroom remodel so I placed some on the desktop, and put an IKEA mail organizer on the shelf to the side to have some document storage.